目录
- 前言
- 一、Gradio介绍
- 1-1、Gradio介绍
- 1-2、安装
- 1-3、小栗子
- 二、使用Gradio构建AI应用
- 2-1、NLP任务
- 2-1-1、文本摘要
- 2-1-2、命名实体识别
- 2-2、聊天任务(ChatYuan)
- 2-2-1、模型介绍
- 2-2-2、模型下载、参数设置
- 2-2-3、模型测试
- 2-2-4、嵌入到Gradio里
- 2-2-5、gr.Chatbot()
- 附录一:使用HuggingFace来下载模型
- 1、如何手动下载模型?
- 附录二:使用魔搭社区来下载模型
- 1、魔搭社区介绍
- 2、特点
前言
Gradio可以让你快速构建用户界面,无需编写太多代码,使用Gradio构建AI应用(NLP任务、图像生成任务、聊天机器人任务等)一、Gradio介绍
1-1、Gradio介绍
Gradio:
-
Gradio是一个用于构建交互式界面的Python库。它可以帮助您快速创建自定义的Web界面,用于展示和测试机器学习模型、自然语言处理模型、计算机视觉模型等。
-
Gradio使得构建交互式界面变得非常简单,无需编写繁琐的HTML、CSS和JavaScript代码。您可以使用Gradio来创建一个具有输入字段(如文本输入或图像上传)和输出字段(如模型预测结果)的界面,用户可以直接与您的模型进行交互。
-
Gradio支持多种输入和输出类型,包括文本、图像、音频和视频。您可以通过定义回调函数来处理输入,并将输出返回给用户。Gradio还提供了自动化的界面布局和样式,使得界面设计变得简单而直观。
1-2、安装
安装:Gradio需要python版本为3.8以上
pip install python
pip install gradio# update
pip install --upgrade gradio -i https://mirror.baidu.com/pypi/simple
1-3、小栗子
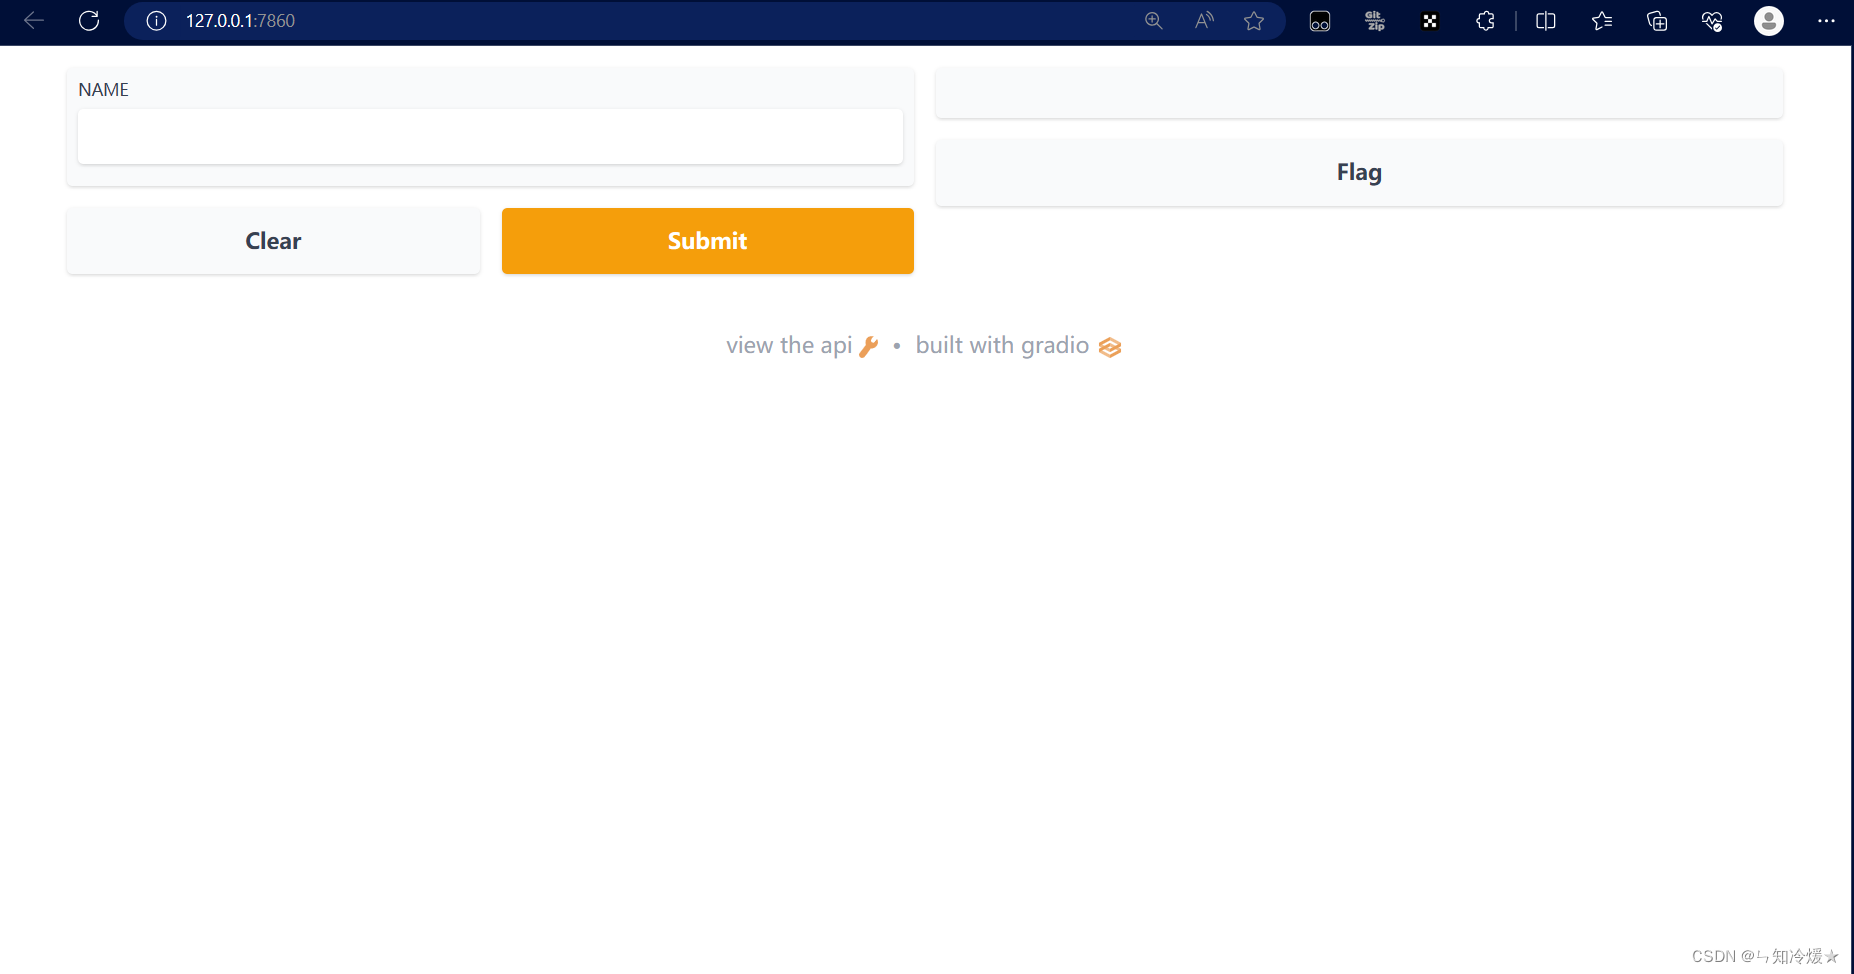
小栗子:将会在浏览器自动弹出(地址: http://localhost:7860)
gr.Interface类: 可以使用用户界面包装任何函数
- fn: 要运行的函数或模型。这个函数接受输入并返回输出。
- inputs: 输入组件的类型和顺序。可以使用字符串表示组件类型(如"text"、“checkbox”、"slider"等),也可以使用Gradio提供的组件对象(如gr.TextInput()、gr.Checkbox()、gr.Slider()等)。
- outputs: 输出组件的类型和顺序。同样可以使用字符串或Gradio提供的组件对象表示。
import gradio as grdef greet(name):return "Hello " + name + "!"demo = gr.Interface(fn=greet, inputs="text", outputs="text")if __name__ == "__main__":demo.launch()
输出:
有关于Gradio的一些基础知识可以查看我的另一篇文章: 【完全攻略】Gradio:建立机器学习网页APP
二、使用Gradio构建AI应用
2-1、NLP任务
2-1-1、文本摘要
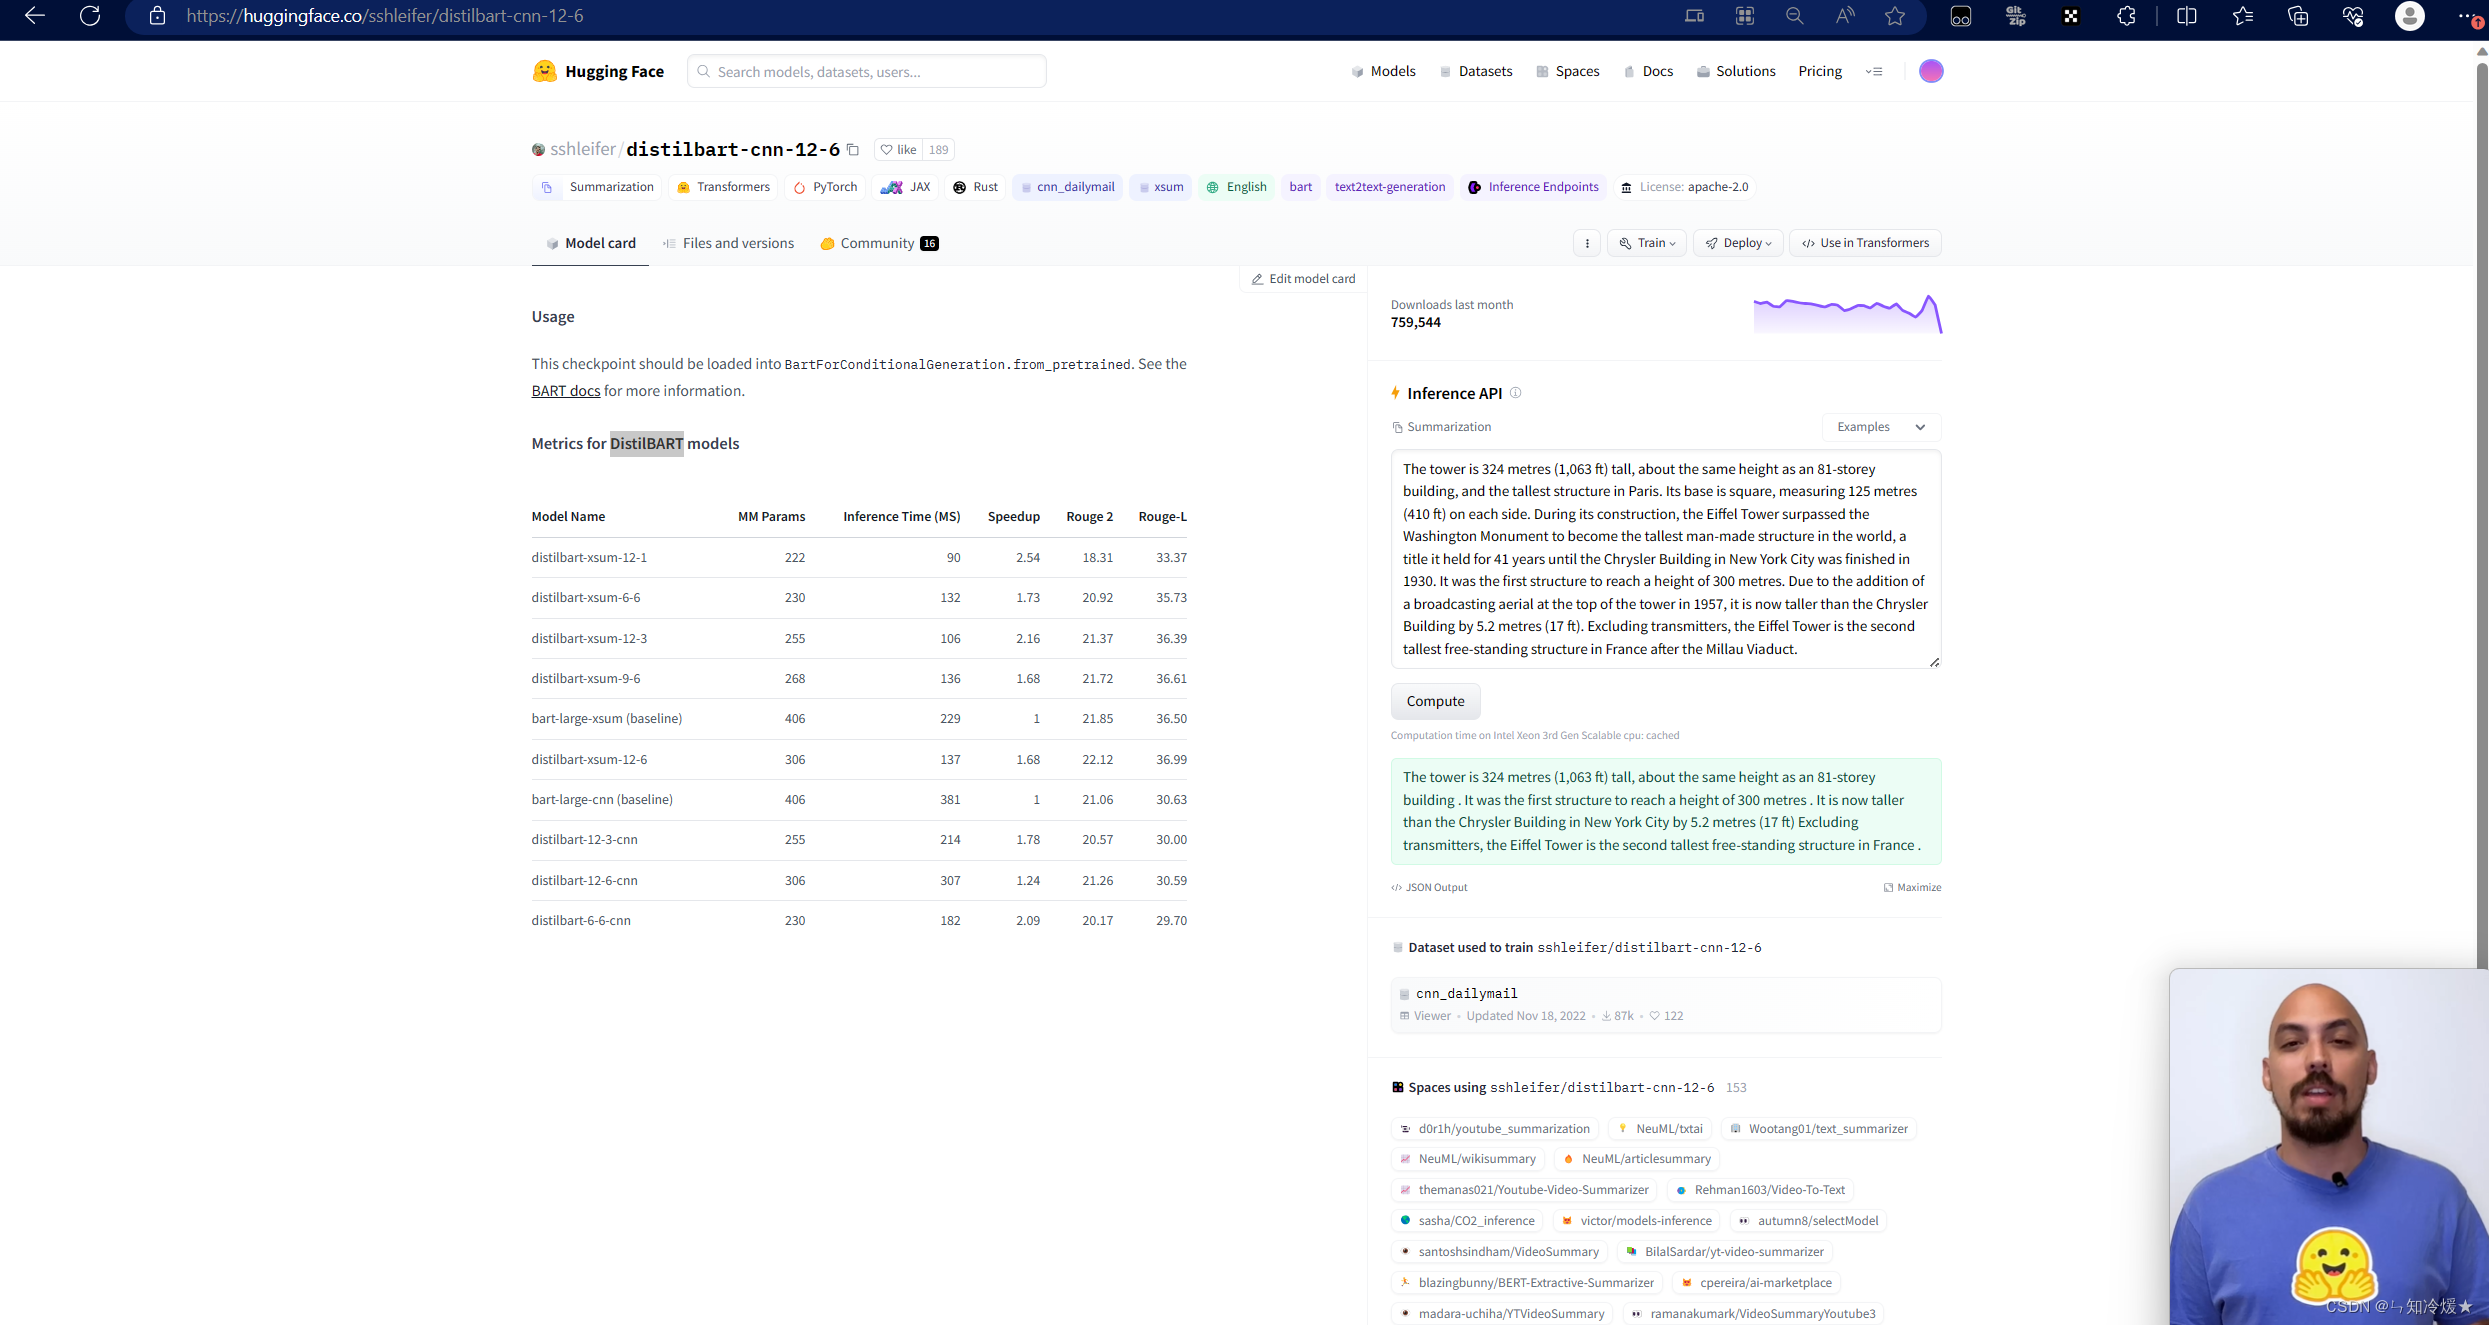
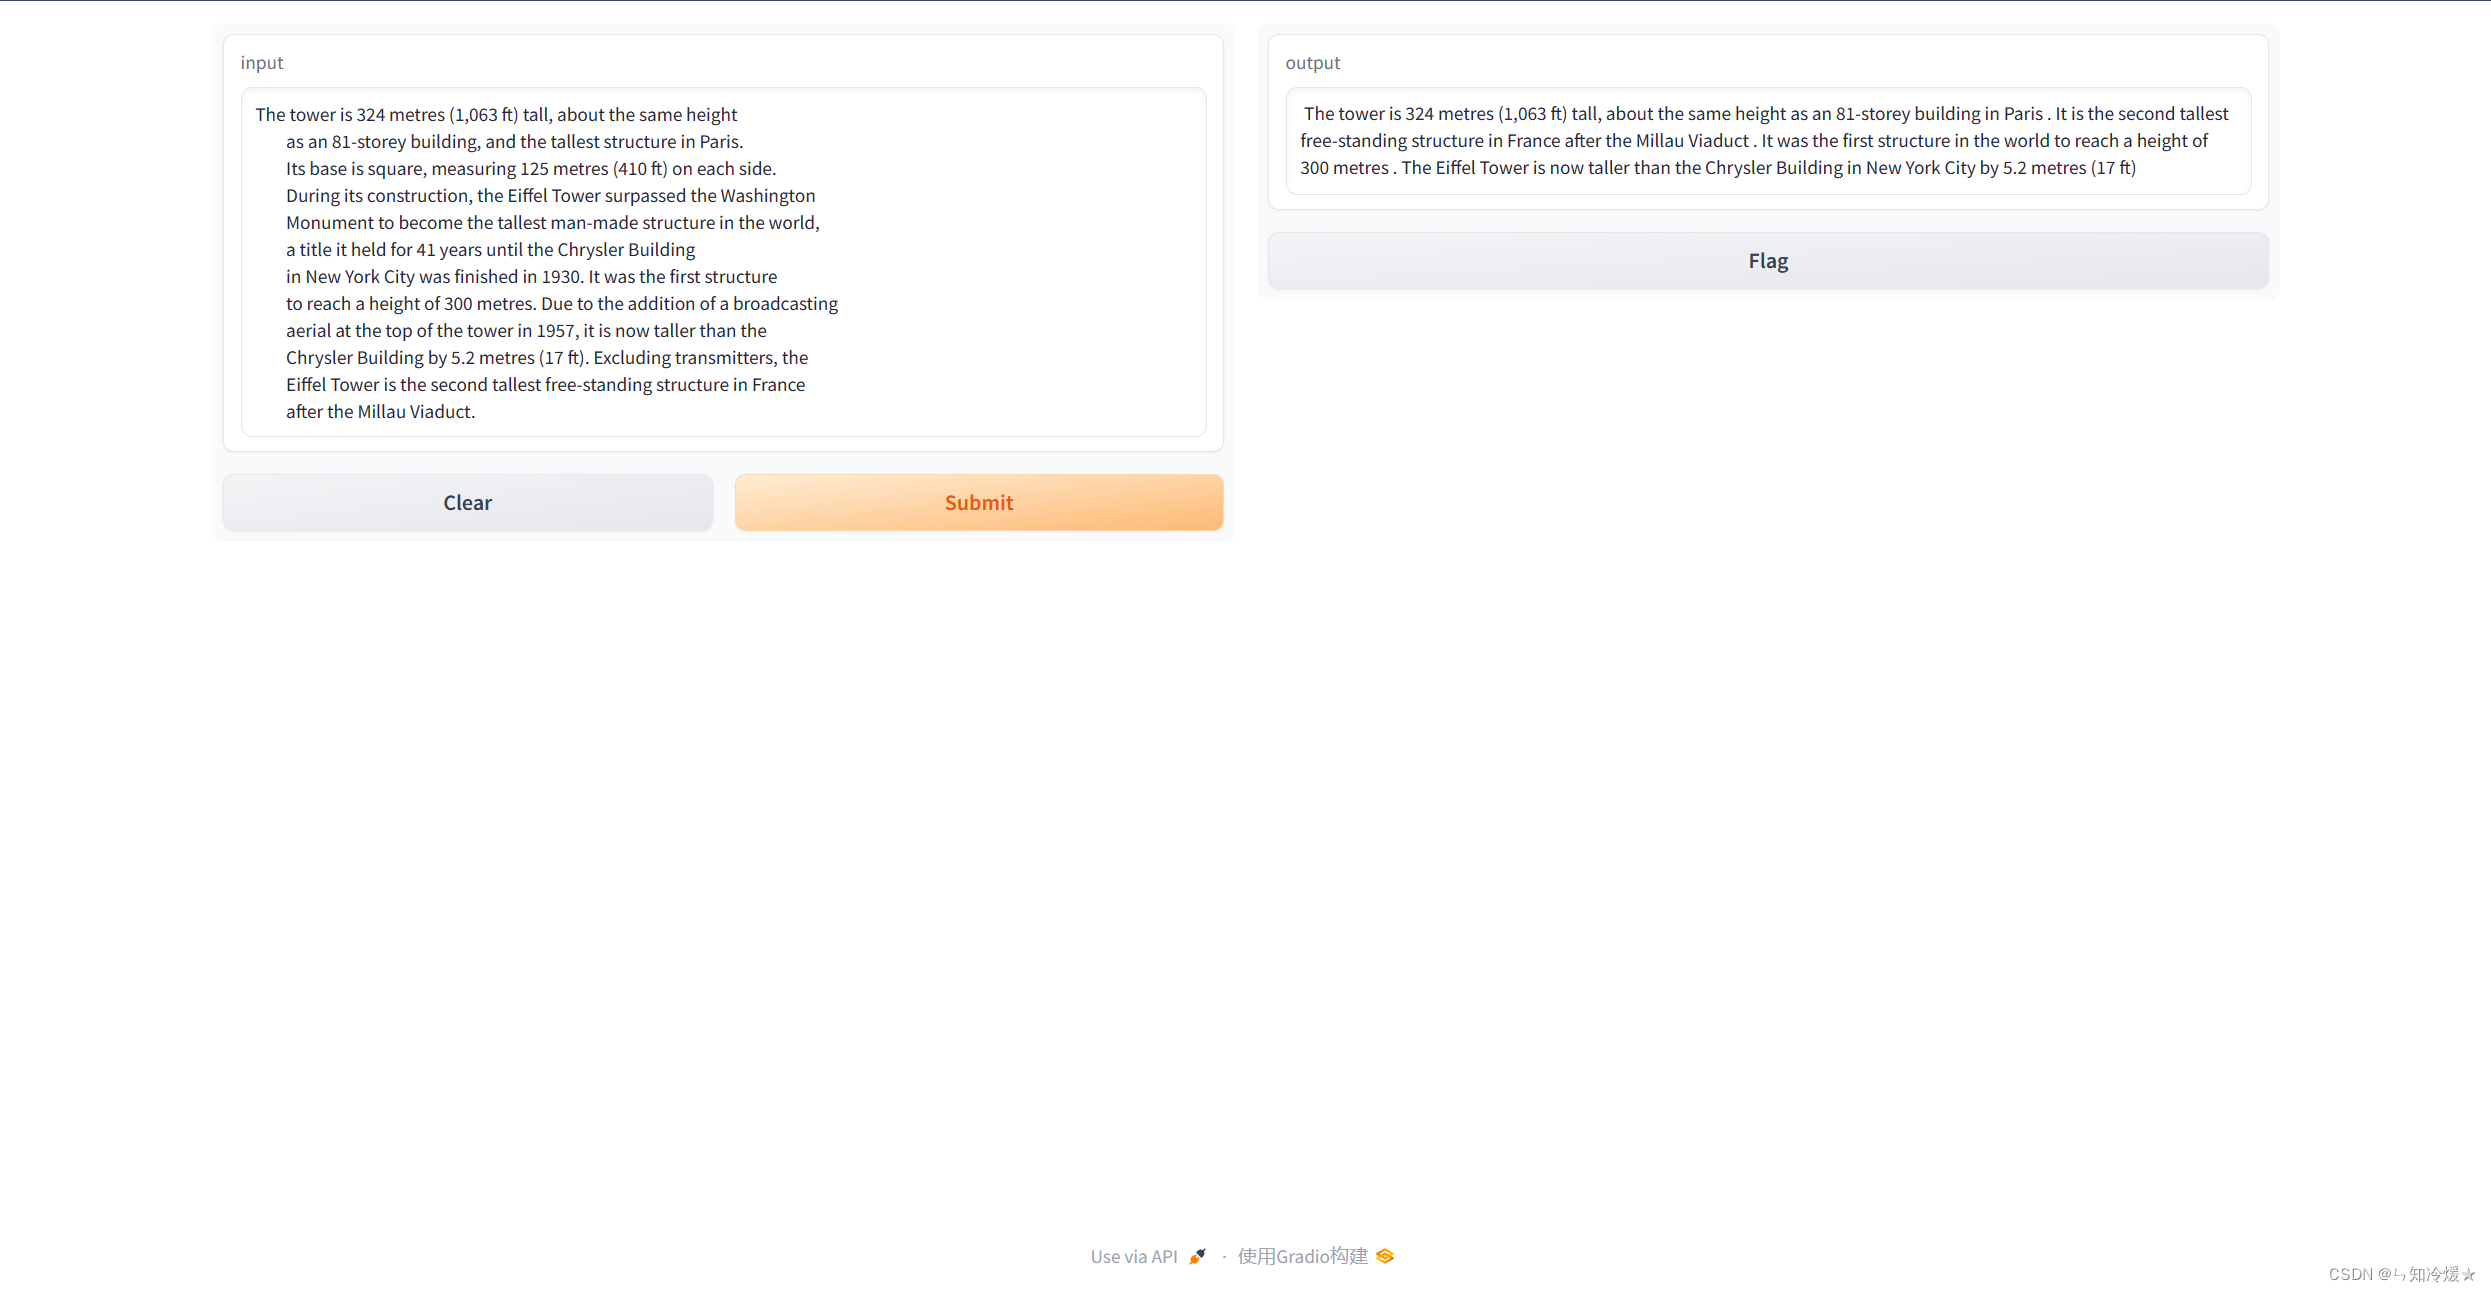
概述:这里我们使用到的是DistilBART,可以在HuggingFace官网下载模型,地址:https://huggingface.co/sshleifer/distilbart-cnn-12-6, 模型下载以及使用方法详见附录。文本摘要使用到的模型为
distilbart-cnn-12-6。更多huggingFace的更多使用方法请详见我的另一篇文章:【完全攻略】畅游NLP海洋:HuggingFace的快速入门
- 使用Gradio构建文本摘要应用代码如下:
from transformers import pipeline
from transformers import AutoTokenizer, AutoModelForSeq2SeqLM
import gradio as gr# 使用我们下载到本地的模型
model = AutoModelForSeq2SeqLM.from_pretrained('./model/distilbart-cnn-12-6')
tokenizer = AutoTokenizer.from_pretrained('./model/distilbart-cnn-12-6')
get_completion = pipeline("summarization", model=model, tokenizer=tokenizer)# 输入文本,调用模型来返回输出
def summarize(input):output = get_completion(input)return output[0]['summary_text']gr.close_all()
demo = gr.Interface(fn=summarize, inputs="text", outputs="text")
demo.launch(share=True)
结果如下:
- 改进版如下,其中输入部分引入了gradio组件Textbox。
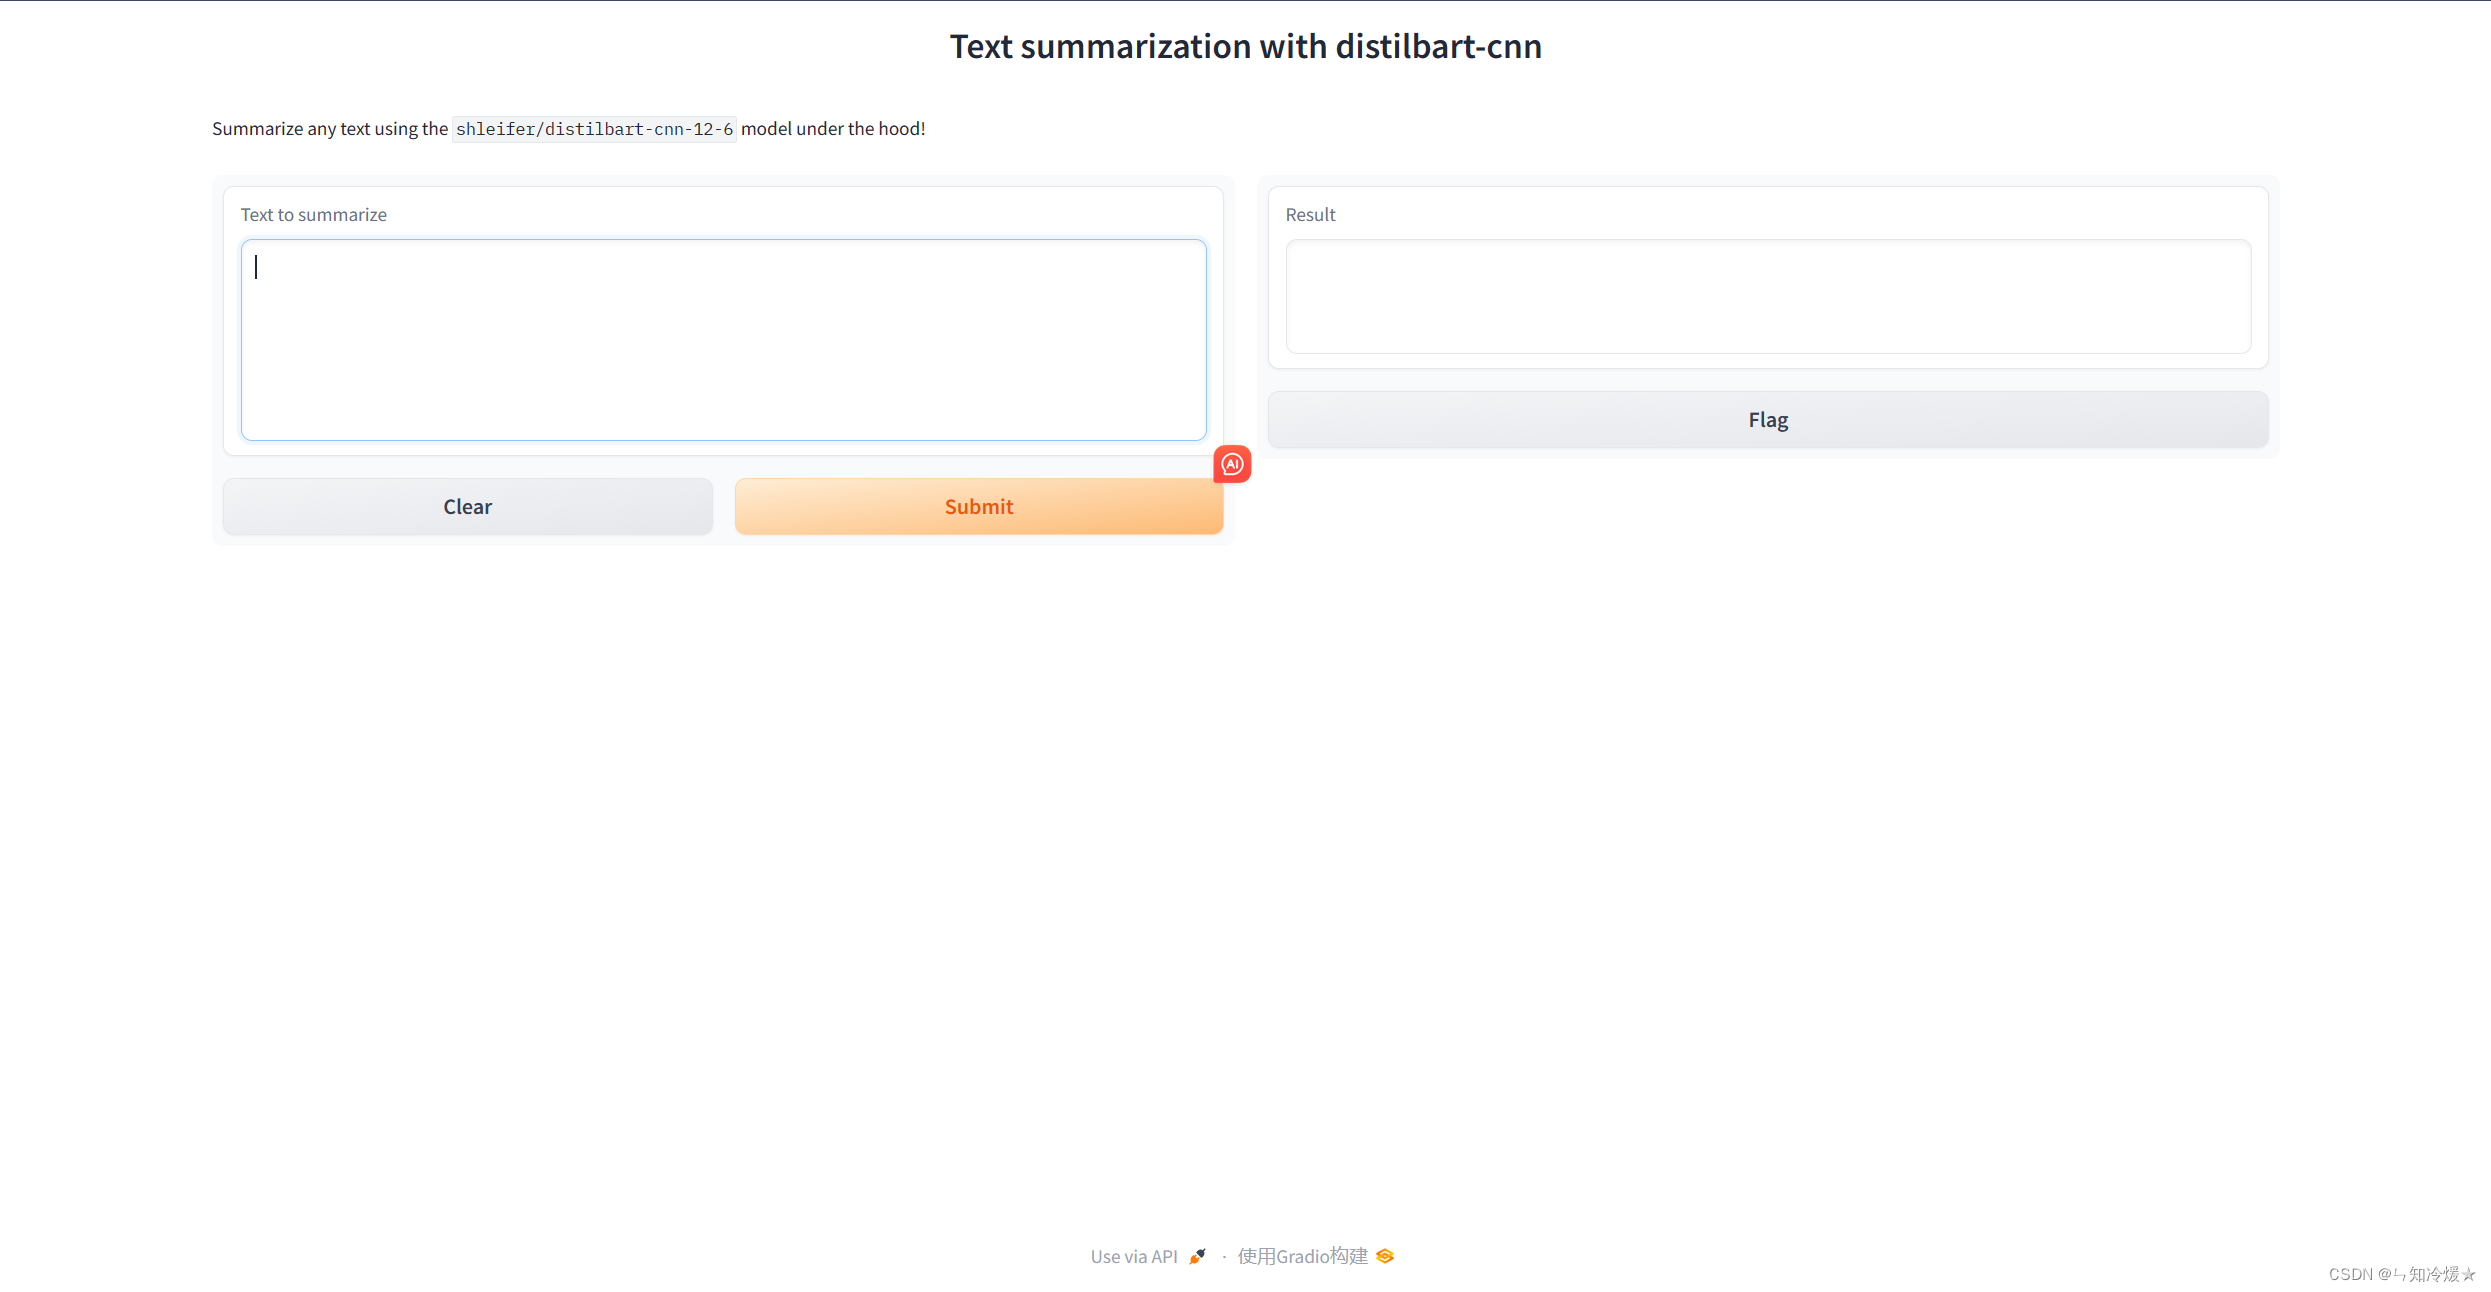
- gradio.Textbox是Gradio库中的一个组件,它创建了一个文本区域,用户可以在这个区域中输入字符串或者显示字符串输出。
from transformers import pipeline
from transformers import AutoTokenizer, AutoModelForSeq2SeqLM
import gradio as grmodel = AutoModelForSeq2SeqLM.from_pretrained('./model/distilbart-cnn-12-6')
tokenizer = AutoTokenizer.from_pretrained('./model/distilbart-cnn-12-6')
get_completion = pipeline("summarization", model=model, tokenizer=tokenizer)def summarize(input):output = get_completion(input)return output[0]['summary_text']gr.close_all()
demo = gr.Interface(fn=summarize,inputs=[gr.Textbox(label="Text to summarize", lines=6)],outputs=[gr.Textbox(label="Result", lines=3)],title="Text summarization with distilbart-cnn",description="Summarize any text using the `shleifer/distilbart-cnn-12-6` model under the hood!")
demo.launch()
结果如下:
2-1-2、命名实体识别
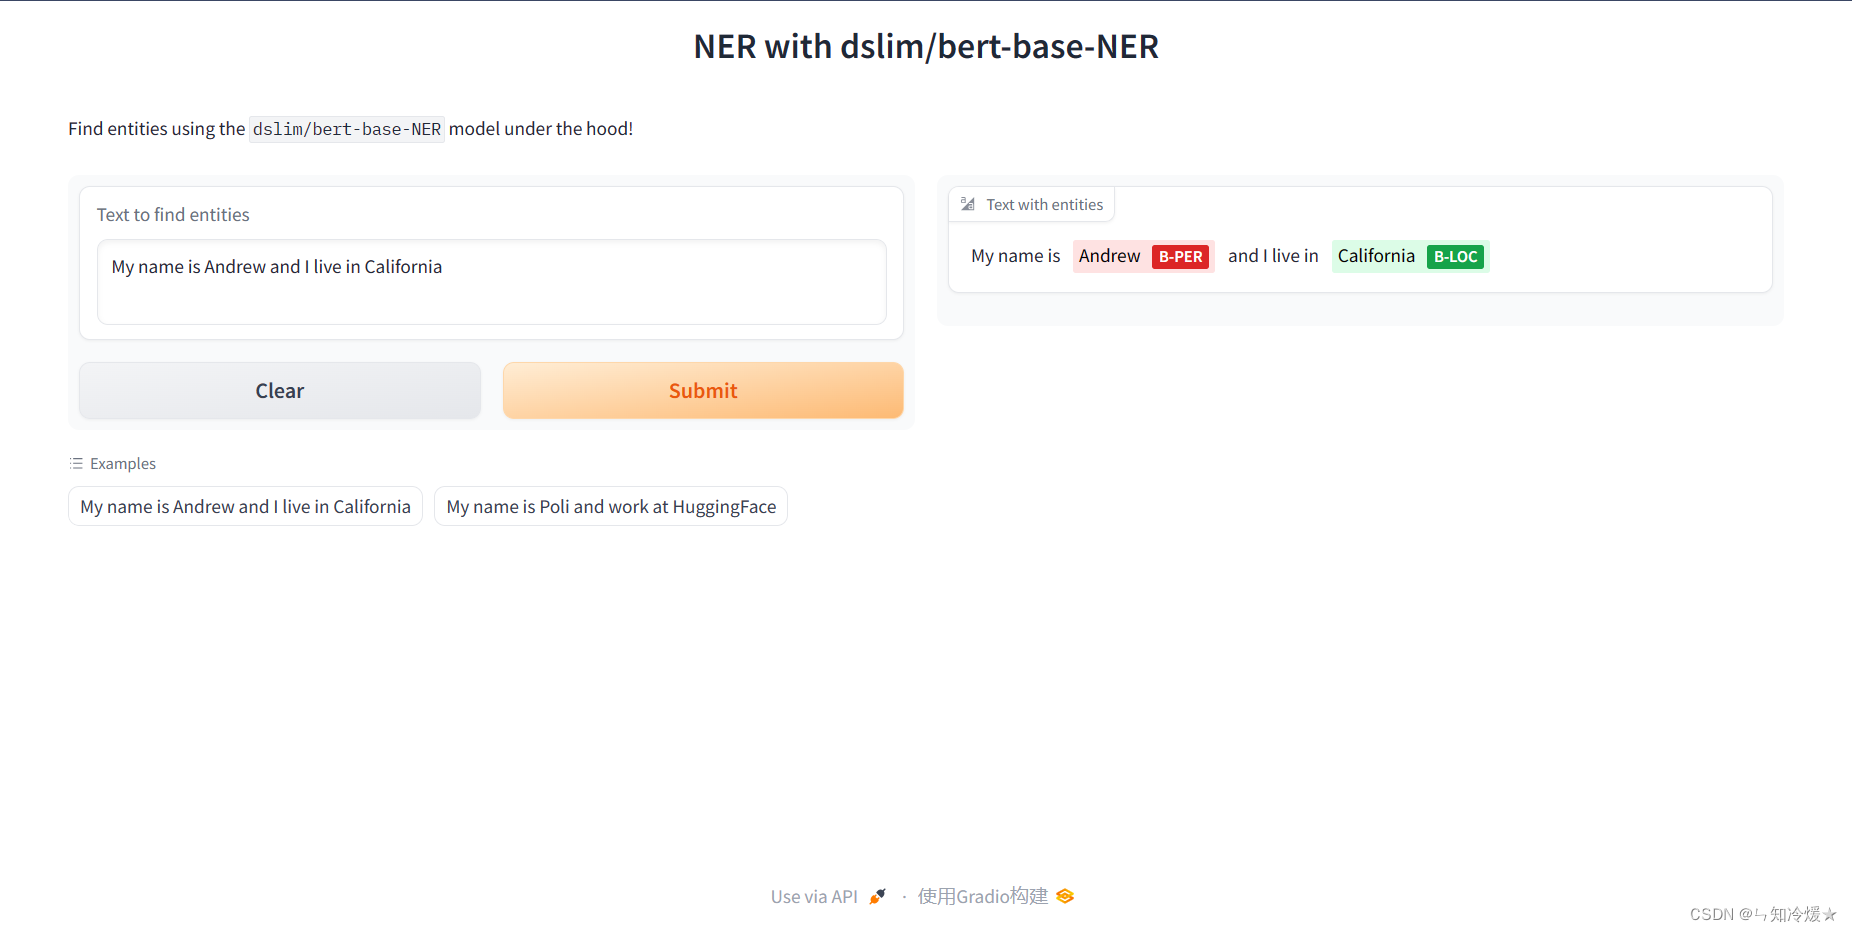
概述:命名实体识别这里用到的模型为bert-base-NER,与上边的文本摘要一样,也是将模型下载到本地之后调用。
from transformers import pipeline
from transformers import AutoTokenizer, AutoModelForTokenClassification
import gradio as grmodel = AutoModelForTokenClassification.from_pretrained('./model/bert-base-NER')
tokenizer = AutoTokenizer.from_pretrained('./model/bert-base-NER')
get_completion = pipeline("token-classification", model=model, tokenizer=tokenizer)def ner(input):output = get_completion(input)return {"text": input, "entities": output}gr.close_all()
demo = gr.Interface(fn=ner,inputs=[gr.Textbox(label="Text to find entities", lines=2)],# gr.HighlightedText是Gradio库中的一个组件,它创建了一个可以高亮显示文本的区域。你可以在gr.HighlightedText中使用label参数来设置文本区域的标签outputs=[gr.HighlightedText(label="Text with entities")],title="NER with dslim/bert-base-NER",description="Find entities using the `dslim/bert-base-NER` model under the hood!",allow_flagging="never",#Here we introduce a new tag, examples, easy to use examples for your applicationexamples=["My name is Andrew and I live in California", "My name is Poli and work at HuggingFace"])
demo.launch(share=True)
输出:
2-2、聊天任务(ChatYuan)
2-2-1、模型介绍
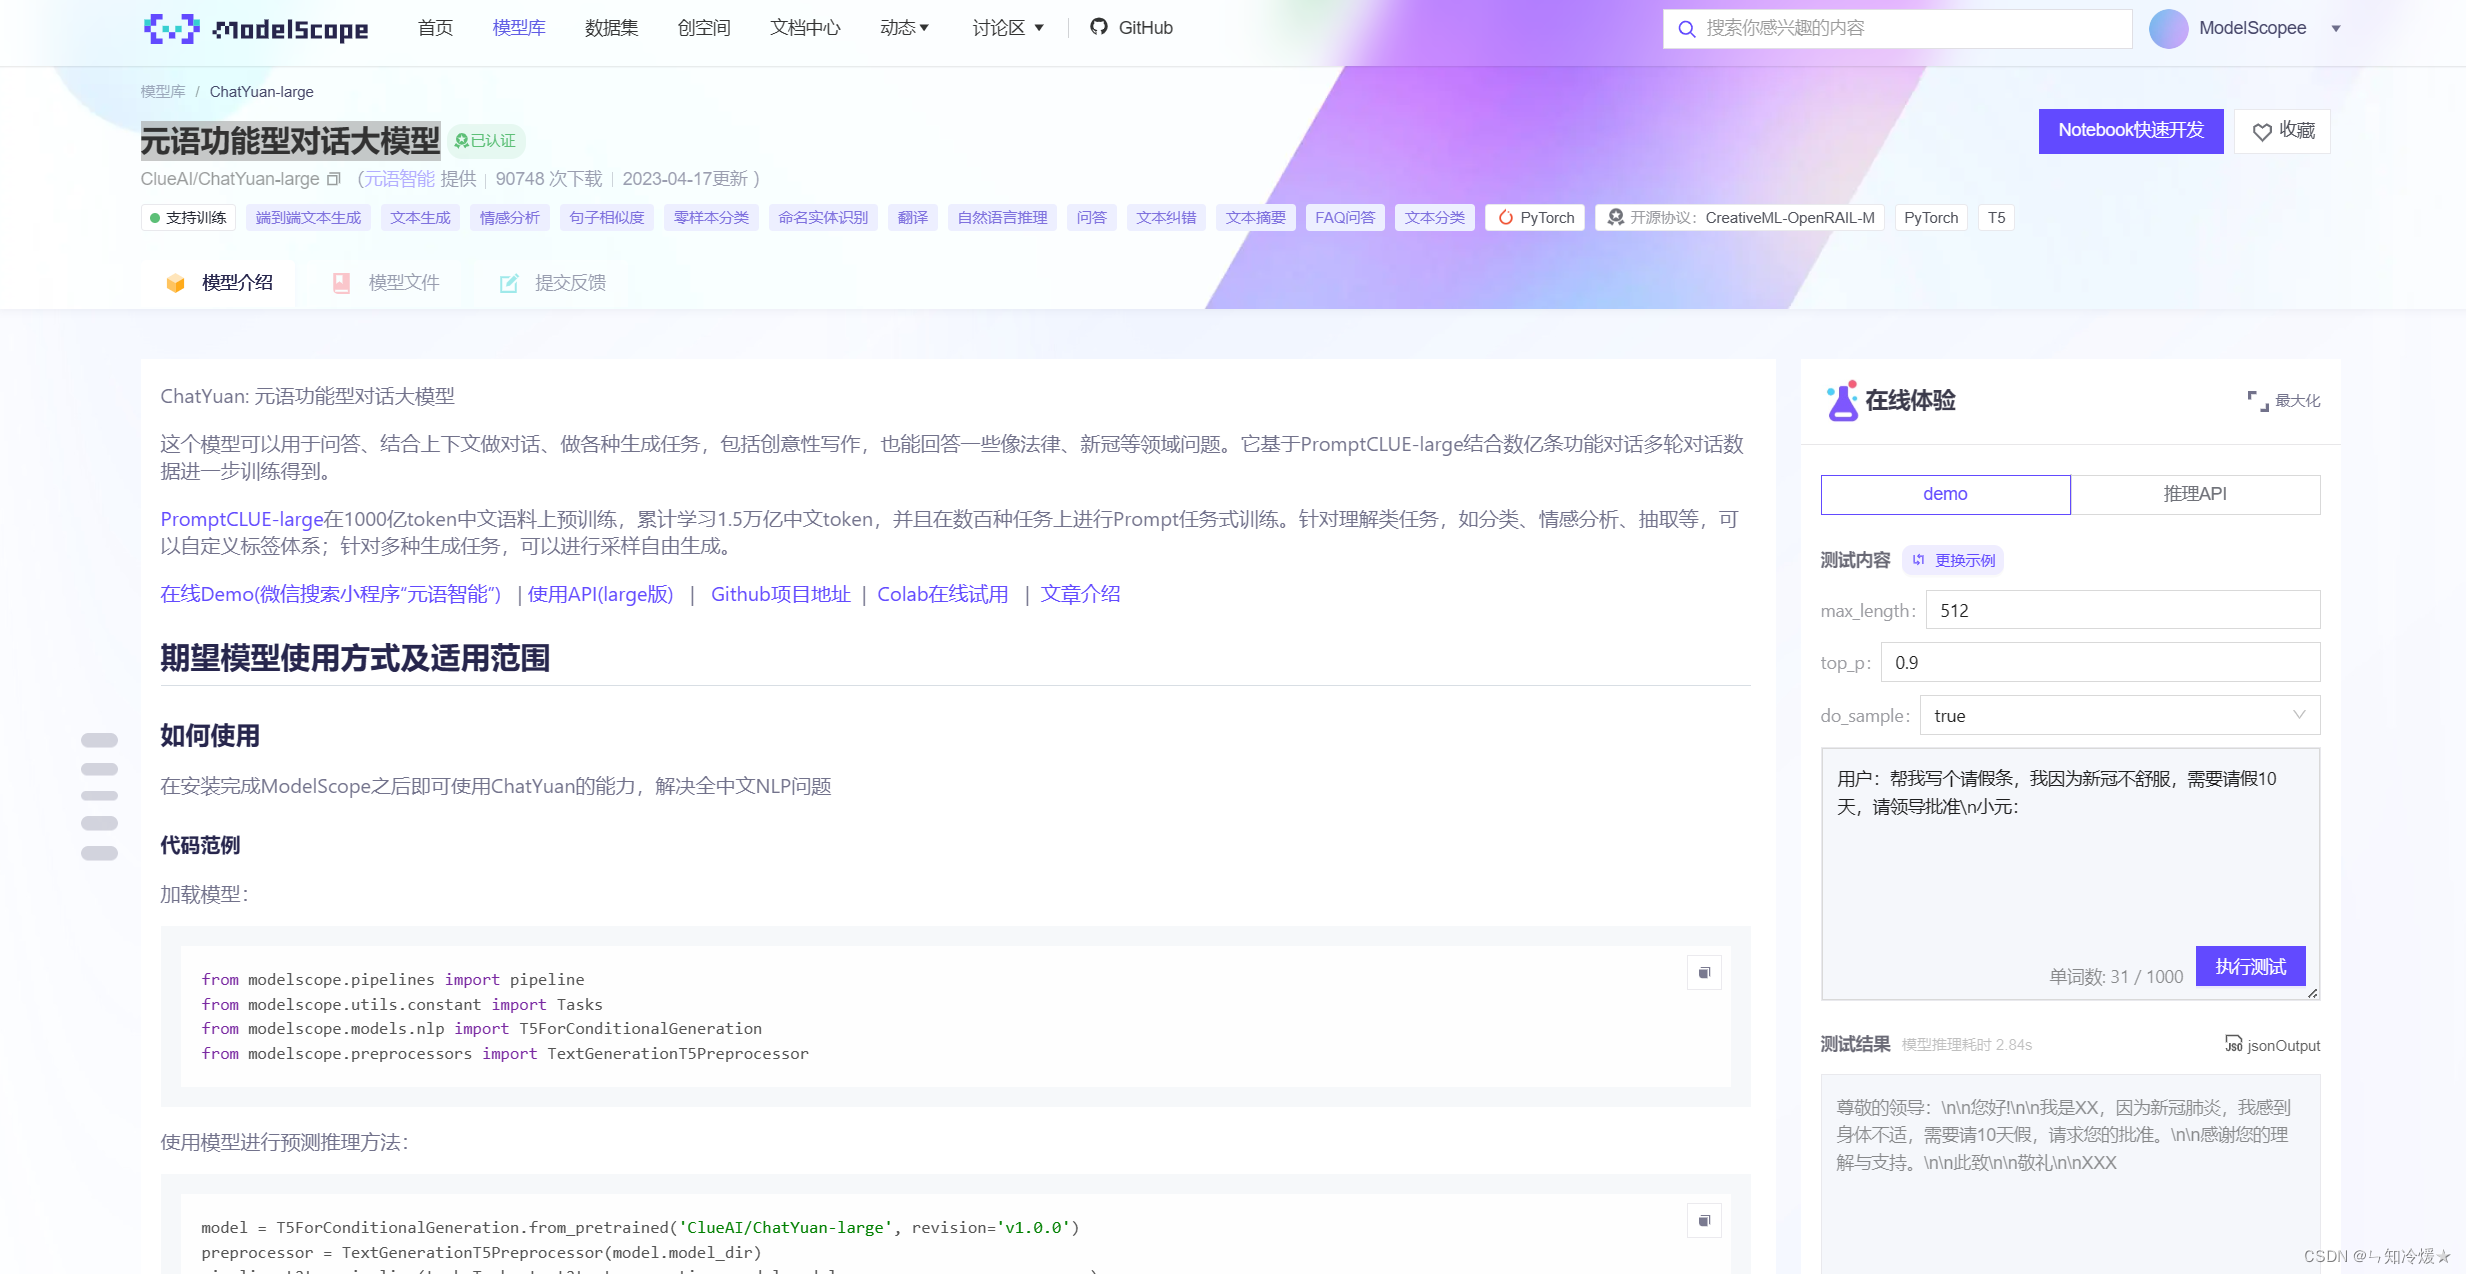
概述:这里我们使用到的模型元语功能型对话大模型,下载模型网站为魔搭社区,详见附录二。模型链接:https://modelscope.cn/models/ClueAI/ChatYuan-large/summary
介绍:ChatYuan: 元语功能型对话大模型,这个模型可以用于问答、结合上下文做对话、做各种生成任务,包括创意性写作,也能回答一些像法律、新冠等领域问题。它基于PromptCLUE-large结合数亿条功能对话多轮对话数据进一步训练得到。
PromptCLUE-large在1000亿token中文语料上预训练,累计学习1.5万亿中文token,并且在数百种任务上进行Prompt任务式训练。针对理解类任务,如分类、情感分析、抽取等,可以自定义标签体系;针对多种生成任务,可以进行采样自由生成。
2-2-2、模型下载、参数设置
from modelscope.pipelines import pipeline
from modelscope.utils.constant import Tasks
from modelscope.models.nlp import T5ForConditionalGeneration
from modelscope.preprocessors import TextGenerationT5Preprocessor
model = T5ForConditionalGeneration.from_pretrained('ClueAI/ChatYuan-large', revision='v1.0.0')
preprocessor = TextGenerationT5Preprocessor(model.model_dir)
pipeline_t2t = pipeline(task=Tasks.text2text_generation, model=model, preprocessor=preprocessor)def preprocess(text):text = text.replace("\n", "\\n").replace("\t", "\\t")return textdef postprocess(text):return text.replace("\\n", "\n").replace("\\t", "\t")def answer(text, sample=True, top_p=1, temperature=0.7):'''sample:是否抽样。生成任务,可以设置为True;top_p:0-1之间,生成的内容越多样'''text = preprocess(text)if not sample:out_text = pipeline_t2t(text, return_dict_in_generate=True, output_scores=False, max_new_tokens=2048, num_beams=1, length_penalty=0.6)else:out_text = pipeline_t2t(text, return_dict_in_generate=True, output_scores=False, max_new_tokens=2048, do_sample=True, top_p=top_p, temperature=temperature, no_repeat_ngram_size=3)return postprocess(out_text["text"])
2-2-3、模型测试
单轮对话:
input_text = '为什么地球是圆的?'
input = "用户:" + input_text + "\n小元:"
output_text = answer(input)
print(f"{input}{output_text}")
输出:
用户:为什么地球是圆的?
小元:地球上的地球是圆形的,这是从地球公转的角度而言。地球公自转方向由南向北,自转周期为12天,自重为1010kg,公转轨道为椭圆。地球自转一周为360度,其自转速度为1440kmh,公自重是950kg。地球的自转轴为南北极,自自转角度为360,公转动角为340。地球绕太阳公转一圈需要326天,绕月亮公转一周需要448天。地球与太阳公自,自,公,自公转的间隔是36552413天,太阳和地球之间公自的间隔为3365944天。
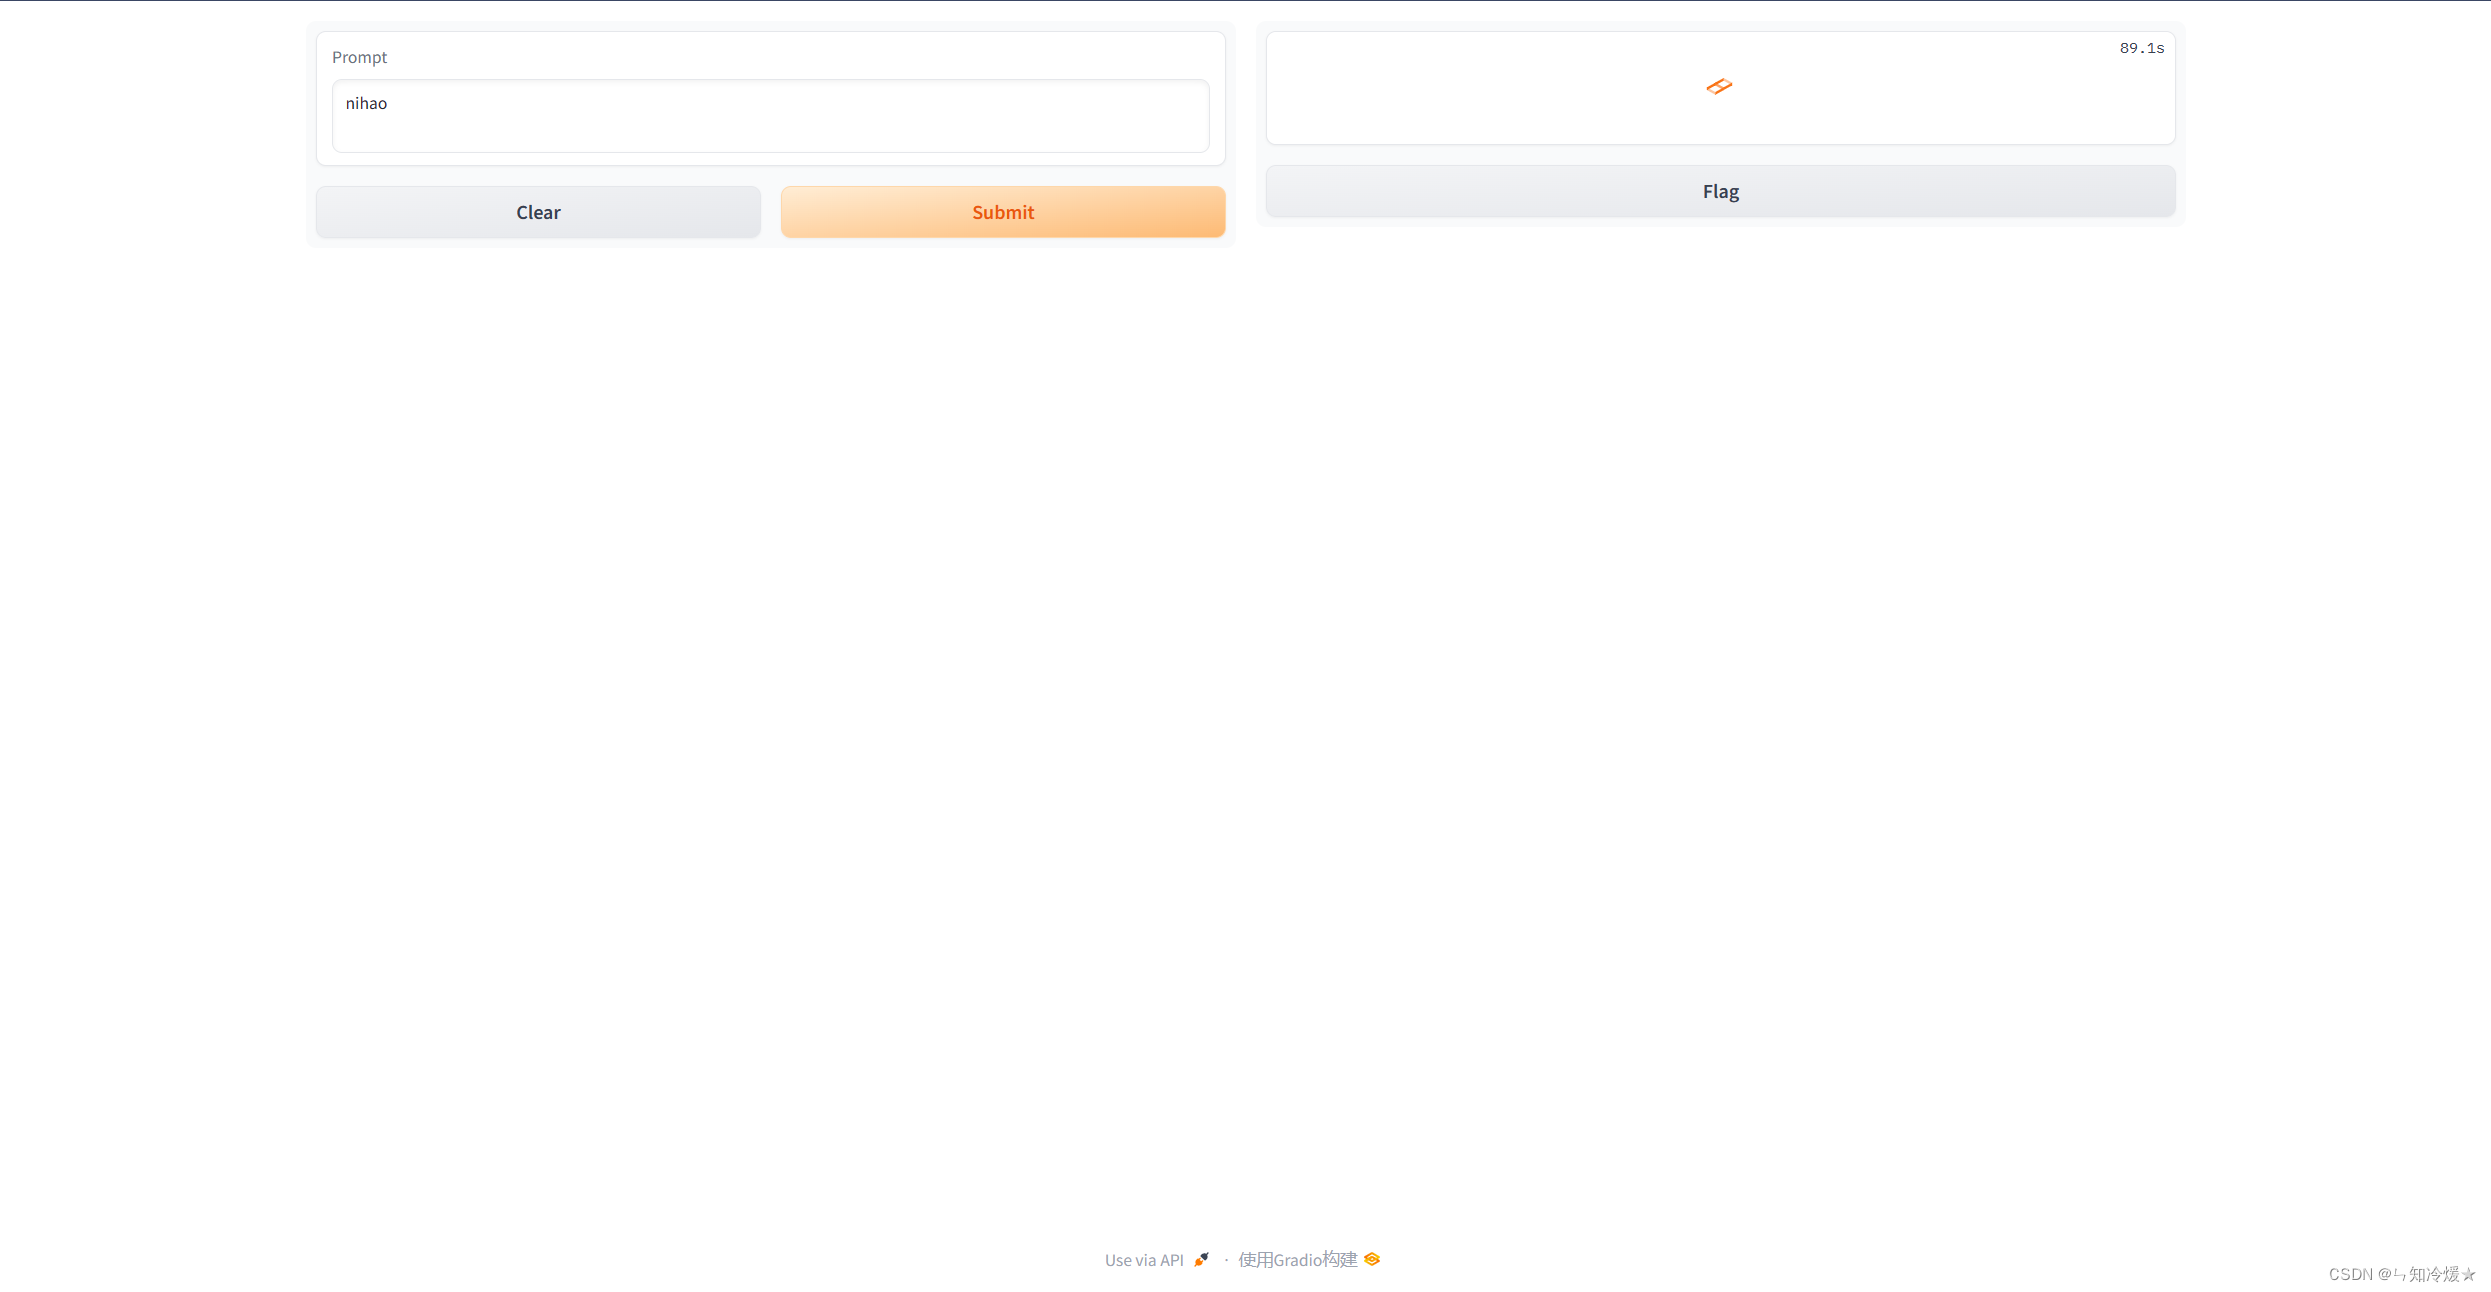
2-2-4、嵌入到Gradio里
#Back to Lesson 2, time flies!
import gradio as gr
def generate(input, slider):output = answer("用户:" + input + "\n小元:")print(output)return outputdemo = gr.Interface(fn=generate, inputs=gr.Textbox(label="Prompt"), outputs=[gr.Textbox(label="Completion")])gr.close_all()
demo.launch(share=True)
图示如下:
2-2-5、gr.Chatbot()
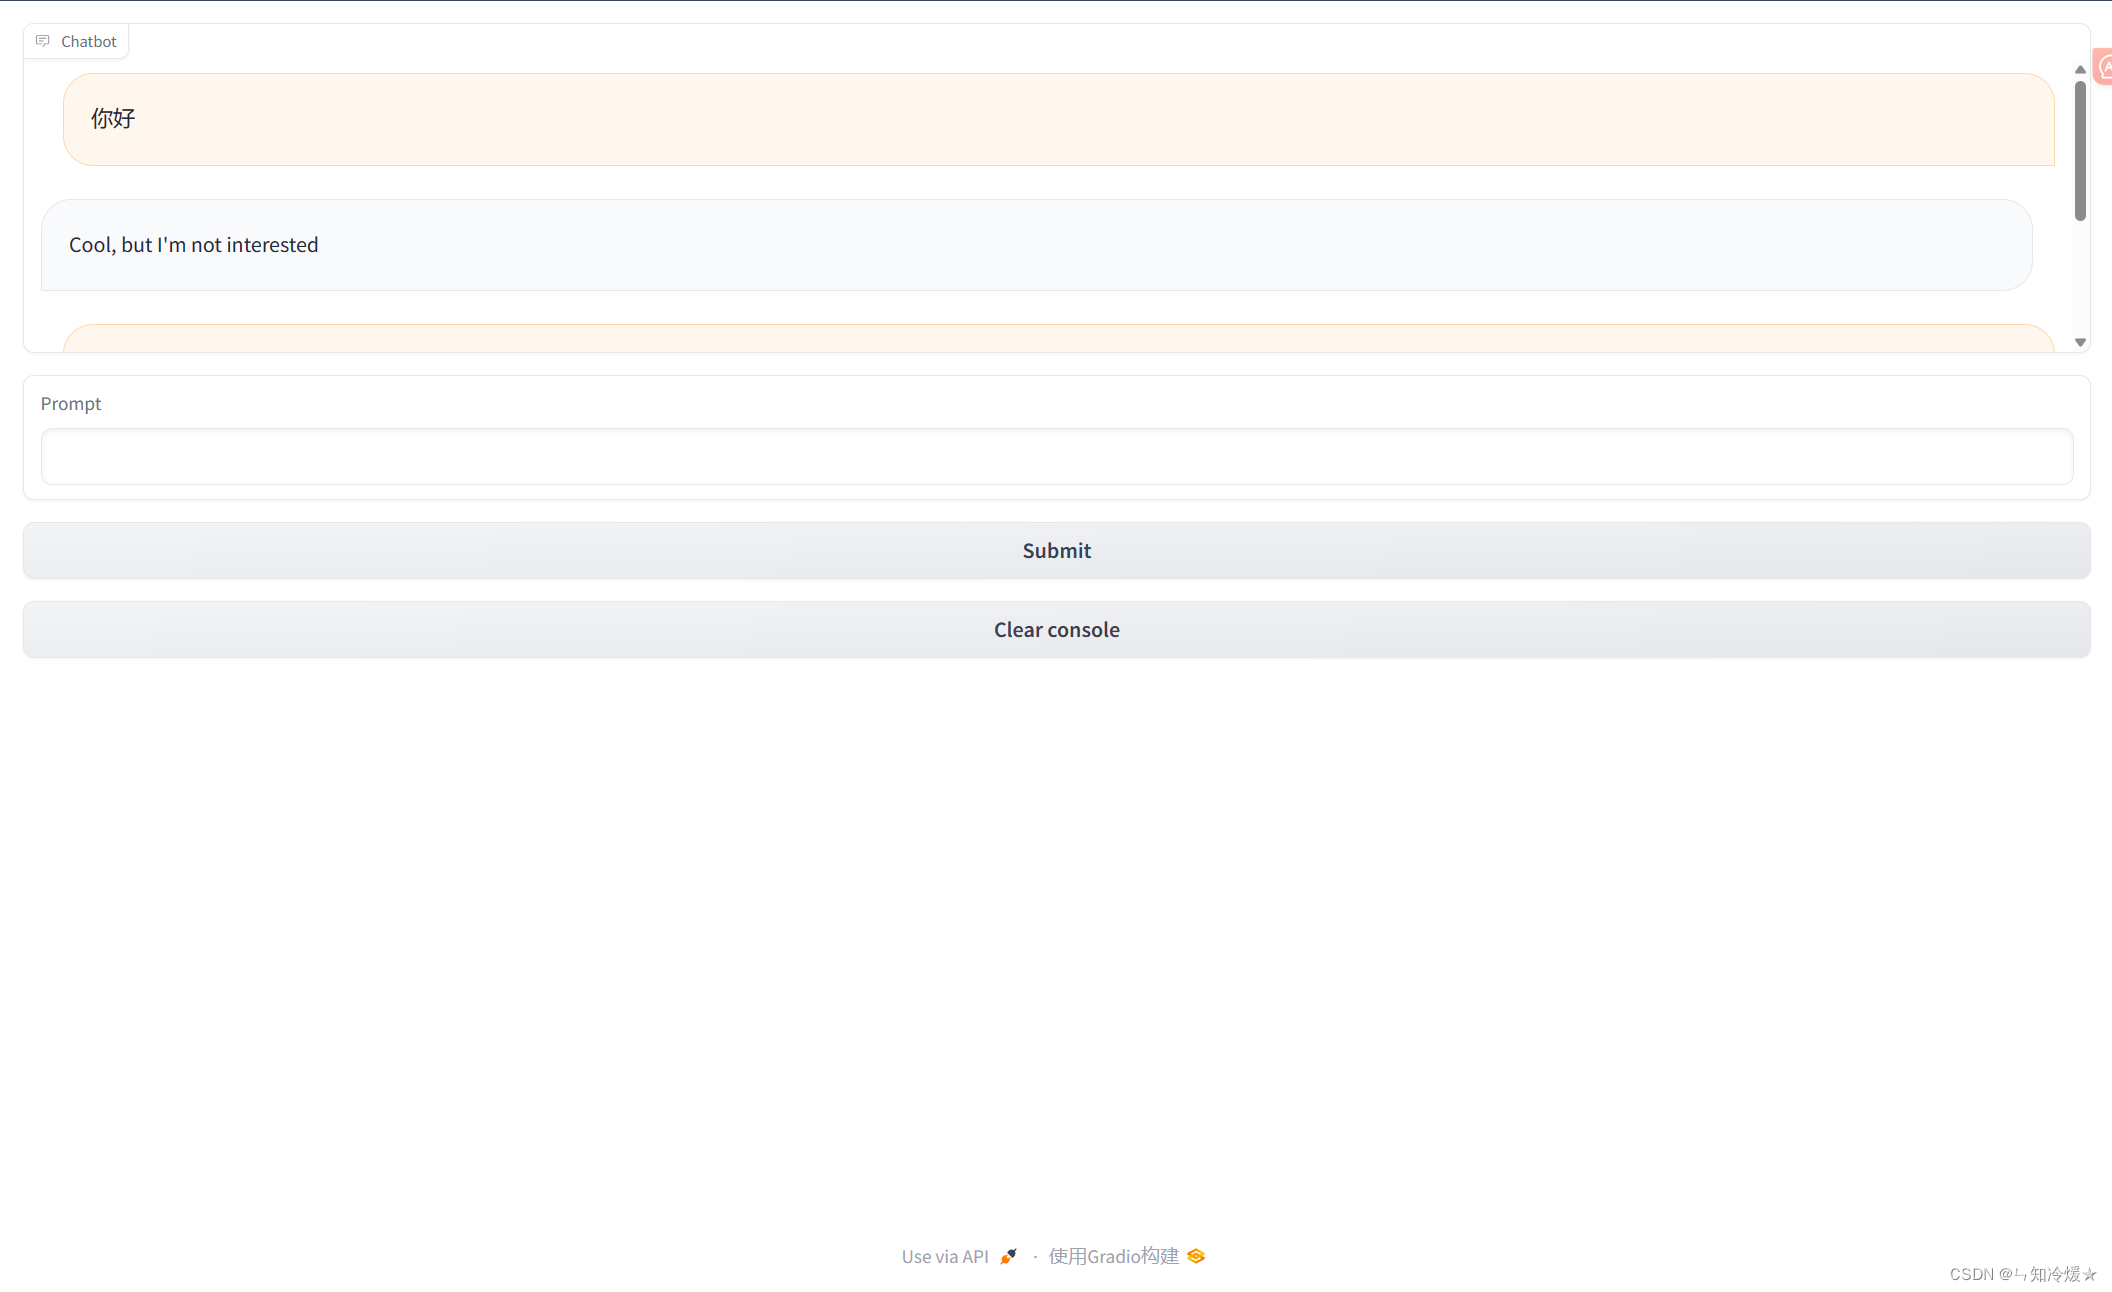
概述:gr.Chatbot()接口是专为聊天机器人设计的接口,允许保存聊天历史,并且展示在app上。
import random
import gradio as grdef respond(message, chat_history):#No LLM here, just respond with a random pre-made messagebot_message = random.choice(["Tell me more about it","Cool, but I'm not interested","Hmmmm, ok then"])chat_history.append((message, bot_message))return "", chat_historywith gr.Blocks() as demo:# 聊天框chatbot = gr.Chatbot(height=240) #just to fit the notebook# 输入框msg = gr.Textbox(label="Prompt")# 提交按钮btn = gr.Button("Submit")# 清空内容按钮clear = gr.ClearButton(components=[msg, chatbot], value="Clear console")# 提交按钮的功能函数btn.click(respond, inputs=[msg, chatbot], outputs=[msg, chatbot])msg.submit(respond, inputs=[msg, chatbot], outputs=[msg, chatbot]) #Press enter to submitgr.close_all()
demo.launch(share=True)
图示如下:
附录一:使用HuggingFace来下载模型
1、如何手动下载模型?
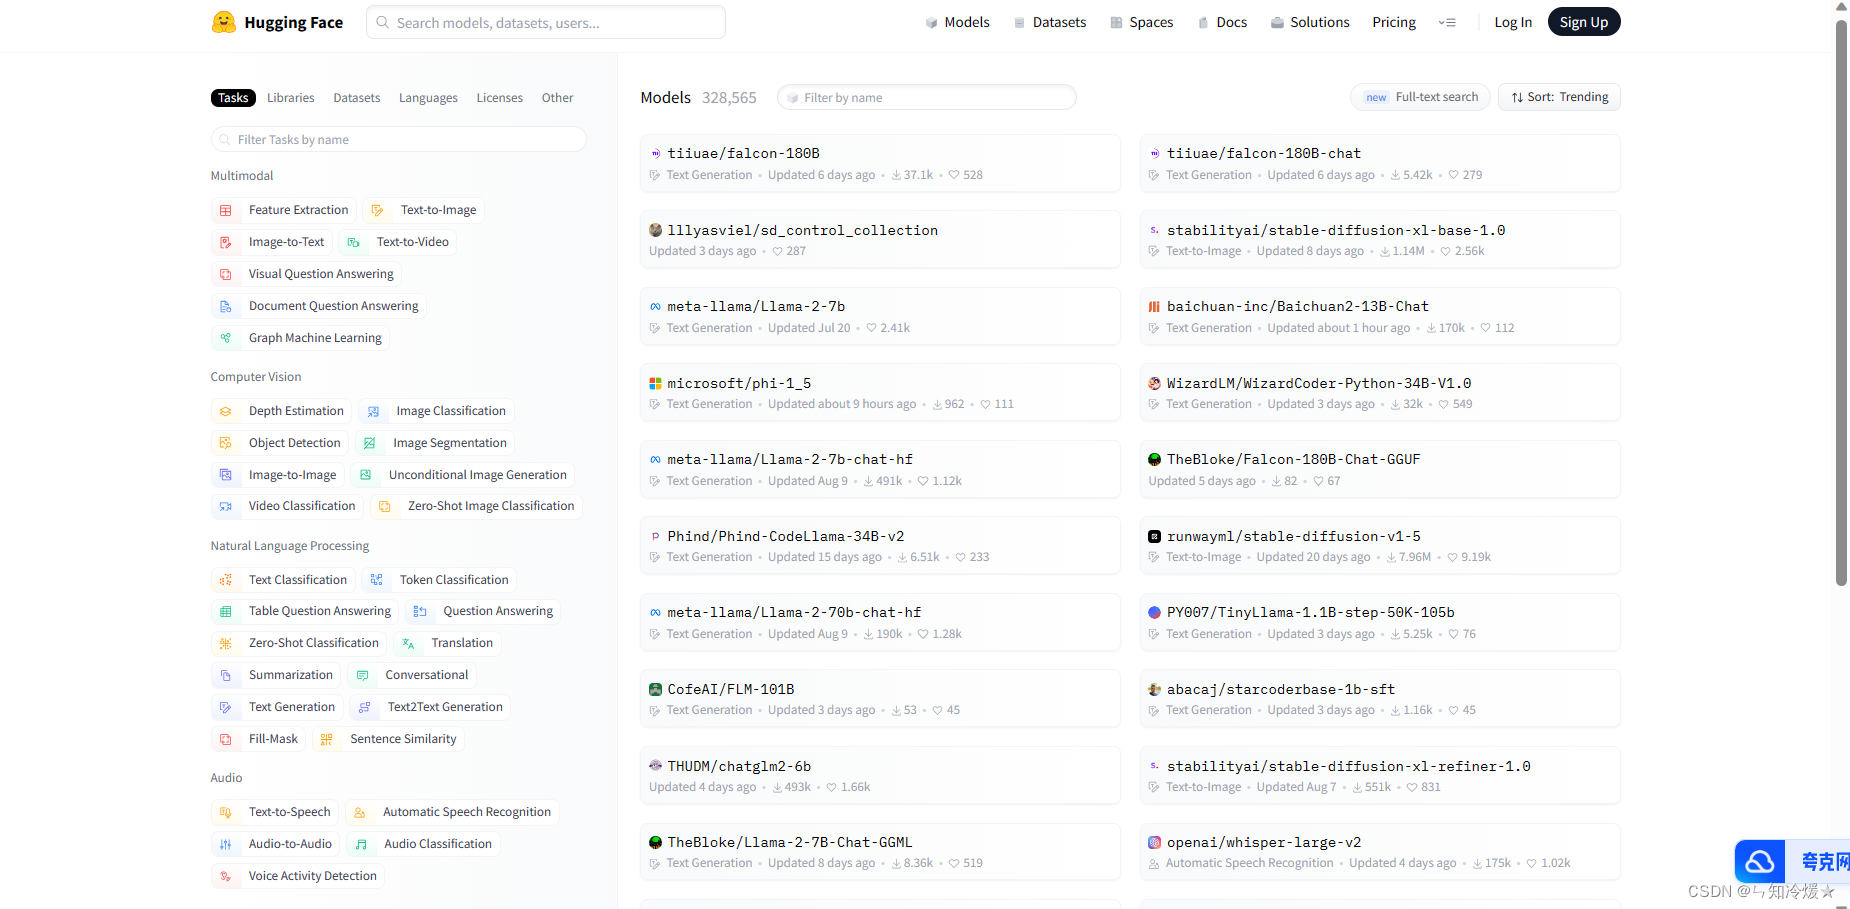
-
访问官网https://huggingface.co/models, 搜索我们想要的模型
-
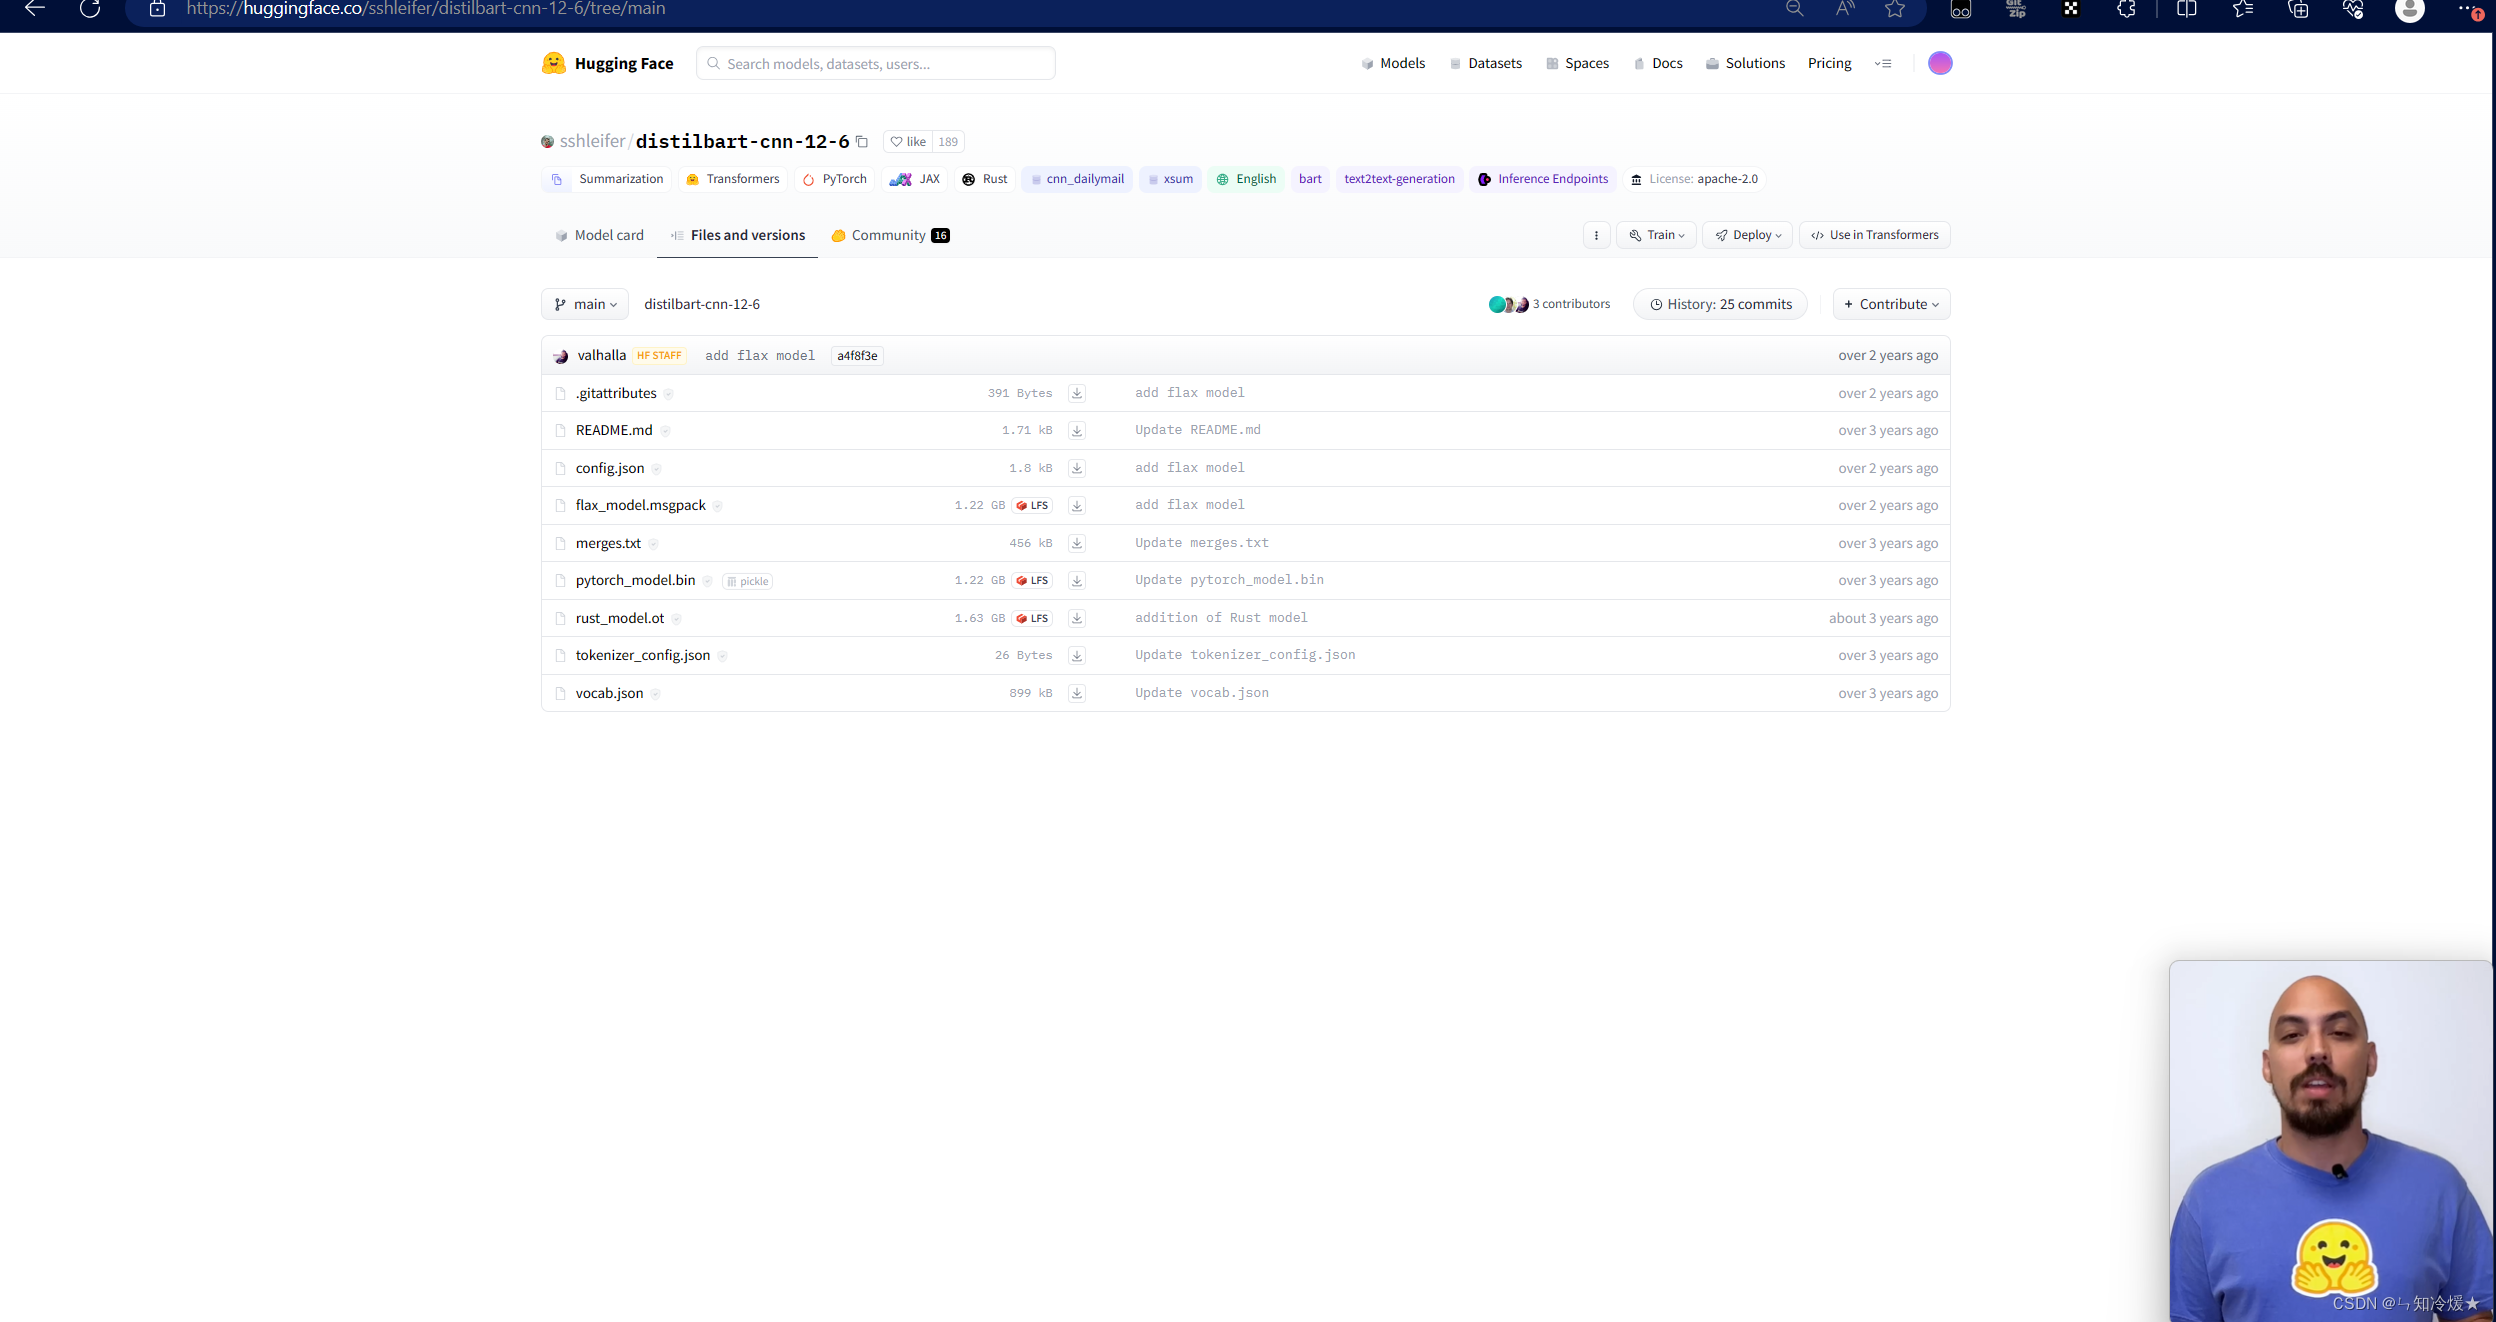
找到我们需要的文件(如果不知道下载哪个就全部下载),这里全部下载,放在本地文件夹下
-
将这些文件放在指定文件夹内调用(我这里放置的文件夹是当前的bert-base-uncased文件夹内)
-
详细使用pipeline调用,点击use in Transformers按钮。
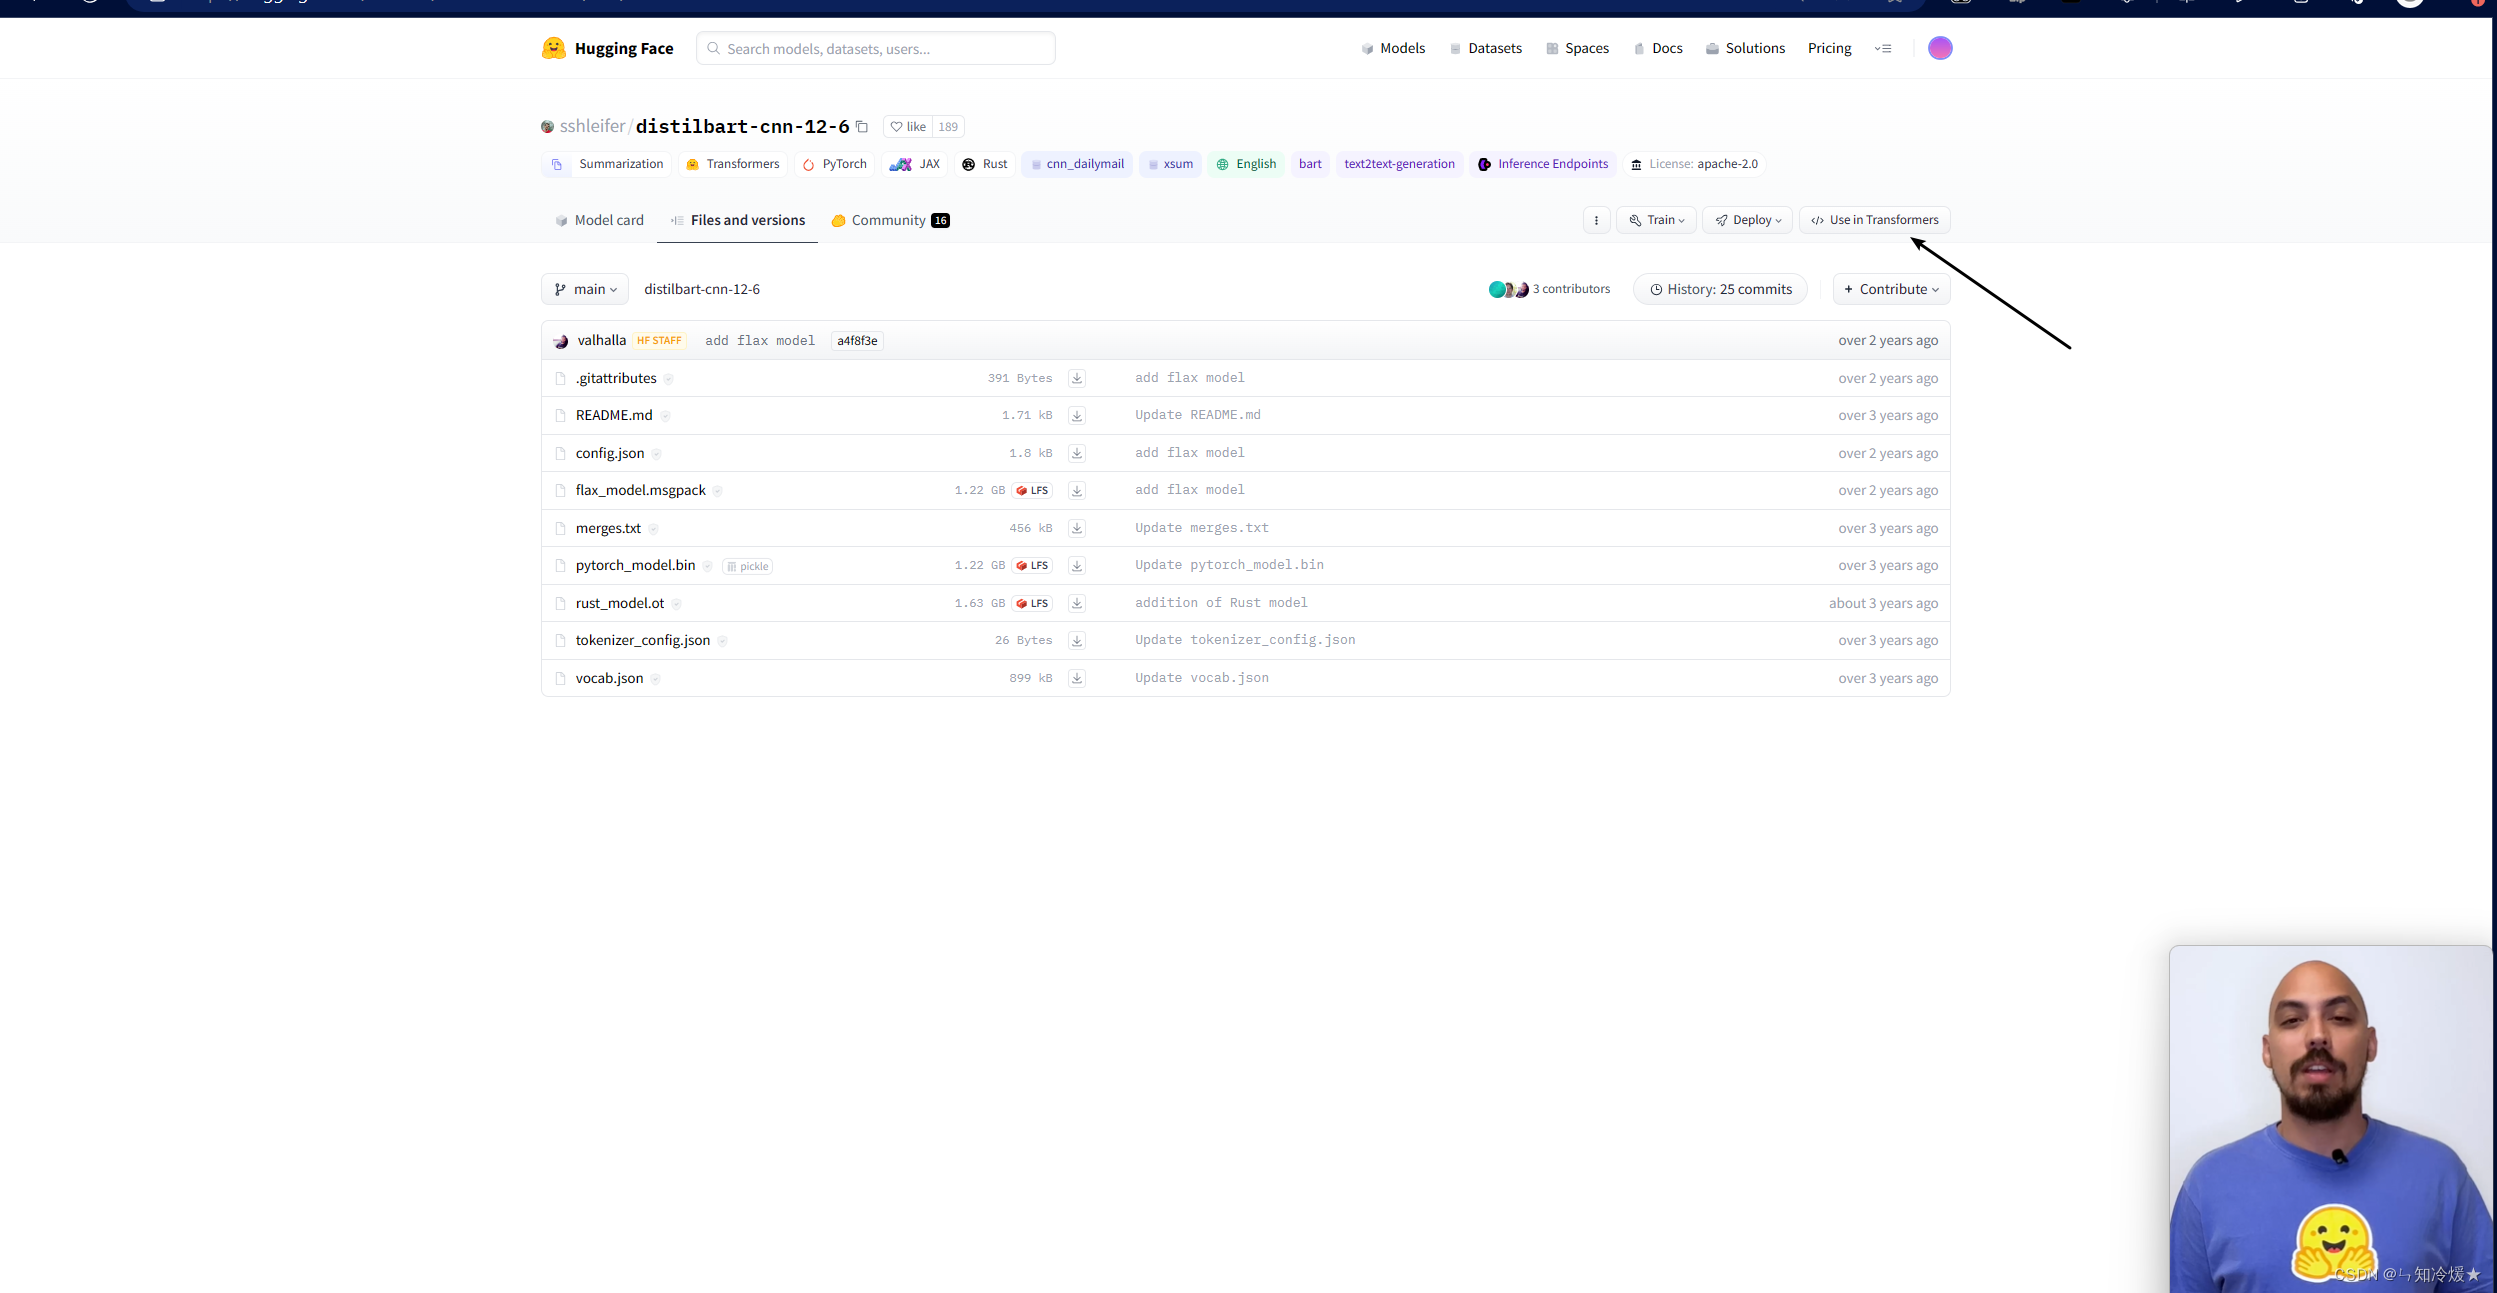
-
调用代码如下
# 使用pipeline去下载,极大可能会因为网络问题中断!
# Use a pipeline as a high-level helper
from transformers import pipelinepipe = pipeline("summarization", model="sshleifer/distilbart-cnn-12-6")# 使用下载到本地的模型,推荐
# Load model directly
from transformers import AutoTokenizer, AutoModelForSeq2SeqLMtokenizer = AutoTokenizer.from_pretrained("sshleifer/distilbart-cnn-12-6")
model = AutoModelForSeq2SeqLM.from_pretrained("sshleifer/distilbart-cnn-12-6")
附录二:使用魔搭社区来下载模型
1、魔搭社区介绍
11 月 3 日,达摩院联手中国计算机学会(CCF)开源发展委员会重磅推出AI 模型社区魔搭 ModelScope,首批合作方还包括澜舟科技、智谱AI、深势科技、中国科学技术大学等多家科研机构,旨在打造下一代开源的模型即服务共享平台,致力降低 AI 应用门槛。
主页如下所示:https://modelscope.cn/home

2、特点
- 下载速度快:相比于HuggingFace,使用魔法的龟速下载,魔搭社区无需梯子下载速度即可达到10M+/s。

- 使用简洁:这里以sd模型为例,直接复制用法即可下载使用。

- 提供微调方法、以及其他优秀大模型,加速AI开发者的开发进度。


