分布式文件系统应用
1.1、Minlo 介绍
Minlo 是一个基于Apache License v2.0开源协议的对象存储服务。它兼容亚马逊S3云存储服务接口,非常适合于存储大容量非结构化的数据,例如图片、视频、日志文件、备份数据和容器/虚拟机镜像等,而一个对象文件可以是任意大小,从几 kb到最大5T不等。
MinIo是一个非常轻量的服务,可以很简单的和其他应用的结合,类似 NodeJS, Redis 或者 MySQL。
官网: https://min.io/ http://www.minio.org.cn/
对象存储服务 (Obiect Storage Servie,OSS) 是一种海量、安全、低成本、高可靠的云存储服务,适合存放任意类型的文件。容量和处理能力弹性扩展,多种存储类型供选择,全面优化存储成本。
对于中小型企业,如果不选择存诸上云,那么 Minio 是个不错的选择,麻雀虽小,五脏俱全。当然 Minio 除了直接作为对象存储使用,还可以作为云上对象存储服务的网关层,无缝对接到 Amazon S3、MicroSoft Azure。
在中国: 阿里巴巴、腾讯、百度、中国联通、华为、中国移动等等9000多家企业也都在使用MinlO产品。
Docker 部署minio
1. 拉取minio镜像
docker pull minio/minio
2. 打包并运行容器
docker run -p 9000:9000 -p 9090:9090 --name minio -d --restart=always -e "MINIO_ACCESS_KEY=admin" -e "MINIO_SECRET_KEY=admin123456" -v /usr/docker/minio/data:/data -v /usr/docker/minio/config:/root/.minio minio/minio  server /data --console-address ":9090" -address ":9000"
#解释 9090 端口是控制台端口,9000是api接口
# 账号:MINIO_ACCESS_KEY=admin
# 密码:MINIO_SECRET_KEY=admin123456
# -v 文件映射 宿主机路径 /usr/docker/minio/data 映射到 docker容器的/data
# 宿主机路径/usr/docker/minio/config  映射到 docker容器的 /root/.minio minio/minio
# --address ":9000" minio 对外提供服务的api端口
# --console-address ":9090" minio后台管理端的端口
http://ip:9090/login

账号: admin 密码:admin123456
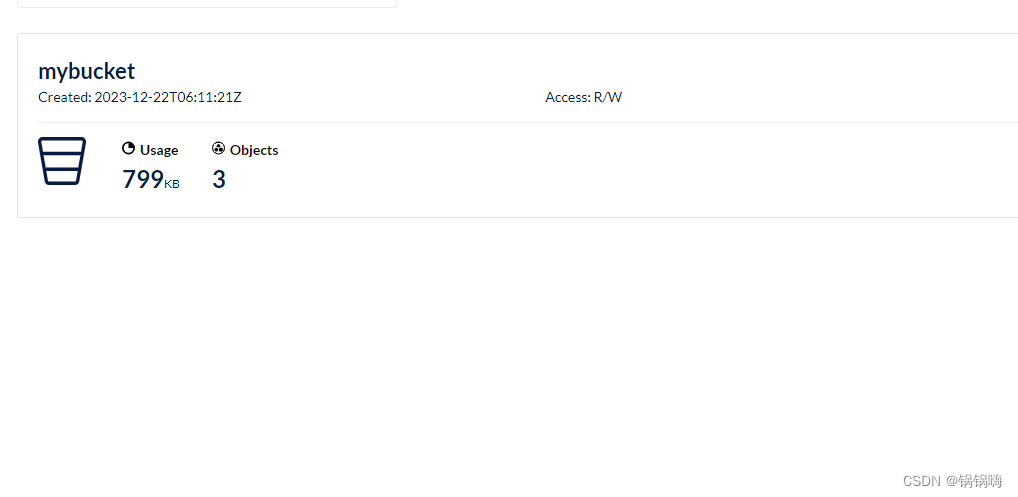
创建一个bucket 桶,命名为: mybucket
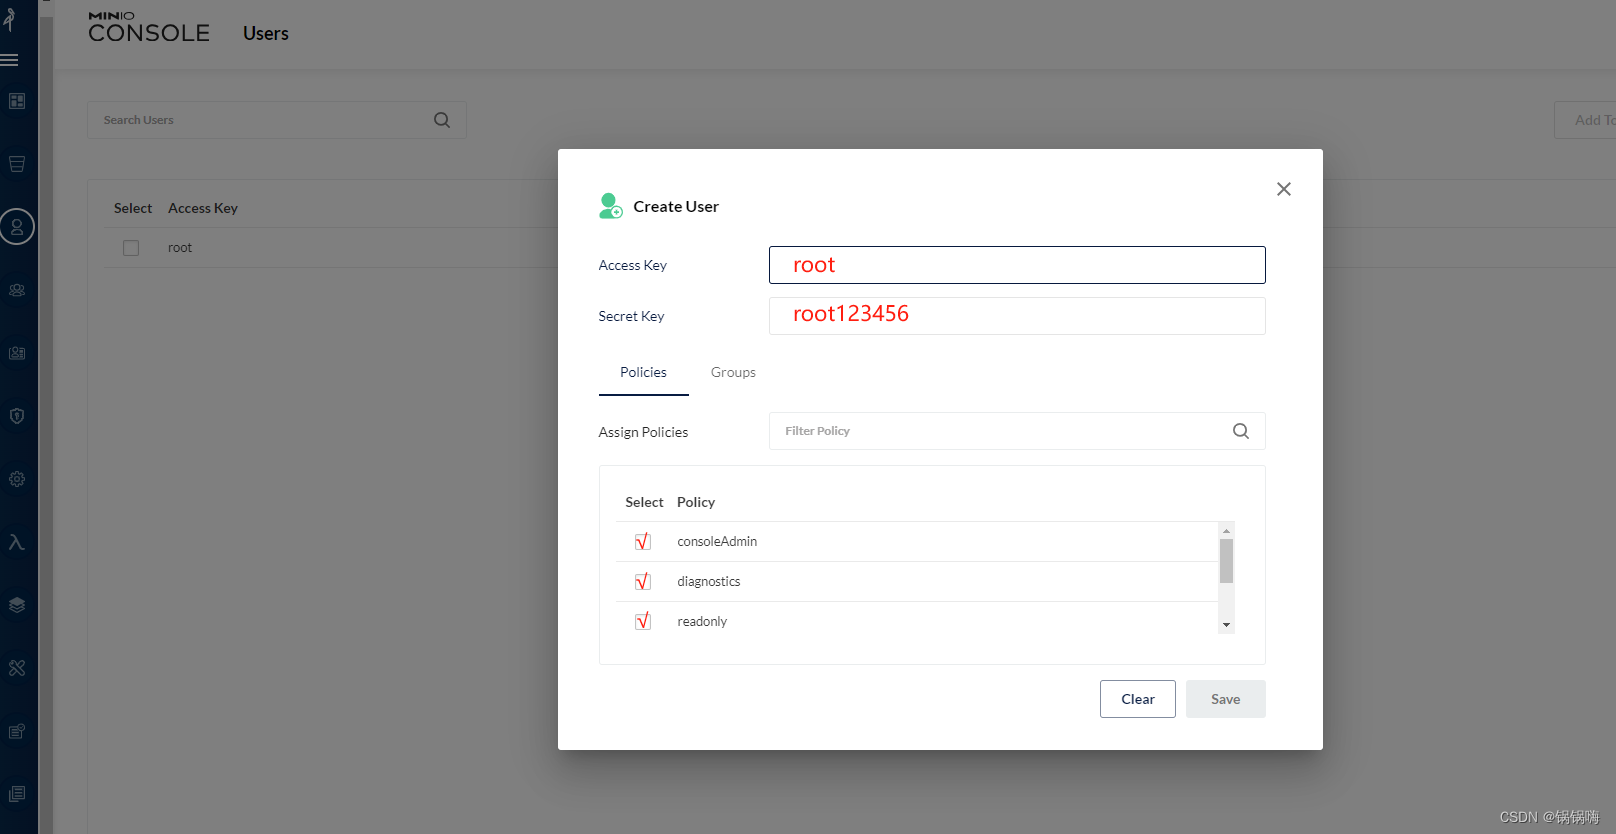
创建一个用户,为了生成 accessKey  和 secretKey
选项都打上对钩
整合 springboot 上传下载
<!--minio--><dependency><groupId>io.minio</groupId><artifactId>minio</artifactId><version>8.2.0</version></dependency>
import io.minio.MinioClient;
import org.springframework.context.annotation.Bean;
import org.springframework.context.annotation.Configuration;@Configuration
public class MinioConfig {// #对象存储服务的URLpublic static  String url = "http://ip:9000";// #账户public  static  String accessKey = "root";// #密码public  static String secretKey = "root123456";;// #桶名称public  static String bucketName = "mybucket";;@Beanpublic MinioClient getMinioClient() {return MinioClient.builder().endpoint(url).credentials(accessKey, secretKey).build();}}
import io.minio.*;
import org.springframework.beans.factory.annotation.Autowired;
import org.springframework.stereotype.Component;
import org.springframework.util.StringUtils;
import org.springframework.web.multipart.MultipartFile;
import javax.servlet.http.HttpServletResponse;
import java.io.IOException;
import java.io.InputStream;
import java.io.OutputStream;
import java.net.URLEncoder;
import java.text.SimpleDateFormat;
import java.util.Date;
import java.util.UUID;@Component
public class MinioUtil {@Autowiredprivate MinioClient minioClient;/*** 捅名称*/private String bucketName = MinioConfig.bucketName;/*** putObject上传文件** @param file 文件* @return filePath*/public String putObject(MultipartFile file) throws Exception{//文件名String originalFilename = null;//文件流InputStream inputStream = null;Long size = null;String filePath = null;try {originalFilename = file.getOriginalFilename();inputStream = file.getInputStream();//文件大小size = file.getSize();//文件路径filePath = createFilePath(originalFilename);System.out.println(filePath+"\t文件路径");//存储方法 putObjectminioClient.putObject(PutObjectArgs.builder().bucket(bucketName).object(filePath).stream(inputStream, size, -1).contentType(file.getContentType()).build());}finally {inputStream.close();}return filePath;}/*** 下载文件** @param filePath 文件路径*/public void getObject(HttpServletResponse httpServletResponse, String filePath) throws  Exception {String fileName = getFileName(filePath);InputStream inputStream = minioClient.getObject(GetObjectArgs.builder().bucket(bucketName).object(filePath).build());downloadFile(httpServletResponse, inputStream, fileName);}/*** 获取文件路径** @param originalFilename 原始文件名称* @return FilePath*/public String createFilePath(String originalFilename) {// 获取文件名后缀 ,如果没有后缀就获取全文件名int dotIndex = originalFilename.lastIndexOf(".");String fileExtension = "";if (dotIndex != -1) {fileExtension = UUID.randomUUID().toString().replace("-","")+"."+originalFilename.substring(dotIndex + 1);} else {fileExtension = originalFilename;}return new SimpleDateFormat("yyyy/MM/dd").format(new Date()) + "/" + fileExtension;}/*** 根据文件路径获取文件名称** @param filePath 文件路径* @return 文件名*/public String getFileName(String filePath) {String[] split = StringUtils.split(filePath, "/");return split[split.length - 1];}/*** 下载文件** @param httpServletResponse httpServletResponse* @param inputStream         inputStream* @param fileName            文件名* @throws IOException IOException*/public void downloadFile(HttpServletResponse httpServletResponse, InputStream inputStream, String fileName) throws IOException {//设置响应头信息,告诉前端浏览器下载文件httpServletResponse.setContentType("application/octet-stream;charset=UTF-8");httpServletResponse.setCharacterEncoding("UTF-8");httpServletResponse.setHeader("Content-Disposition", "attachment;filename=" + URLEncoder.encode(fileName, "UTF-8"));//获取输出流进行写入数据OutputStream outputStream = httpServletResponse.getOutputStream();// 将输入流复制到输出流byte[] buffer = new byte[4096];int bytesRead = -1;while ((bytesRead = inputStream.read(buffer)) != -1) {outputStream.write(buffer, 0, bytesRead);}// 关闭流资源inputStream.close();outputStream.close();}}
import org.springframework.beans.factory.annotation.Autowired;
import org.springframework.web.bind.annotation.*;
import org.springframework.web.multipart.MultipartFile;
import javax.servlet.http.HttpServletResponse;@RestController
@RequestMapping(value = "/file")
public class FileController {@AutowiredMinioUtil minioUtil;@PostMapping("/upload")public String upload(@RequestPart MultipartFile file) {String filePath;try {filePath = minioUtil.putObject(file);} catch (Exception e) {e.printStackTrace();return ("上传失败");}return filePath;}@GetMapping("/download")public void download(HttpServletResponse response, @RequestParam(value = "filepath") String filepath)  {try {minioUtil.getObject(response, filepath);} catch (Exception e) {response.setStatus(500);e.printStackTrace();}}}
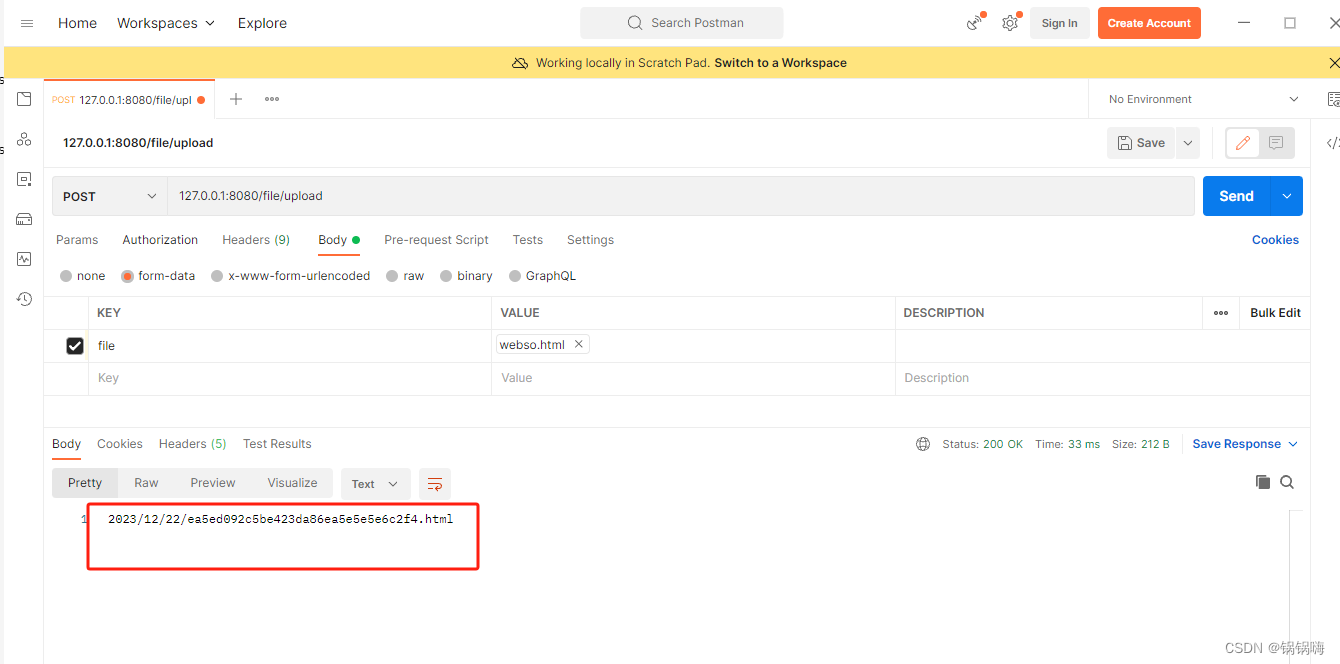
测试,上传可以返回路径,桶内也有上传文件
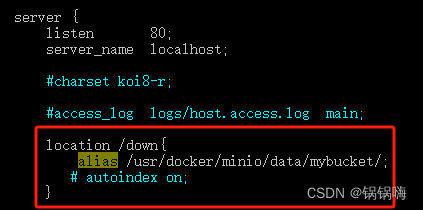
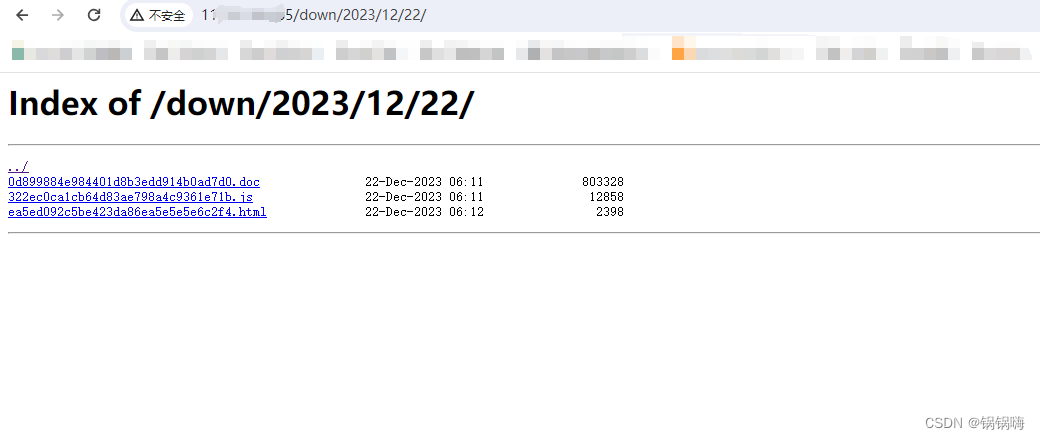
nginx 指向静态文件夹,不预览,输入文件名全路径直接下载(docker 映射的文件存储位置),文件夹赋予 777 权限
kkfileview 可以查看


<!DOCTYPE html>
<html><head><script type="text/javascript" src="https://cdn.jsdelivr.net/npm/js-base64@3.7.2/base64.min.js"></script></head><script>var url = 'http://服务器IP/down/2023/12/22/ea5ed092c5be423da86ea5e5e5e6c2f4.html'; //文件地址window.open('http://127.0.0.1:8012/onlinePreview?url='+encodeURIComponent(Base64.encode(url)));</script>
</html>

