安装教程
中文官网教程
原始的HTML里面使用
- 新建文件夹
- npm init -y 初始化项目
安装相关依赖
npm install -D tailwindcss postcss-cli autoprefixer
初始化两个文件
npx tailwindcss init -p
根目录下新建src/style.css
@tailwind base;
@tailwind components;
@tailwind utilities;
tailwind.config.js内增加如下配置
/** @type {import('tailwindcss').Config} */
module.exports = {// purge内代表匹配所有的html文件,即会扫描所有的html文件进行自动生成对应的csspurge: ['./src/**/*.html'],content: [],theme: {extend: {},},plugins: [],
}
package.json新增节点
"scripts":{"watch":"postcss src/style.css -o dist/style.css --watch","build":"postcss src/style.css -o dist/style.css"
}
html引入只需要引入src下面的css文件即可
至此,当我们运行npm run watch之后,html类名有变动则对应的dist/style.css文件内也会增加对应的类
当我们运行npm run build会打包生成dist/style.css
多个类的内容整合成一个类
在html中
<div class='heading'></div>在src/style.css内
新增如下:
.heading{@apply text-9xl text-center text-blue-600 sm:bg-black sm:text-white;
}打包出来dist/style.css的结果为
.heading{font-size:8rem;line-height:1;text-align:center;--te-text-opacity:1;color:rgba(37,99,235,var(--tw-text-opacity))
}
// 后面还有关于heading的响应式,就不写了
vue内使用安装教程
这里使用vite配置
创建项目
npm create vite@latest
安装依赖
npm install  // 先全部安装
npm install -D tailwindcss postcss-cli autoprefixer  // 再安装需要的依赖
初始化两个文件
npx tailwindcss init -p
设置tailwind.config.js文件的目录位置
/** @type {import('tailwindcss').Config} */
export default {// 当以下被匹配到的文件内的类名变化时,会被匹配到,同时会在打包目录下新增类对应的样式purge:['./index.html','./src/**/*.{vue,js,ts,jsx,tsx}'],content: [],theme: {extend: {},},plugins: [],
}
在src下面新增index.css
@tailwind base;
@tailwind components;
@tailwind utilities;
在main.js内引入index.css
import { createApp } from 'vue'
import './index.css'
import App from './App.vue'createApp(App).mount('#app')
编辑App.vue
<script setup>import { ref, reactive } from 'vue';
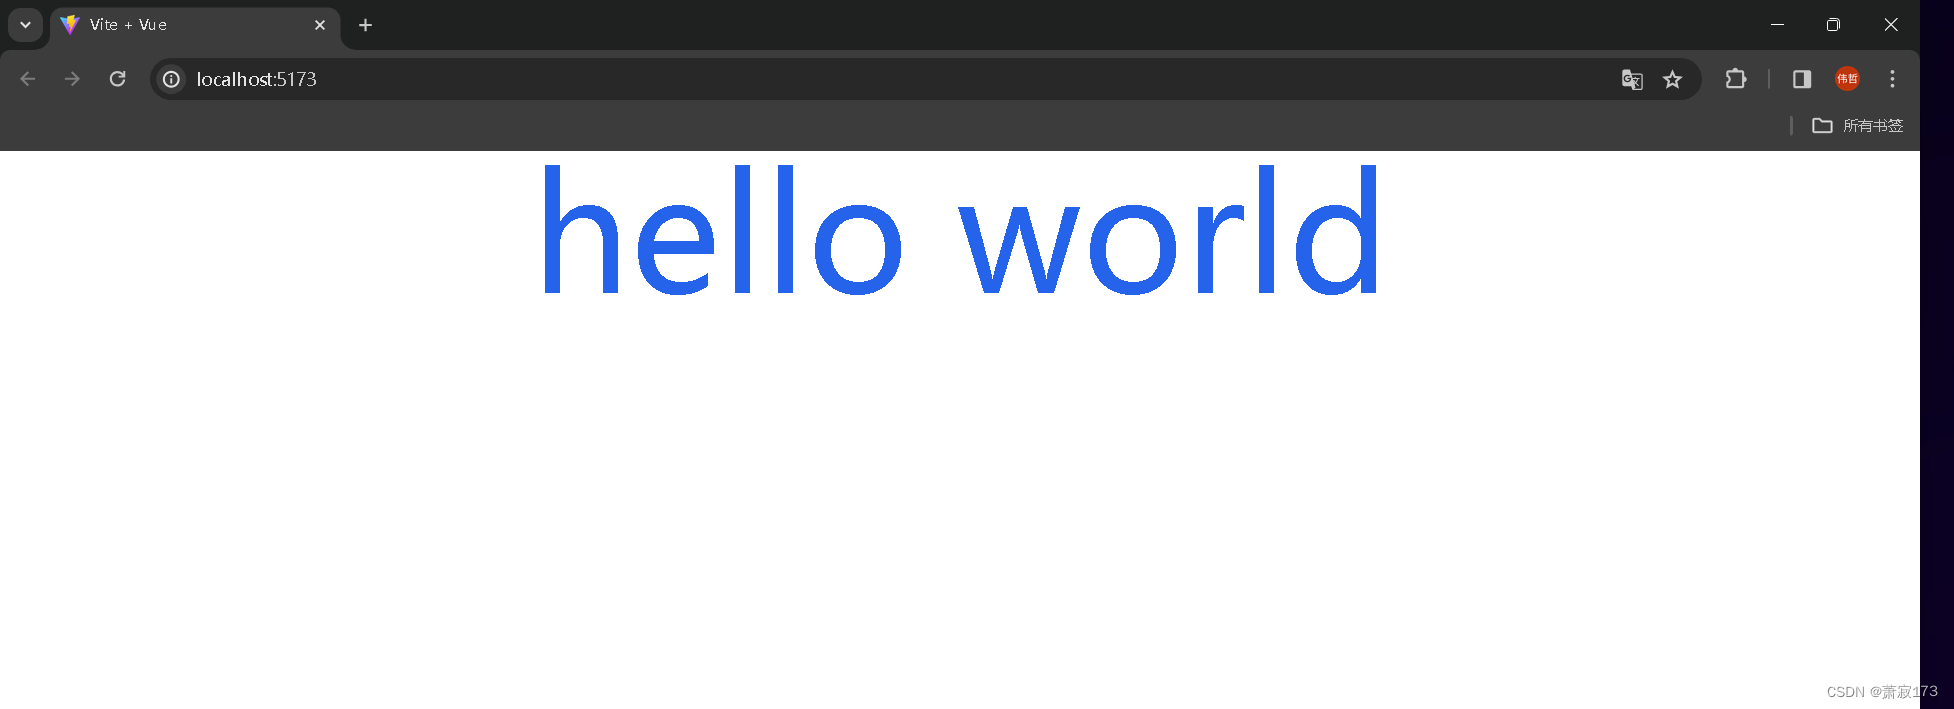
const count = ref(0);</script><template><div class="text-9xl text-center text-blue-600 sm:block">hello world</div>
</template><style scoped lang="scss"></style>
运行项目
npm run dev
效果图

具体的类名和样式需要大家去官网查询,这里我推荐的是中文网(因为能看懂)

![[区间动态规划] 棋盘分割](https://img-blog.csdnimg.cn/img_convert/d79e95d0b4f3ae40184004feb0bb88ce.jpeg)


![[每周一更]-(第46期):Linux下配置Java所需环境及Java架构选型](https://img-blog.csdnimg.cn/direct/6147f39dab1041618e8ccf5afef33aea.png#pic_center)


