本文 我们来说法向
法向 又叫 法向量
就是 我们一个三维物体 顶点垂直于面 的方向 向量
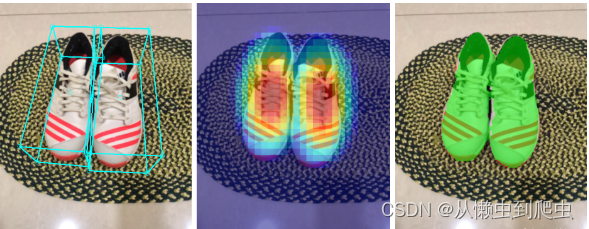
他的作用 用来做光反射
根据光照的方向 根据面进行反射
我们上文写的这个代码
import './style.css'
import * as THREE from "three";
import { OrbitControls } from "three/examples/jsm/controls/OrbitControls.js";//创建相机
const camera = new THREE.PerspectiveCamera(45, //视角 视角越大  能看到的范围就越大window.innerWidth / window.innerHeight,//相机的宽高比  一般和画布一样大最好0.1,  //近平面  相机能看到最近的距离1000  //远平面  相机能看到最远的距离
);
const scene = new THREE.Scene();
let uvTexture = new THREE.TextureLoader().load("/textUv.jpg");const planeGeometry = new THREE .PlaneGeometry(1, 1);
console.log(planeGeometry);
const planeMaterial = new THREE.MeshBasicMaterial({map: uvTexture
})
const planeMesh = new THREE.Mesh(planeGeometry, planeMaterial);
scene.add(planeMesh);const geometry  = new THREE.BufferGeometry();
console.log(geometry);
// 创建顶点数据
const vertices = new Float32Array([-1.0 ,-1.0 ,0.0,1.0 ,-1.0, 0.0,1.0 ,1.0 ,0.0,-1.0 ,1.0, 0.0
])
geometry.setAttribute("position", new THREE.BufferAttribute(vertices, 3));
const indices = new Uint16Array([0 ,1 ,2, 0, 3, 2]);
const material = new THREE.MeshBasicMaterial({map: uvTexture,side: THREE.DoubleSide
})
const uv = new Float32Array([0, 0, 1, 0, 1, 1, 0, 1
])
geometry.setAttribute("uv", new THREE.BufferAttribute(uv, 2));
geometry.setIndex(new THREE.BufferAttribute(indices, 1));
const cube = new THREE.Mesh(geometry, material);
cube.position.x = - 3
scene.add(cube)//c创建一个canvas容器  并追加到 body上
const renderer = new THREE.WebGLRenderer(0);
renderer.setSize(window.innerWidth, window.innerHeight);
document.body.appendChild(renderer.domElement);//设置相机位置   这里 我们设置Z轴  大家可以试试  S Y 和 Z  都是可以的
camera.position.z = 5;
//设置相机默认看向哪里   三个 0  代表 默认看向原点
camera.lookAt(0, 0, 0);
//将内容渲染到元素上
renderer.render(scene, camera);
const controls = new OrbitControls(camera, renderer.domElement);function animate() {controls.update();requestAnimationFrame(animate);/*cube.rotation.x += 0.01;cube.rotation.y += 0.01;*/renderer.render(scene, camera);
}
animate();
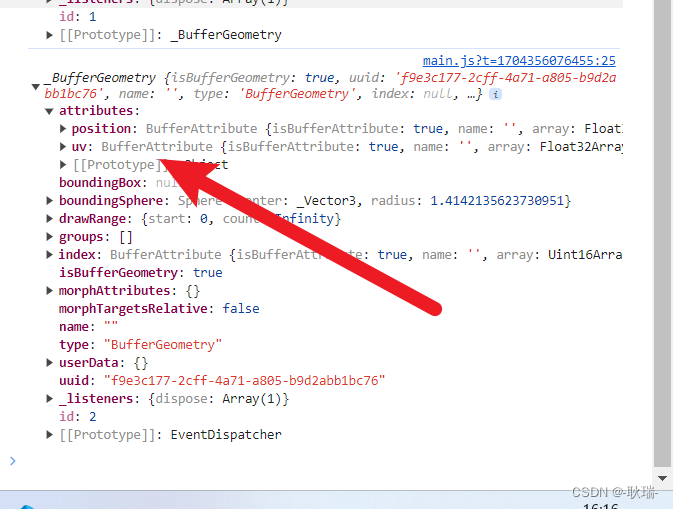
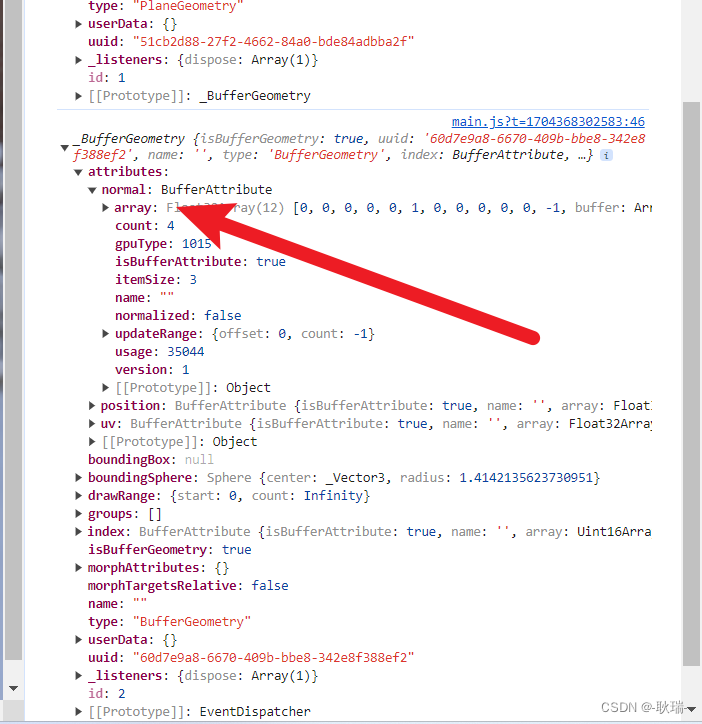
运行起来 然后打开控制台
会发现 我们通过 PlaneGeometry 创建的几何体 它是自带法向量的
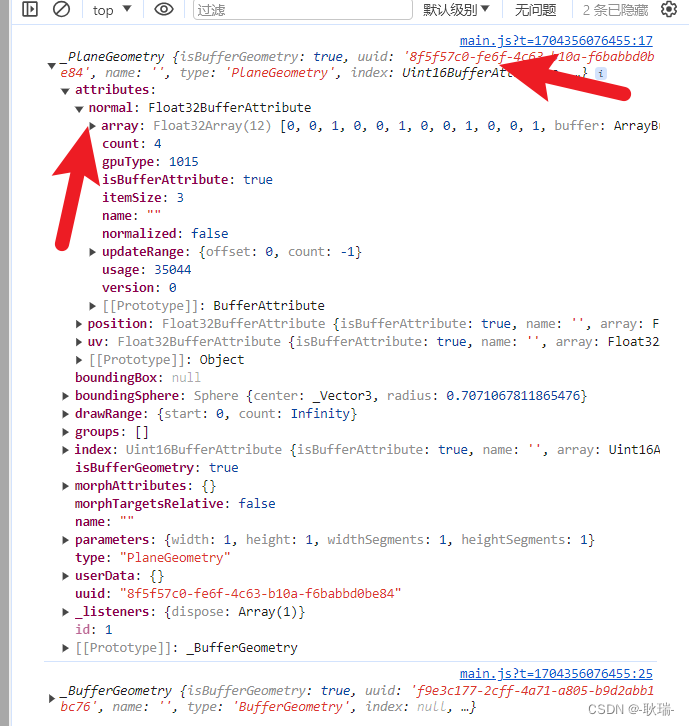
但我们自己创建的这个平面 它是没有的
我们将代码更改如下
import './style.css'
import * as THREE from "three";
import { OrbitControls } from "three/examples/jsm/controls/OrbitControls.js";
import { RGBELoader } from "three/examples/jsm/loaders/RGBELoader.js";//创建相机
const camera = new THREE.PerspectiveCamera(45, //视角 视角越大  能看到的范围就越大window.innerWidth / window.innerHeight,//相机的宽高比  一般和画布一样大最好0.1,  //近平面  相机能看到最近的距离1000  //远平面  相机能看到最远的距离
);
const scene = new THREE.Scene();
let uvTexture = new THREE.TextureLoader().load("/textUv.jpg");const planeGeometry = new THREE .PlaneGeometry(1, 1);
console.log(planeGeometry);
const planeMaterial = new THREE.MeshBasicMaterial({map: uvTexture,side: THREE.DoubleSide
})
const planeMesh = new THREE.Mesh(planeGeometry, planeMaterial);
scene.add(planeMesh);const geometry  = new THREE.BufferGeometry();
console.log(geometry);
// 创建顶点数据
const vertices = new Float32Array([-1.0 ,-1.0 ,0.0,1.0 ,-1.0, 0.0,1.0 ,1.0 ,0.0,-1.0 ,1.0, 0.0
])
geometry.setAttribute("position", new THREE.BufferAttribute(vertices, 3));
const indices = new Uint16Array([0 ,1 ,2, 0, 3, 2]);
const material = new THREE.MeshBasicMaterial({map: uvTexture,side: THREE.DoubleSide
})
const uv = new Float32Array([0, 0, 1, 0, 1, 1, 0, 1
])
geometry.setAttribute("uv", new THREE.BufferAttribute(uv, 2));
geometry.setIndex(new THREE.BufferAttribute(indices, 1));
const cube = new THREE.Mesh(geometry, material);
cube.position.x = - 3
scene.add(cube)//c创建一个canvas容器  并追加到 body上
const renderer = new THREE.WebGLRenderer(0);
renderer.setSize(window.innerWidth, window.innerHeight);
document.body.appendChild(renderer.domElement);//设置相机位置   这里 我们设置Z轴  大家可以试试  S Y 和 Z  都是可以的
camera.position.z = 5;
//设置相机默认看向哪里   三个 0  代表 默认看向原点
camera.lookAt(0, 0, 0);
//将内容渲染到元素上
renderer.render(scene, camera);
const controls = new OrbitControls(camera, renderer.domElement);let rgbeloader = new RGBELoader();
rgbeloader.load("/xhdr/Alex_Hart-Snow_Pano_2k.hdr",(texture) =>{scene.background = texture;texture.mapping = THREE.EquirectangularReflectionMapping;planeMaterial.envMap = texture;material.envMap = texture;
})function animate() {controls.update();requestAnimationFrame(animate);/*cube.rotation.x += 0.01;cube.rotation.y += 0.01;*/renderer.render(scene, camera);
}
animate();
这里 我们 RGBELoader引入环境贴图
然后 将我们两个材质都设置 envMap 为当前场景贴图
但明显 我们用PlaneGeometry创建的 有法向的几何体就可以反光
但我们自己写的这个几何体 并没有反射的一个效果
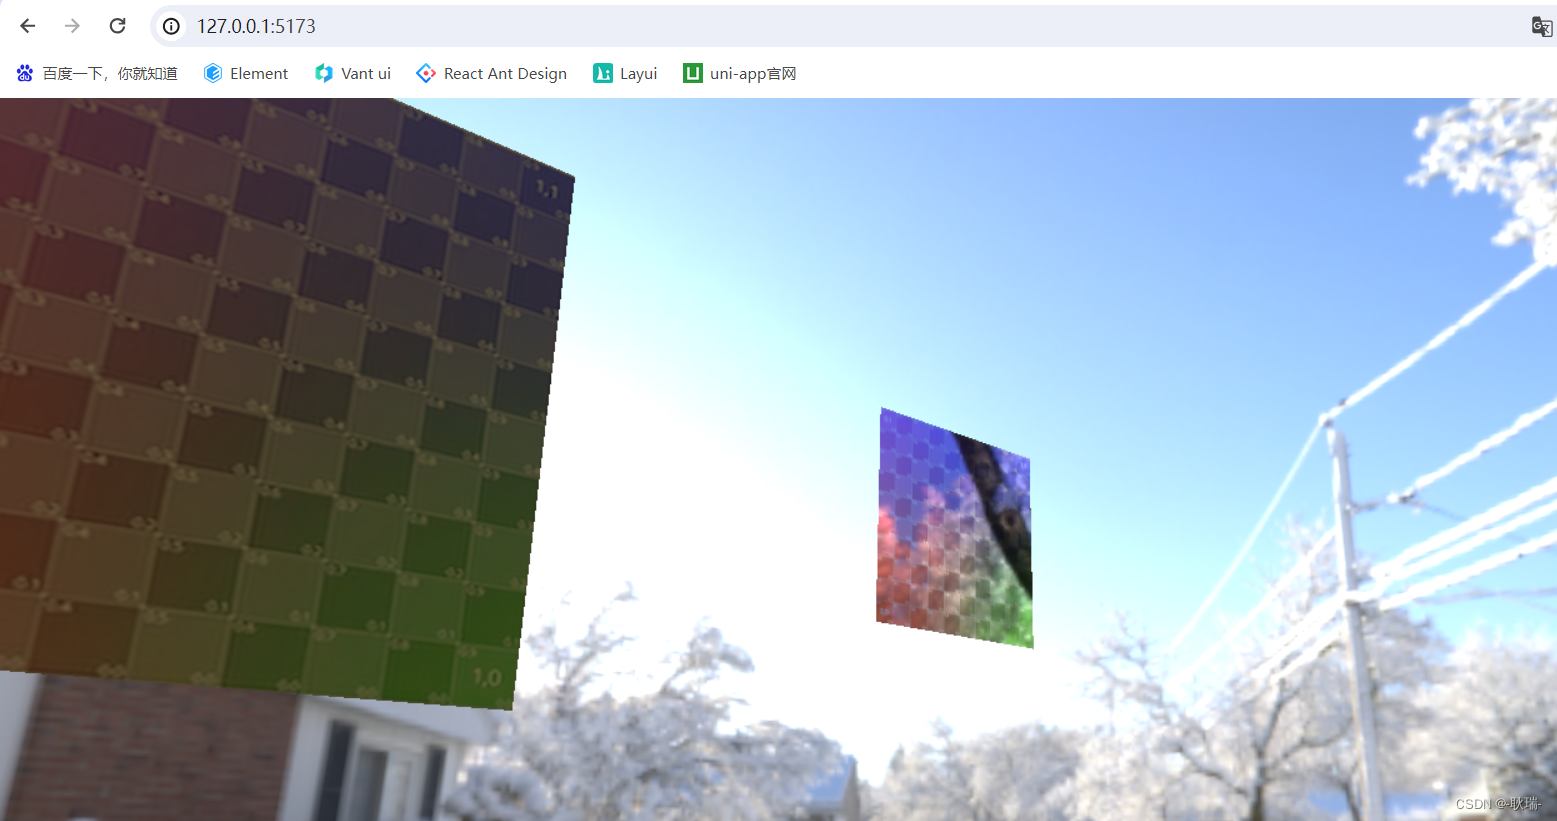
这边 问题就出在 我们自己创建的没有法向向量
这里 我们将代码改成这样
const geometry = new THREE.BufferGeometry();
// 创建顶点数据
const vertices = new Float32Array([-1.0 ,-1.0 ,0.0,1.0 ,-1.0, 0.0,1.0 ,1.0 ,0.0,-1.0 ,1.0, 0.0
])
geometry.setAttribute("position", new THREE.BufferAttribute(vertices, 3));
const indices = new Uint16Array([0 ,1 ,2, 0, 3, 2]);
const material = new THREE.MeshBasicMaterial({map: uvTexture,side: THREE.DoubleSide
})
const uv = new Float32Array([0, 0, 1, 0, 1, 1, 0, 1
])
geometry.setAttribute("uv", new THREE.BufferAttribute(uv, 2));
geometry.computeVertexNormals();
geometry.setIndex(new THREE.BufferAttribute(indices, 1));
console.log(geometry);
const cube = new THREE.Mesh(geometry, material);
cube.position.x = - 3
scene.add(cube)
因为执行顺序的问题 换了一些代码的位置 主要还是 用几何体对象执行了 computeVertexNormals
这样 我们在运行代码
我们自己创建的这个几何体 它就有法向向量了
我们两个板就都有效果了
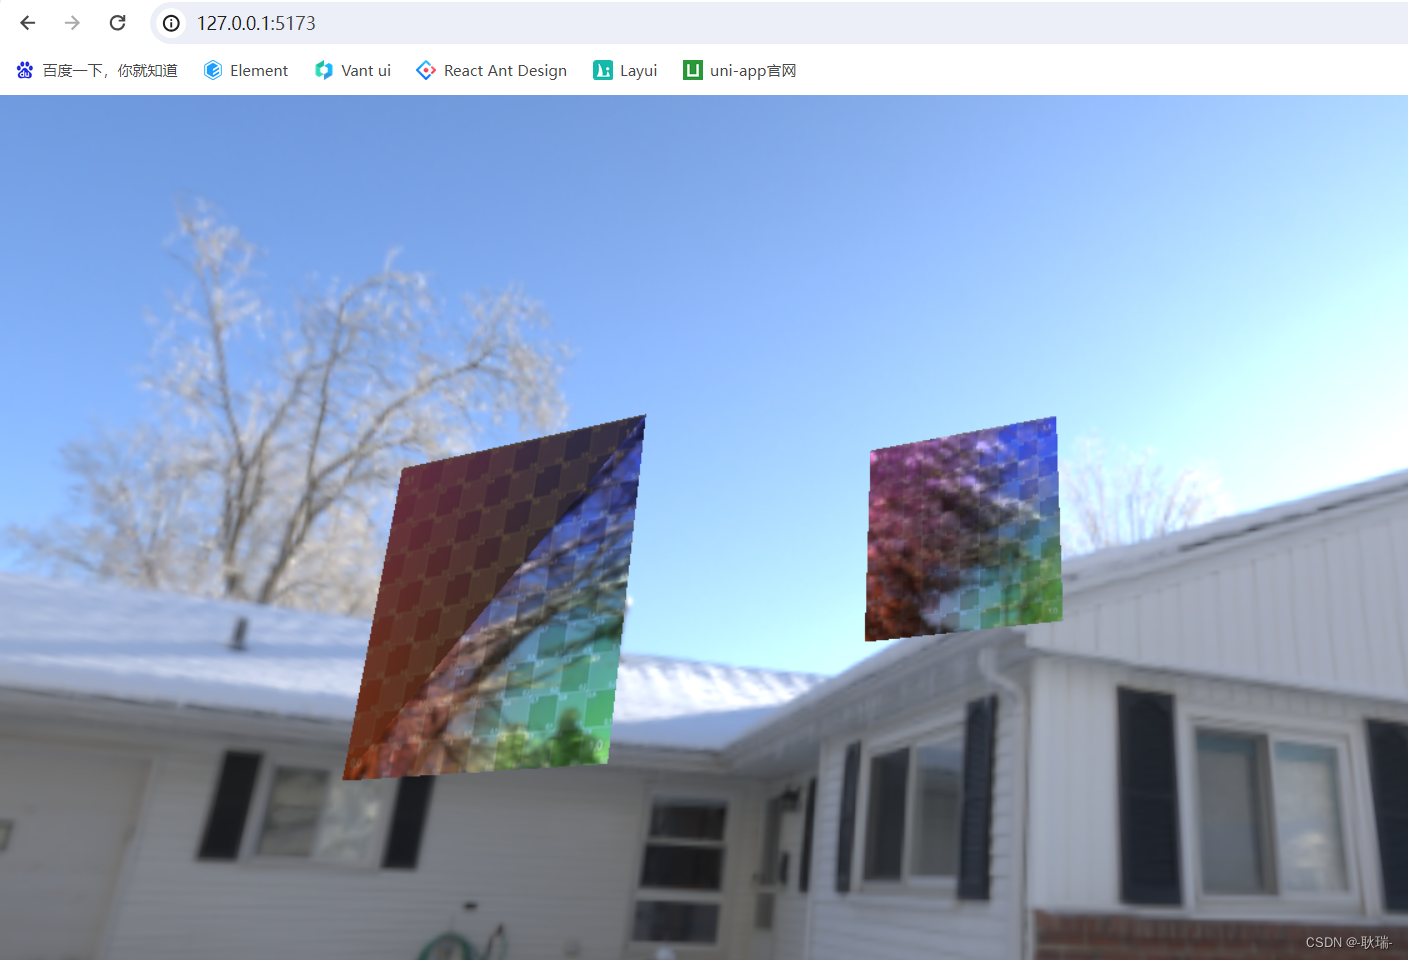
但好像只出来了一半 没事 除了computeVertexNormals 我们还可以自己去定义 normal的值
参考代码如下
const geometry = new THREE.BufferGeometry();
// 创建顶点数据
const vertices = new Float32Array([-1.0 ,-1.0 ,0.0,1.0 ,-1.0, 0.0,1.0 ,1.0 ,0.0,-1.0 ,1.0, 0.0
])
geometry.setAttribute("position", new THREE.BufferAttribute(vertices, 3));
const indices = new Uint16Array([0 ,1 ,2, 0, 3, 2]);
const material = new THREE.MeshBasicMaterial({map: uvTexture,side: THREE.DoubleSide
})
const uv = new Float32Array([0, 0, 1, 0, 1, 1, 0, 1
])
geometry.setAttribute("uv", new THREE.BufferAttribute(uv, 2));
const normals = new Float32Array([0, 0, 1,0, 0, 1,0, 0, 1,0, 0, 1
])
geometry.setAttribute("normal", new THREE.BufferAttribute(normals, 3));
geometry.setIndex(new THREE.BufferAttribute(indices, 1));
console.log(geometry);
const cube = new THREE.Mesh(geometry, material);
cube.position.x = - 3
scene.add(cube)
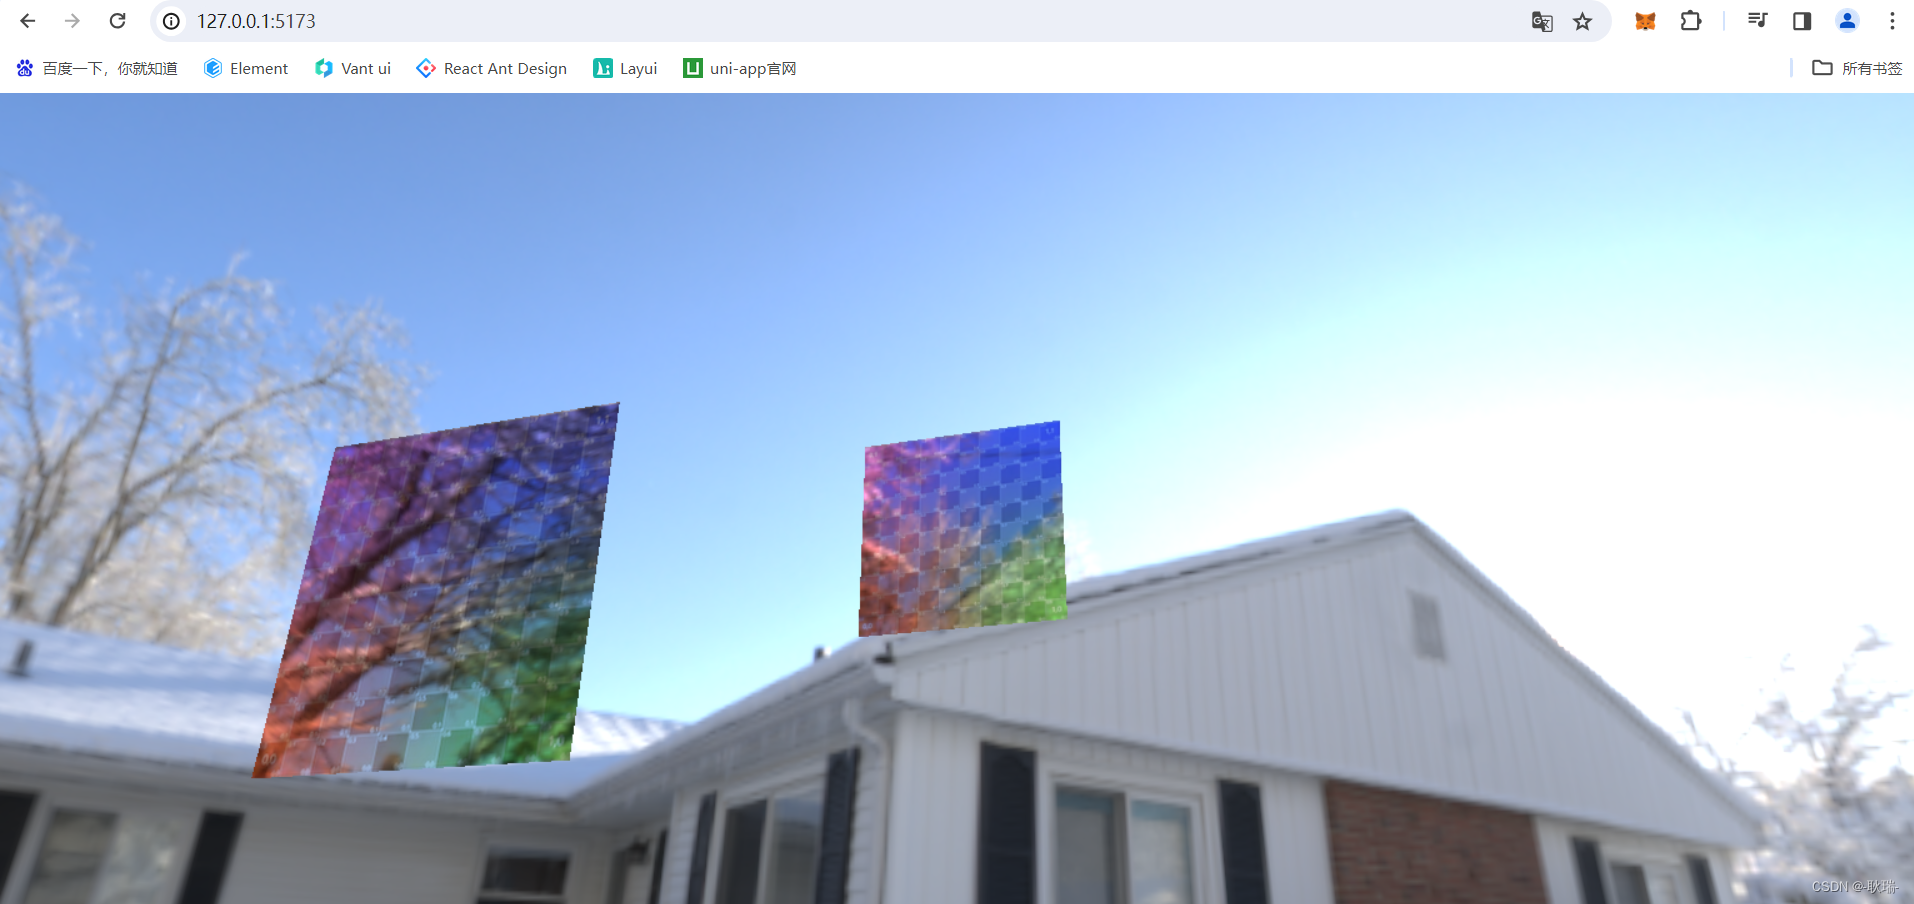
这里 我们定义了一个数组
normals 对应四个角 我们都是 x和y都不管 面对x y的两个方向 反射不需要
就设置 z 就可以了 因为z是面对我们的方向 只要我们相机看得到这个反射效果就好了
然后将数组写入 normal 属性
运行结果如下
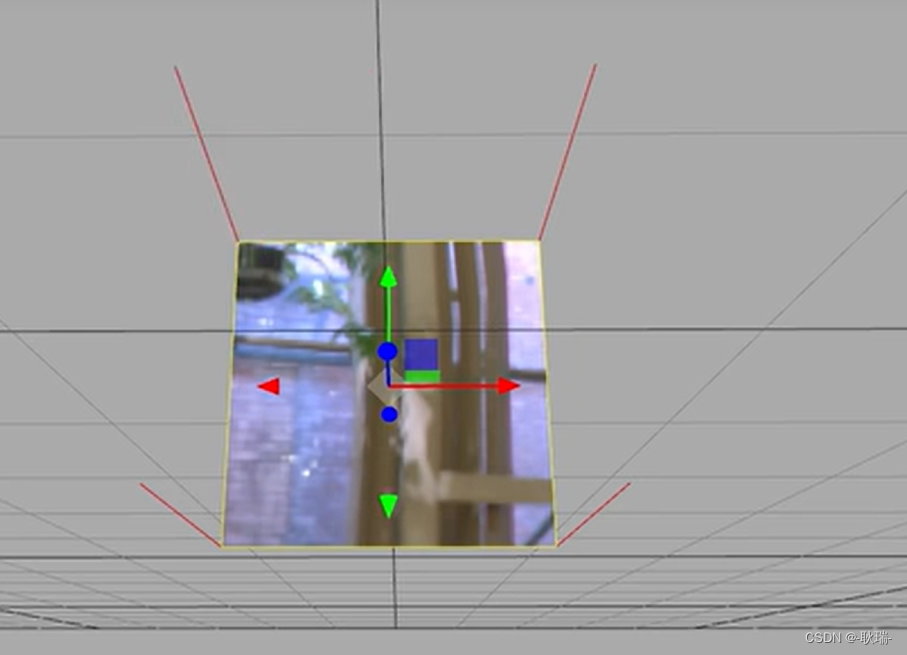
然后 为了我们能够更方便的调试 法向量 我们可以这样做
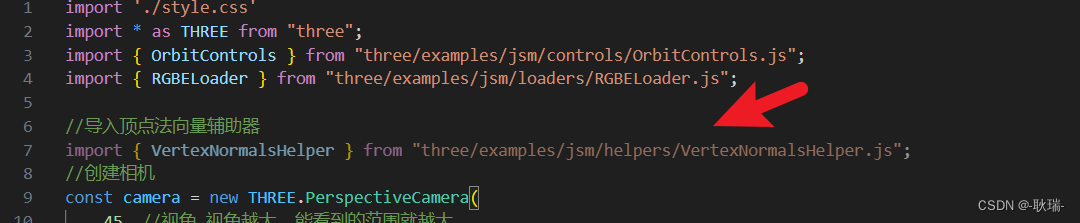
首先 我们需要在代码中导入
//导入顶点法向量辅助器
import { VertexNormalsHelper } from "three/examples/jsm/helpers/VertexNormalsHelper.js";
然后 我们可以随便找个地方这样写
const helper = new VertexNormalsHelper(cube, 8.2, 0xff0000);
scene.add(helper);

接受三个参数 第一个 你要看哪个几何体的法向量就给他传进去 第二个 辅助线的长度 第三个 辅助线的颜色
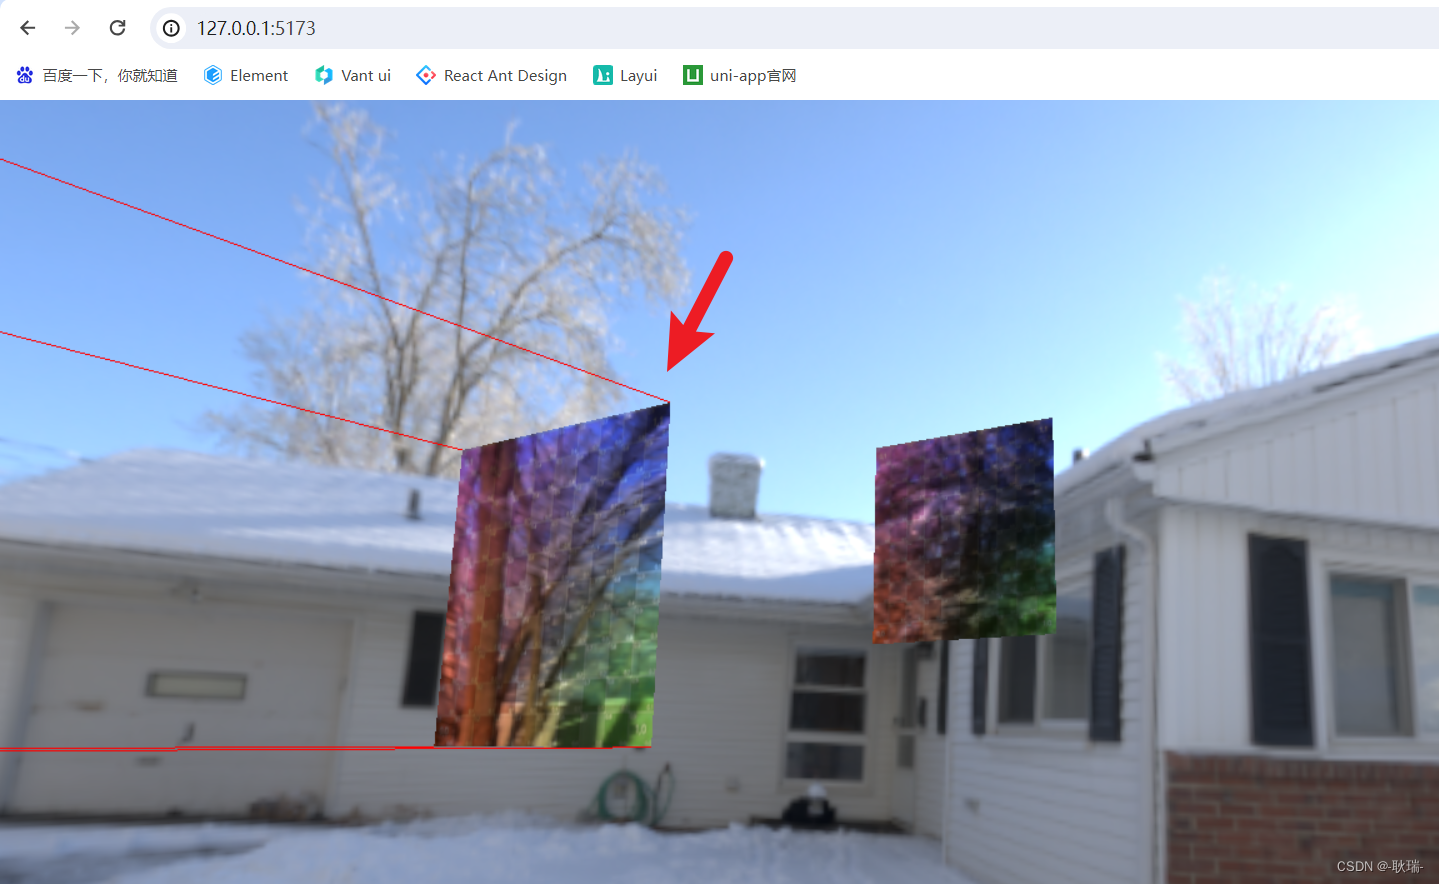
运行之后 我们的效果就出来了 x y 都没有 只有y轴一条真线
它能够帮助我们更直观的看到法向量效果