今晚 我们一起来看看 Navigation
我们可以编写代码如下
@Entry
@Component
struct Index {build() {Row() {Column() {Navigation() {}.width('100%').height('100%').backgroundColor("#F1F1F1")}.width('100%')}.height('100%')}
}
Navigation 通常是作为容器被使用
这里 我们给他百分之百的宽高 然后 设置背景颜色 灰色
很明显 我们整个界面成灰色

那么 还是老规矩 我们将鼠标贴到 Navigation 组件上 点击进入api文档

首先 并没有接口参数 有一些属性

属性有
title 标题
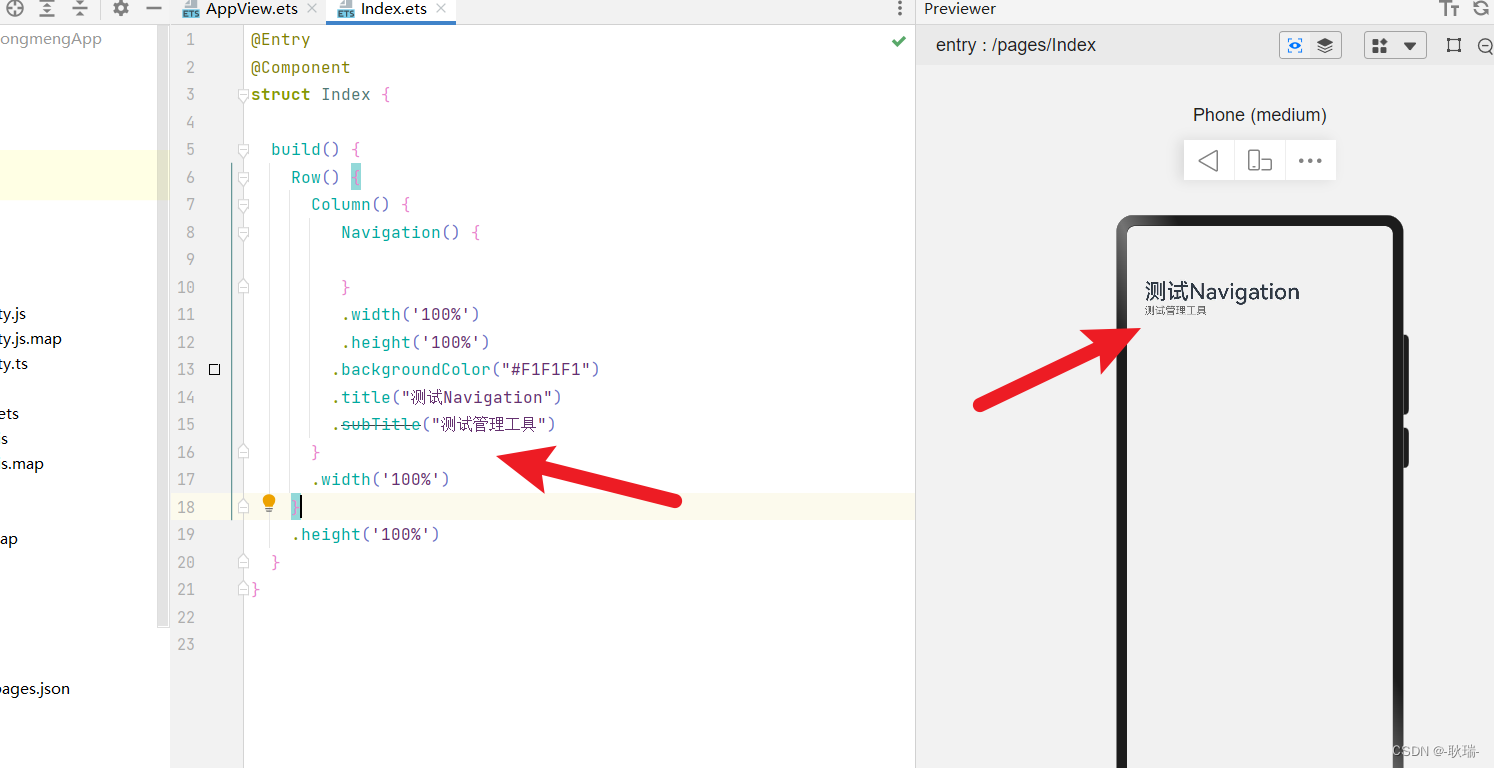
ubTitle 副标题
menus 右上角菜单 最多有三个
titleMode 页面标题的模式 NavigationTitleMode类型 具体有哪些 可以自己去 NavigationTitleMode. 去慢慢试
toolBar 页面工具类内容 可以直接往里面写元素 也可以 一个对象 items字段是一个数组

hideToolBar 是否隐藏它的工具栏 默认是 false 不隐藏
hideTitleBar 是否隐藏标题栏 基本概念也是一样的
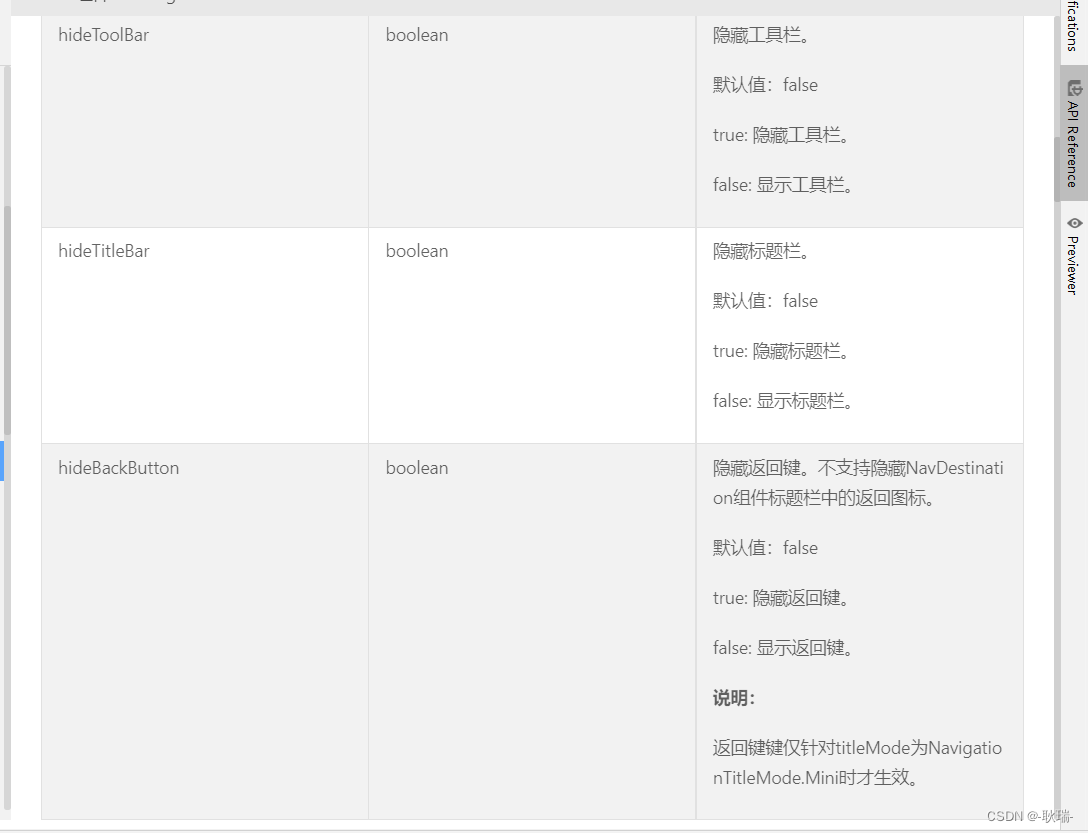
下面就是一些具体的对象说明

我们就来基本看一下
我们先来个 小 title
Navigation() {
}
.width('100%')
.height('100%')
.backgroundColor("#F1F1F1")
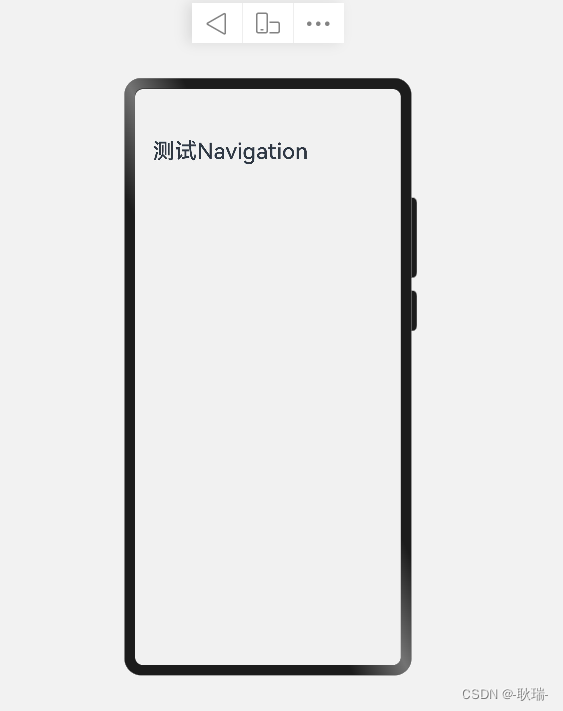
.title("测试Navigation")
运行之后 效果还是相当明显的
然后 当我们想用 ubTitle 但是 这里官方已经告诉我们这个要被淘汰了

一定要用 也是可以的 但是 这个东西 画着个线 而且 你用这个 搞不好哪天就不支持 代码就跑不起来了 所以这里并不建议使用
hideTitleBar 控制标题栏是否隐藏 我们这里给个true
Navigation() {}
.width('100%')
.height('100%')
.backgroundColor("#F1F1F1")
.title("测试Navigation")
.hideTitleBar(true)
整个标题栏就被隐藏了

toolBar 我们先这样写
Navigation() {}
.width('100%')
.height('100%')
.backgroundColor("#F1F1F1")
.title("测试Navigation")
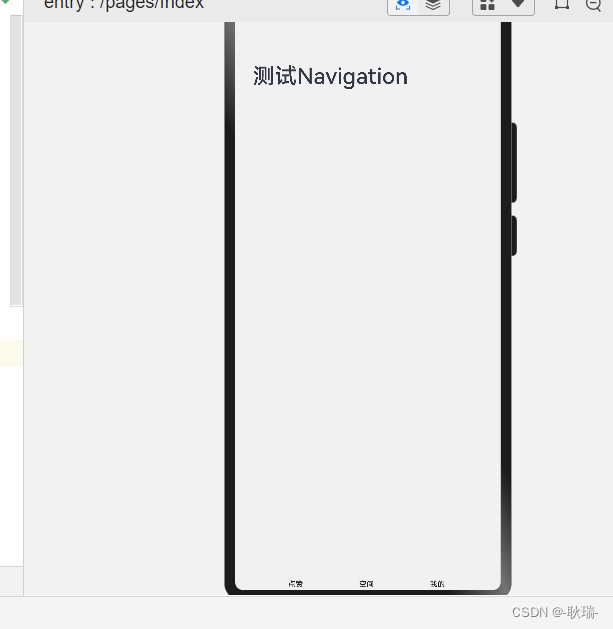
.toolBar({items: [{value: "点赞"},{value: "空间"},{value: "我的"}]
})
这里 我们toolBar 先用一个 object对象形式 里面字段 items 是个数组 然后里面 每一个下标都是一个对象 里面的value字段就是控制内容文本
加上之后 我们页面底部就可以看到 我们写的这些内容
然后 我们还可以 写一个元素 写到title等内容中
我们可以这样写
@Entry
@Component
struct Index {build() {Row() {Column() {Navigation() {}.width('100%').height('100%').backgroundColor("#F1F1F1").title(this.BuilderTitle)}.width('100%')}.height('100%')}@Builder BuilderTitle() {Column() {Text("测试工具演练").fontColor("rgb(0, 0, 255)").fontSize(30)}}
}
我们通过 Builder 定义了一个 叫 BuilderTitle的元素 名字随便取
然后 里面一个Column 列组件 然后用了一个Text文本组件 下面定义了 字体大小 和 颜色 然后直接将它写进Navigation的Title属性中
运行之后 就正常展示出来了
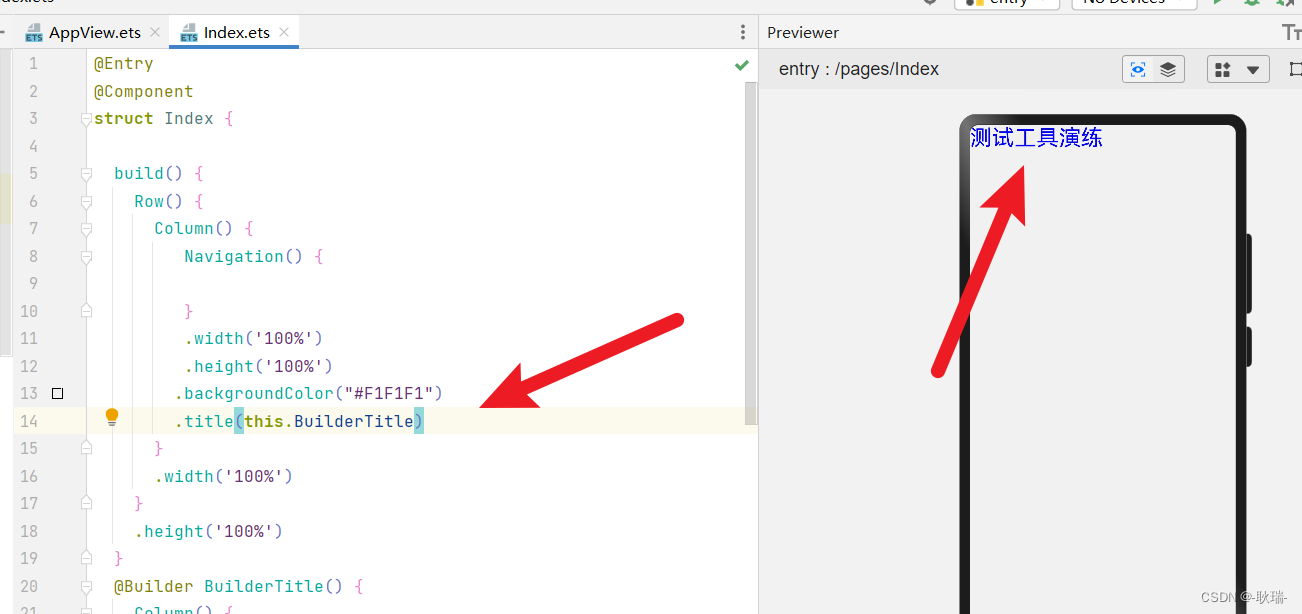
那么 同理 toolBar 也可以通过这种方式改造
我们编写代码如下
@Entry
@Component
struct Index {build() {Row() {Column() {Navigation() {}.width('100%').height('100%').backgroundColor("#F1F1F1").title(this.BuilderTitle).toolBar(this.BuilderItems)}.width('100%')}.height('100%')}@Builder BuilderTitle() {Column() {Text("测试工具演练").fontColor("rgb(0, 0, 255)").fontSize(30)}}@Builder BuilderItems() {Row() {Column() {Image("https://img-qn.51miz.com/Element/00/21/31/83/cdd12d75_E213183_bf0119ef.png").width(30).height(30)Text("点赞").fontSize(25)}Column() {Image("https://img1.baidu.com/it/u=2070627238,441578014&fm=253&fmt=auto&app=138&f=JPEG?w=544&h=500").width(30).height(30)Text("投币").fontSize(25)}Column() {Image("https://img.tukuppt.com/png_preview/00/46/77/csToEUMN7D.jpg%21/fw/780").width(30).height(30)Text("关注").fontSize(25)}}}
}
这里 我们还是通过 Builder 定义了一个元素 叫 BuilderItems
然后 里面一个 Row 行组件 下面多个 Column 列组件
每个列组件下面都是 一个image 图片元素 大小都给 30
然后下面一个 text组件 编写了文本内容
运行如下

效果是出来了 但是样子属实有点丑
这里 我们可以给 Row 的 justifyContent 子元素水平放心 设置为两端对齐
Row() {
}.width("100%")
.justifyContent(FlexAlign.SpaceBetween)
设置 元素宽度为父元素宽度的百分之百 然后 justifyContent(FlexAlign.SpaceBetween) 两端对齐
运行结果如下

我们这下面 还都可以来个点击事假
@Builder BuilderItems() {Row() {Column() {Image("https://img-qn.51miz.com/Element/00/21/31/83/cdd12d75_E213183_bf0119ef.png").width(30).height(30)Text("点赞").fontSize(25)}.onClick(()=> {console.log("感谢您的小攒攒");})Column() {Image("https://img1.baidu.com/it/u=2070627238,441578014&fm=253&fmt=auto&app=138&f=JPEG?w=544&h=500").width(30).height(30)Text("投币").fontSize(25)}.onClick(()=> {console.log("感谢投币");})Column() {Image("https://img.tukuppt.com/png_preview/00/46/77/csToEUMN7D.jpg%21/fw/780").width(30).height(30)Text("关注").fontSize(25)}.onClick(()=> {console.log("感谢关注");})}.width("100%").justifyContent(FlexAlign.SpaceBetween)}
我们依次点击触发它们的 onClick
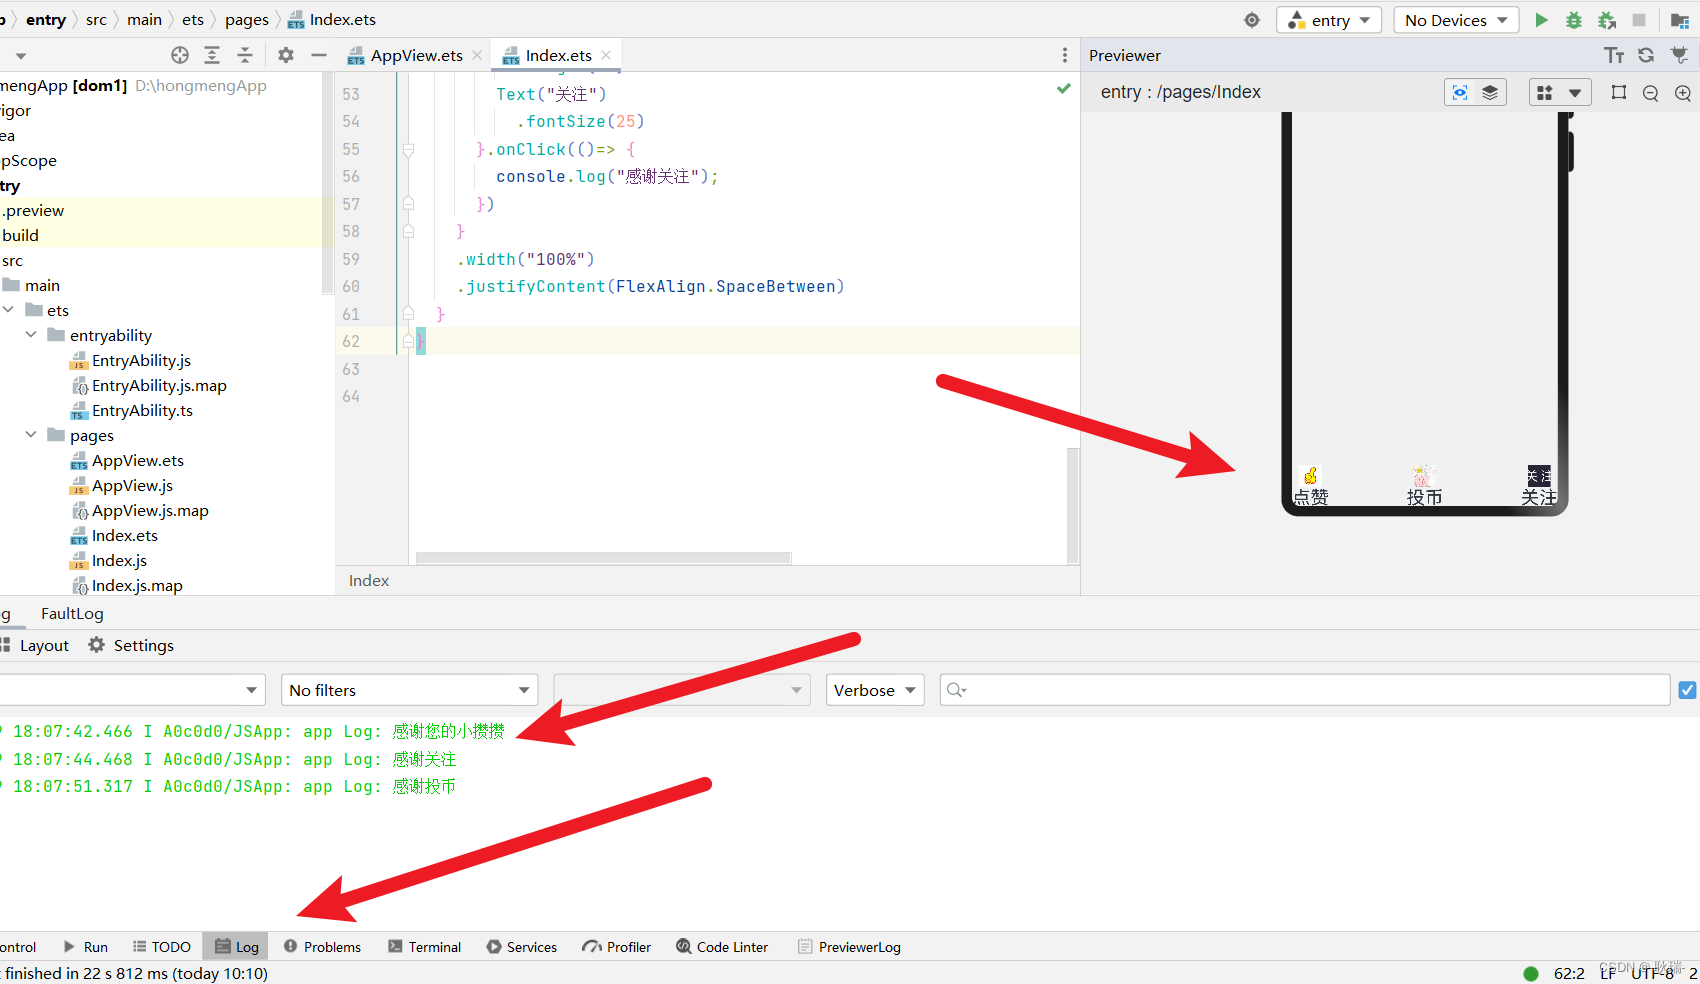
然后 我们试试 在Navigation中加组件
Navigation() {Text("java").width(130)Text("html").width(130)Text("php").width(130)
}
.width('100%')
.height('100%')
.backgroundColor("#F1F1F1")
.title(this.BuilderTitle)
.toolBar(this.BuilderItems)
就相当于一个列组件的效果
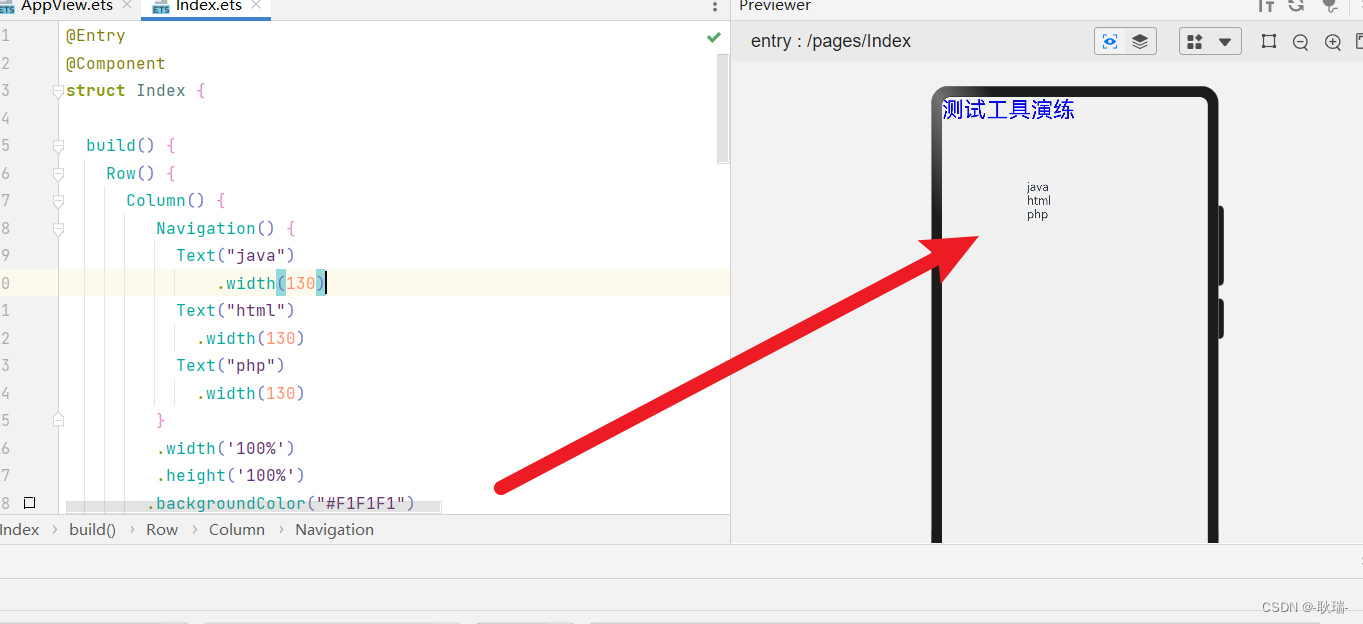




![[AutoSar]基础部分 RTE 05 Port的实例化和初始化](https://img-blog.csdnimg.cn/direct/bd03a146e3c74accaf19538dcb1261ef.png)