使用列表
在 View 体系中,创建自定义布局必须扩展 ViewGroup 并实现测量和布局函数。在 Compose 中,只需使用 Layout 可组合项编写一个(布局)函数即可。上一篇文章我们详细介绍了Column()和Row()这两各横向布局,这里我们继续介绍其他布局。
在此之前,我们先使用 Column()创建一个包含 10 项的垂直列表,代码如下:
class MainActivity : ComponentActivity() {override fun onCreate(savedInstanceState: Bundle?) {super.onCreate(savedInstanceState)setContent {SimpleList()}}
}@Composable
fun SimpleList(){Column{repeat(50){Text("Item #$it")}}
}
其对应效果如图:
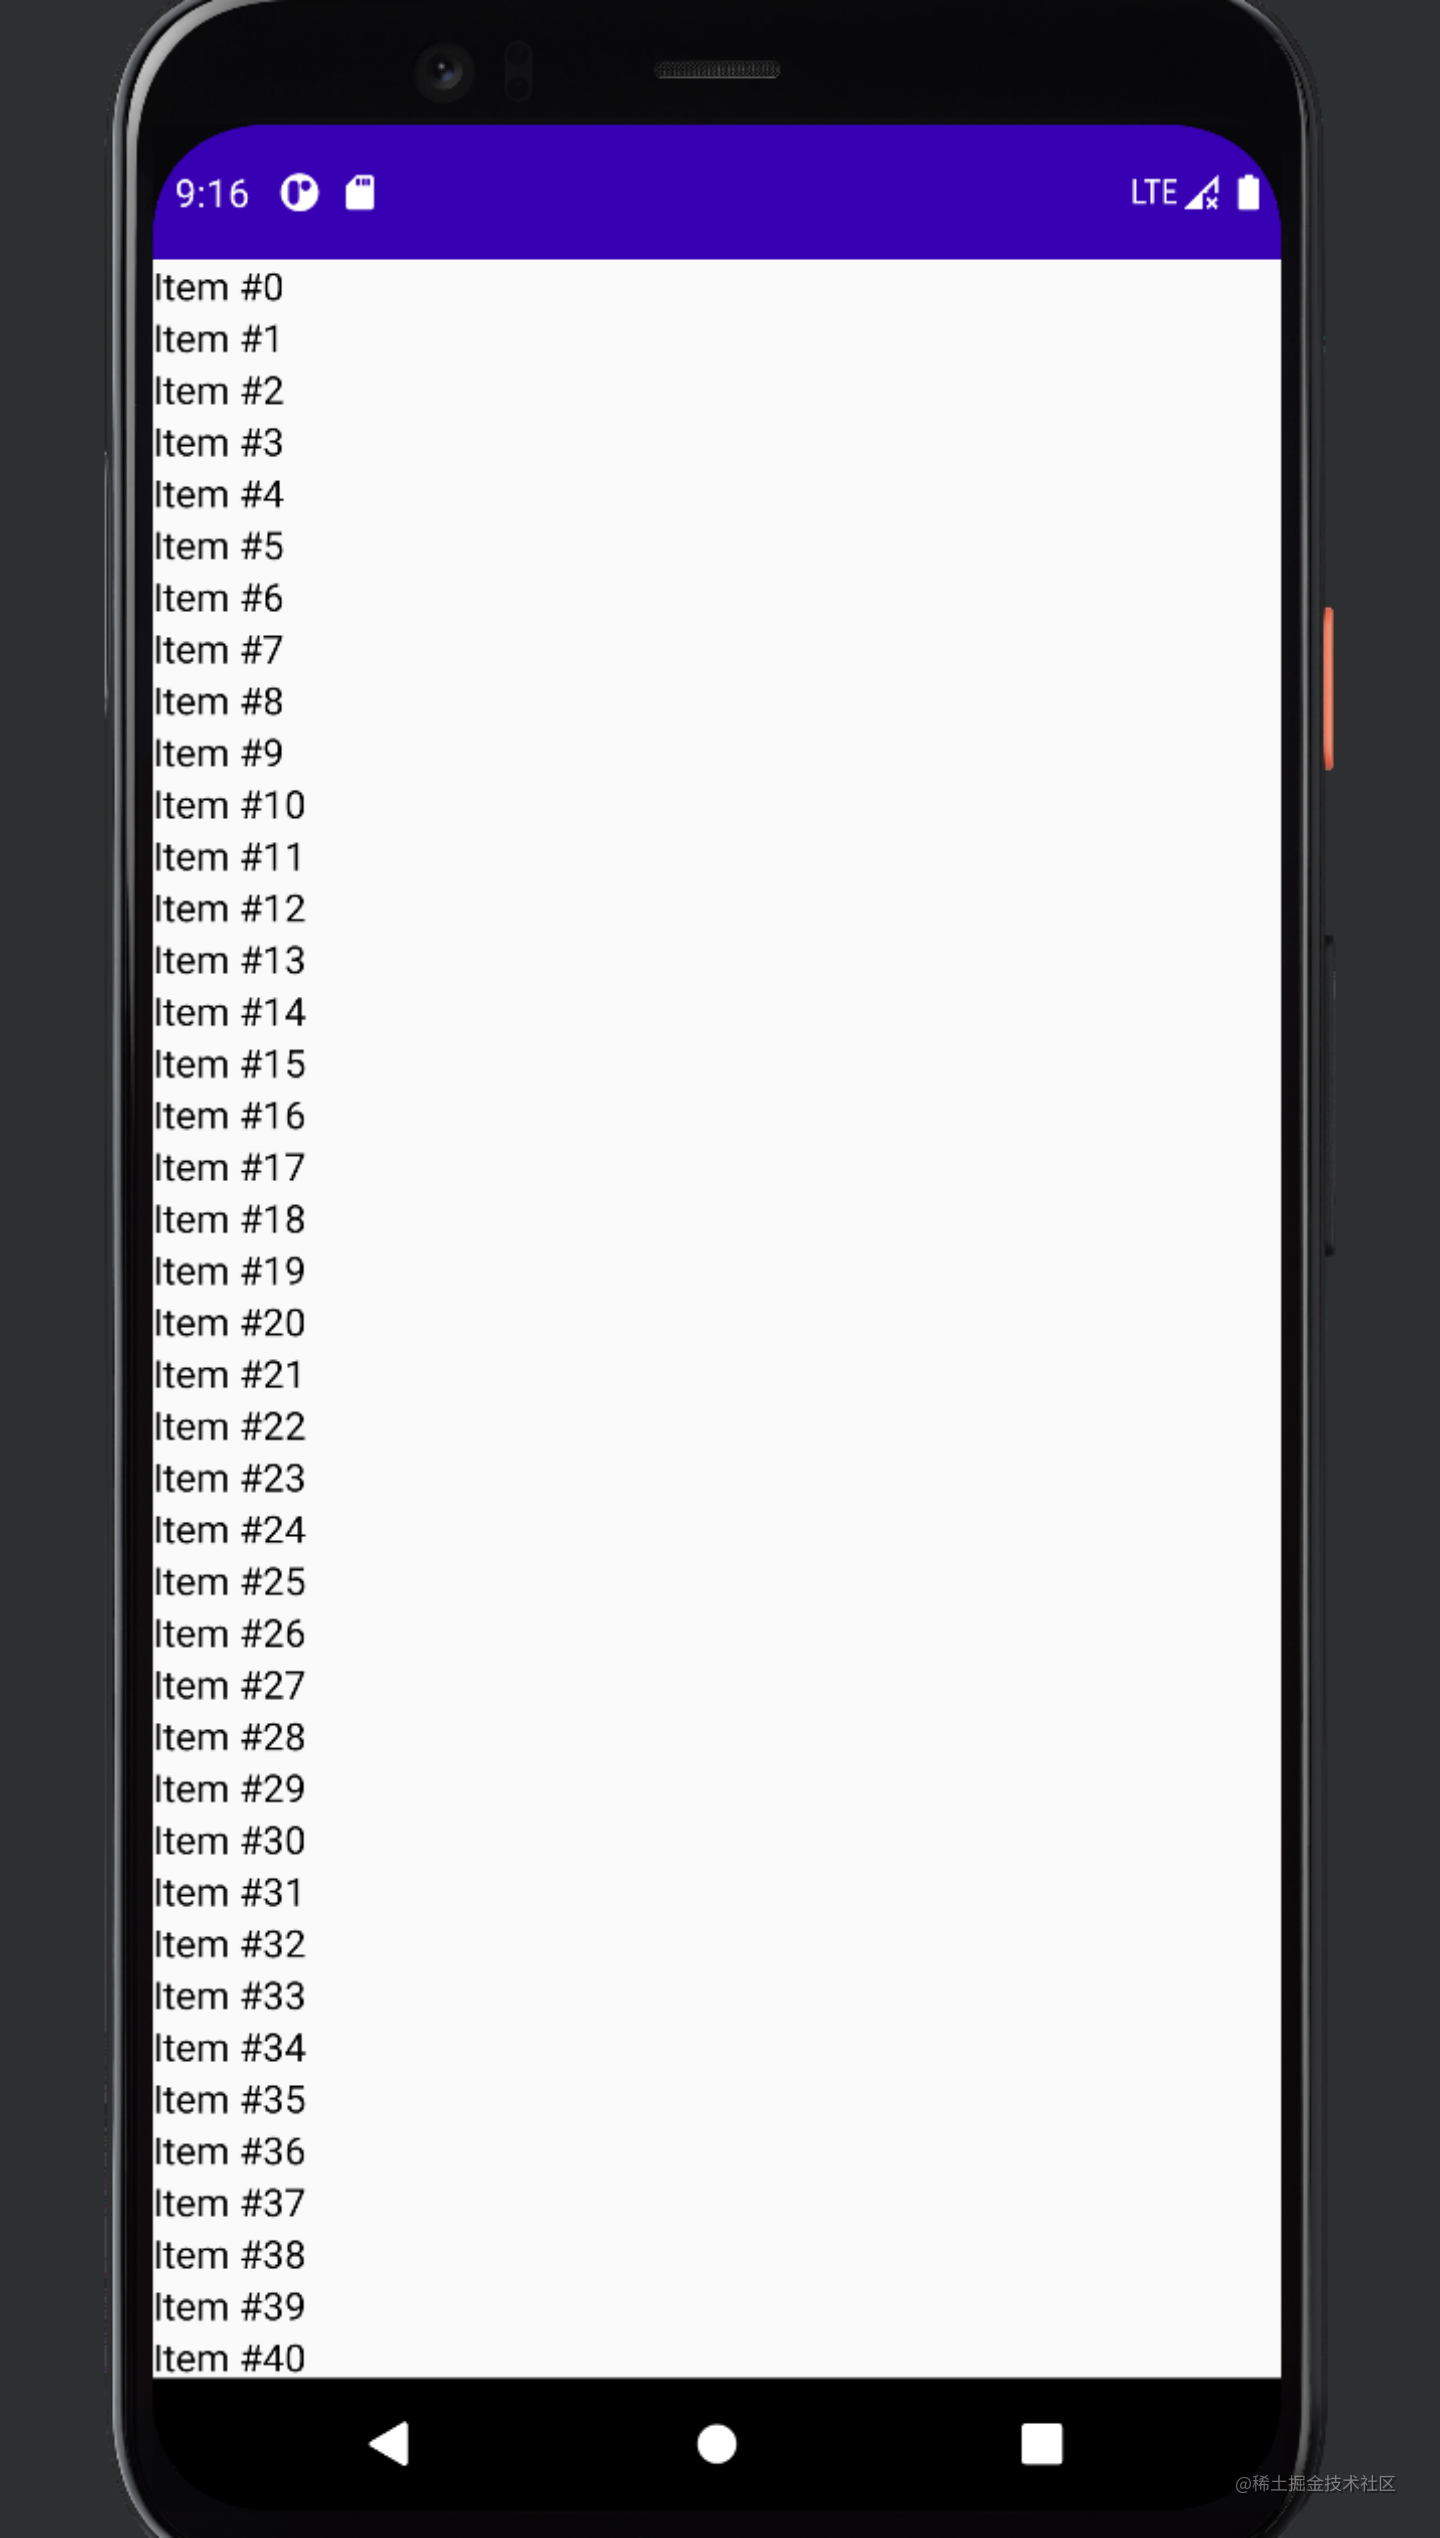
可见,repeat()是将{}中的内容重复()里的数值倍数。
这时候你会发现你怎么滚动屏幕也滑不出剩余的条目,这是因为默认情况下,Column()不会处理滚动操作,某些项是看不到的,因为它们在界面范围外。而要想让其可滚动可以添加verticalScroll修饰符来让Column()开启滚动。
@Composable
fun SimpleList(){// We save the scrolling position with this state that can also// be used to programmatically scroll the listval scrollState = rememberScrollState()	//保存滚动的位置信息Column(Modifier.verticalScroll(scrollState)) {repeat(50) {Text("Item #$it")}}
}
进一步说明,想让Column或者Row可以滚动,直接添加下面的属性就可以了:Modifier.verticalScroll(rememberScrollState())或者horizontalScroll(rememberScrollState())。
延迟列表
Column()会渲染所有列表项,甚至包括界面上看不到的项,当列表大小变大时,这会造成性能问题。为避免此问题,可以使用 LazyColumn,它只会渲染界面上的可见项,因而有助于提升性能,而且无需使用 scroll 修饰符。谷歌的官方网站上表示,Jetpack Compose 中的 LazyColumn 等同于 Android 视图中的 RecyclerView。俩者在使用上的确有很多相似之处。跟RecyclerView一样,LazyColumn 使用 items()用于描述其列表内容。这里,它会接受一个数字作为列表大小。它还支持数组和列表。基本语法与Column()几乎一致。
@Composable
fun SimpleList(){val scrollState = rememberLazyListState()LazyColumn(state = scrollState) {items(100) {Text("Item #$it")}}
}
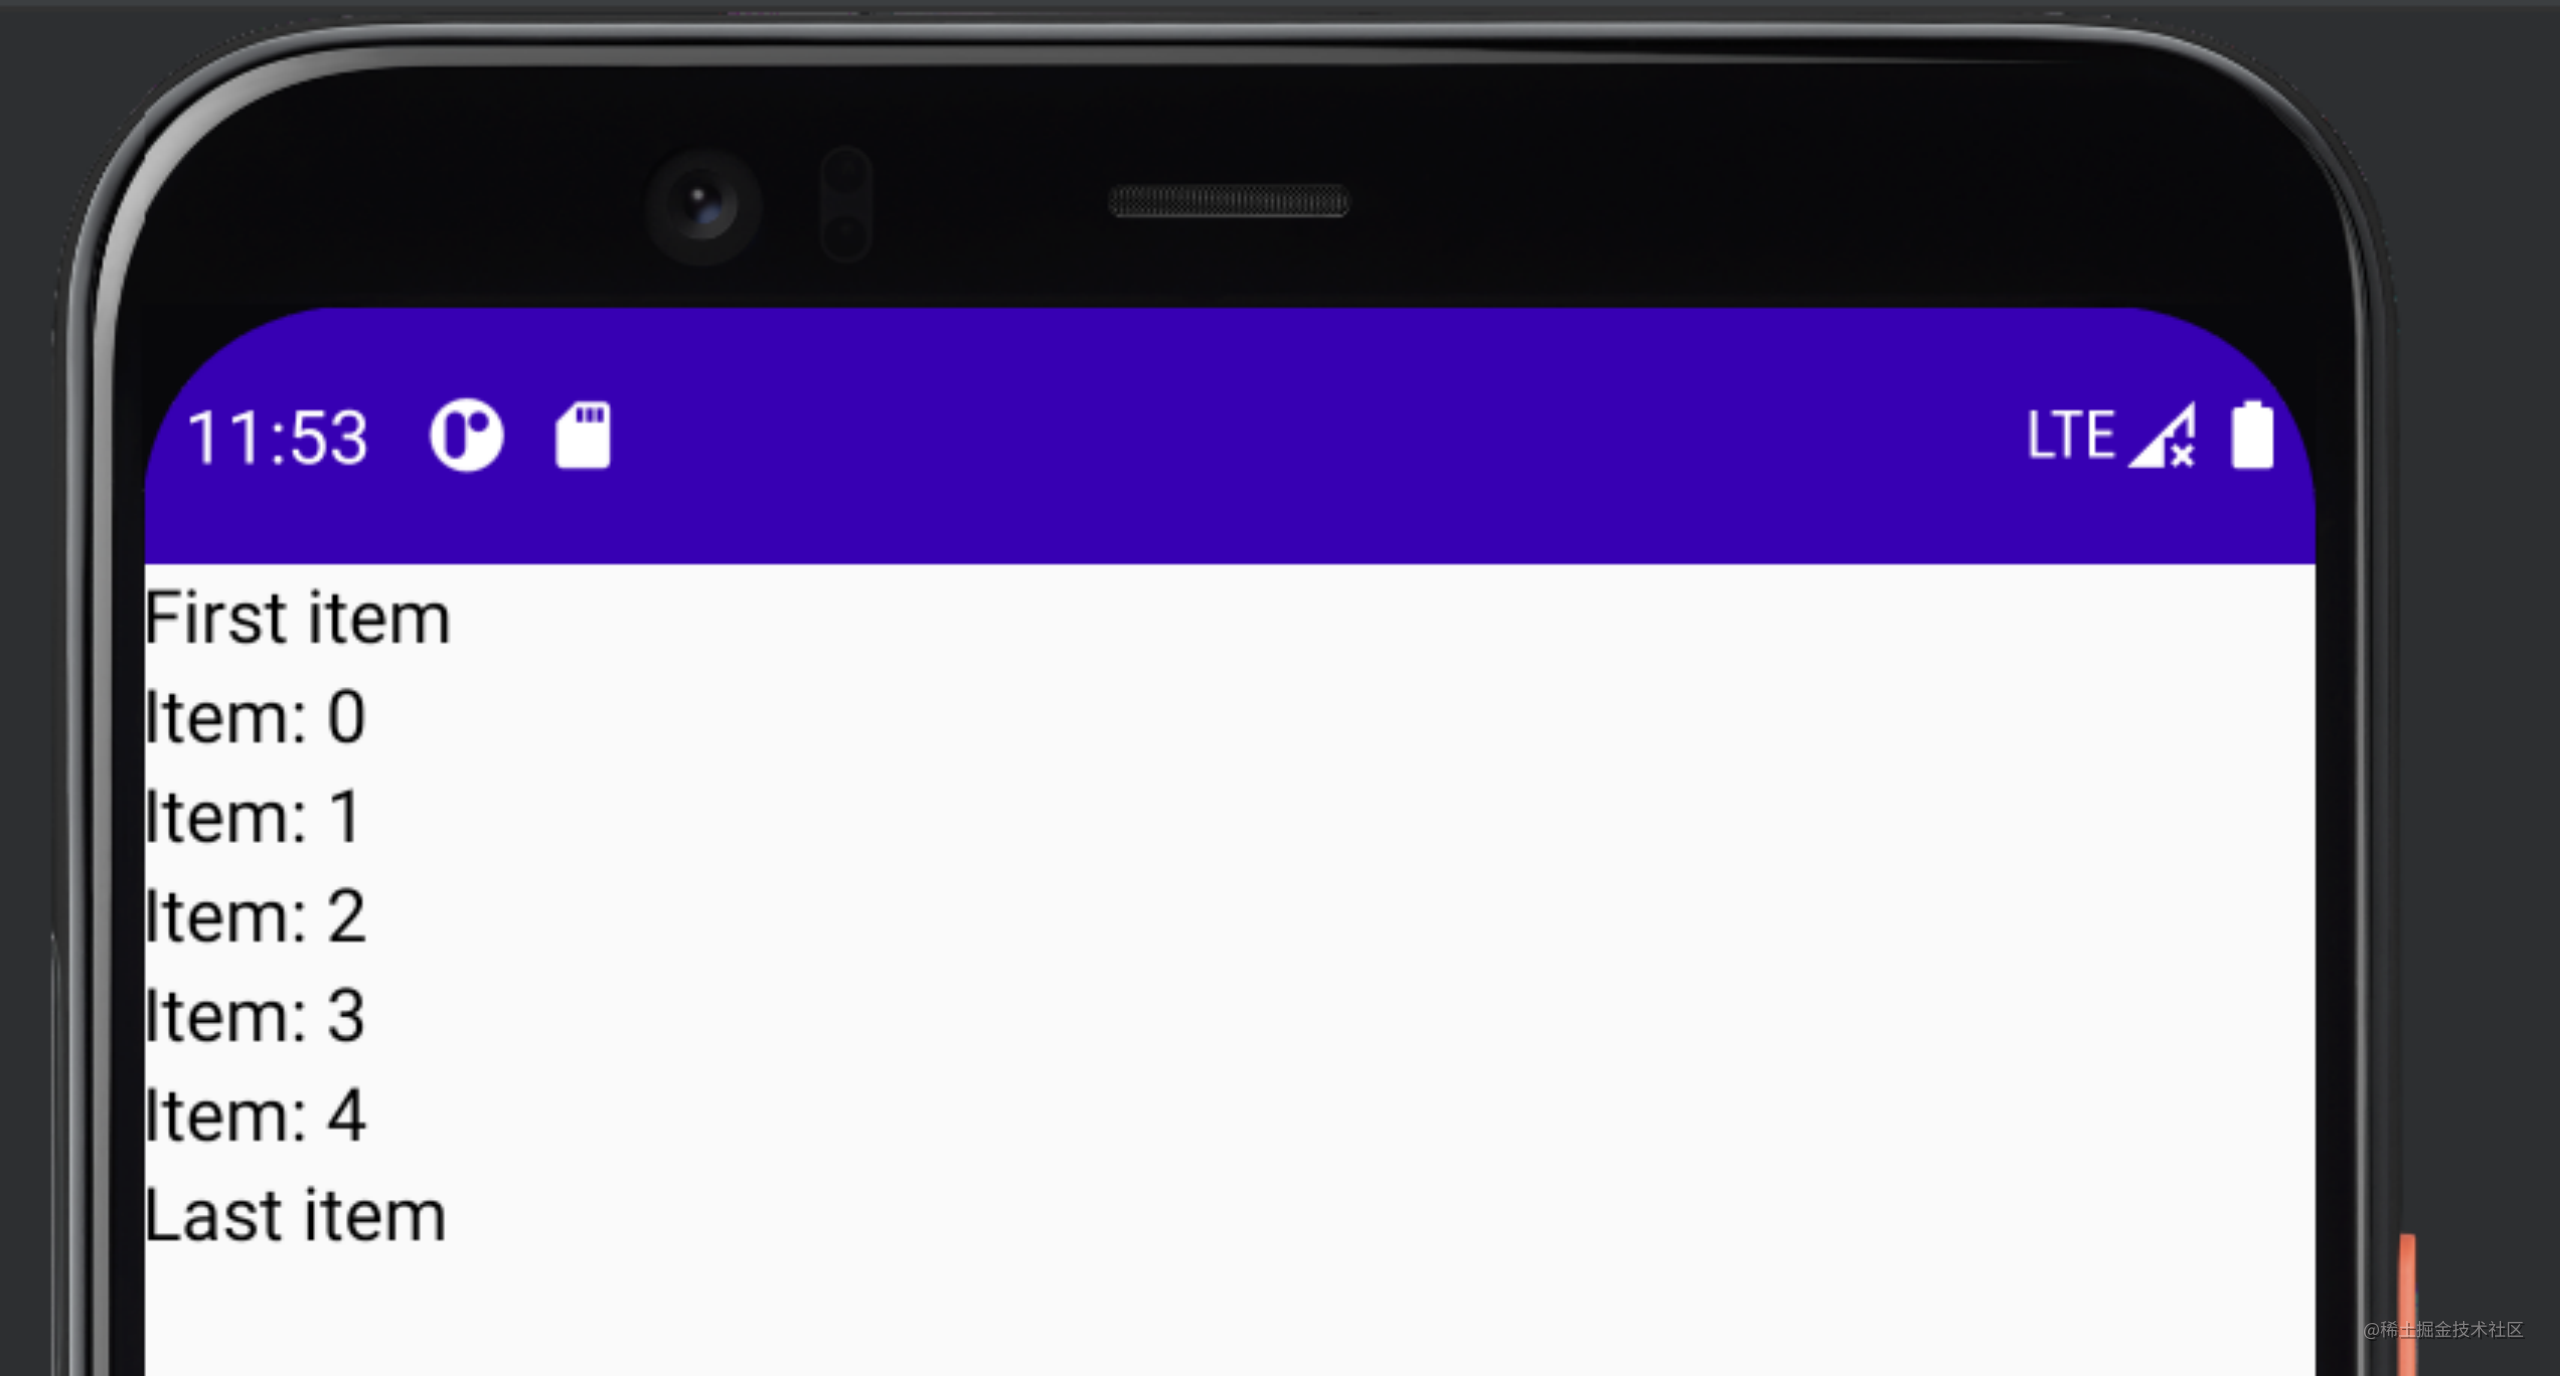
在LazyColumn()中,基本的函数包括:item() 用于添加单个列表项,items(Int) 用于添加多个列表项。如下示例:
fun SimpleList(){val scrollState = rememberLazyListState()LazyColumn(state = scrollState) {// Add a single itemitem {Text(text = "First item")}// Add 5 itemsitems(5) { index ->Text(text = "Item: $index")}// Add another single itemitem {Text(text = "Last item")}}
}
对应的显示为:
还有许多扩展函数可用于添加列表项的集合,较常用的例如 List:
@Composable
fun MessageList(messages: List<Message>) {LazyColumn {items(messages){ message ->//...}}
}
还可以使用itemsIndexed()扩展函数,该函数提供索引index(这个用在需要获取列表位置和示例的场景中就很香了):
LazyColumn() {itemsIndexed(viewModel.list) { index, item ->//..}
}
item 内边距
可以将一些 PaddingValues 传递给 contentPadding 参数来围绕内容边缘添加内边距,例如:
LazyColumn(contentPadding = PaddingValues(horizontal = 10.dp, vertical = 11.dp),) {// ...
}
这里将 16.dp 内边距添加到水平边缘(左侧和右侧),然后将 8.dp 内边距添加到内容的顶部和底部。需要注意,这里的内边距值得是针对item,而不是LazyColumn实例本身。
item间距
使用Arrangement.spacedBy()来添加列表项之间的间距,例如:
@Composable
fun SimpleList(){LazyColumn(verticalArrangement = Arrangement.spacedBy(4.dp)) {items(10){Text("item $it")}}
}
对应显示为:
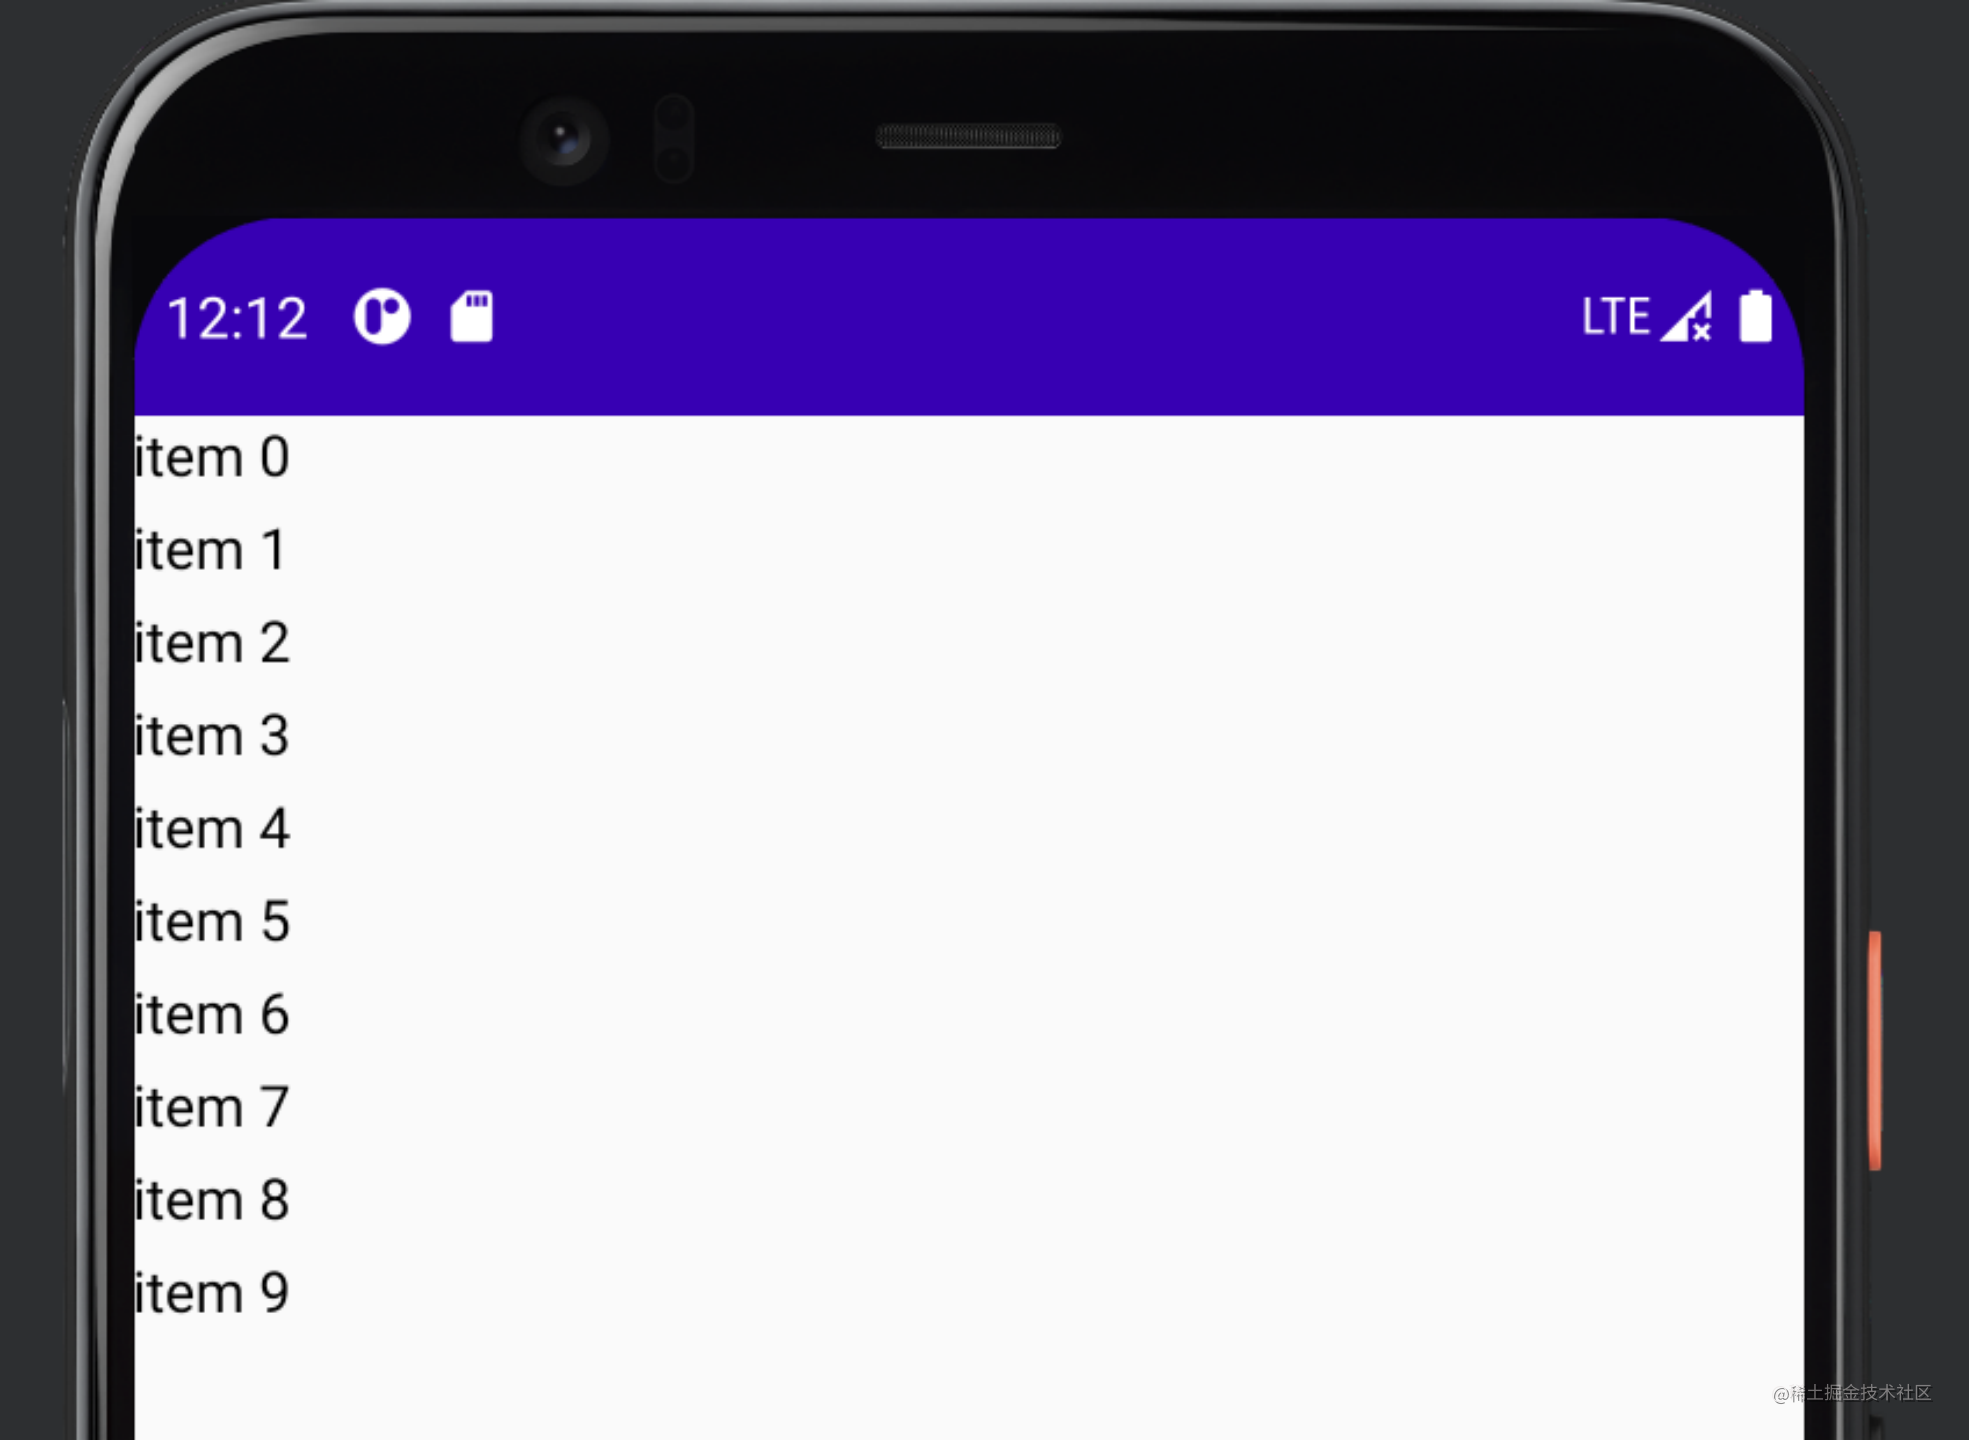
可以看出每个列表项之间添加了4dp的间距。
延迟横向列表
既然有纵向列表,当然也会有横向列表:LazyRow。就像Coloumn()和Row()的函数使用差别一样,LazyRow跟LazyColumn在使用上也类似。
当然,LazyColumn设置的竖向间距与之相对的在这是设置横向间距。对应属性如下:
@Composable
fun SimpleList(){LazyRow(horizontalArrangement = Arrangement.spacedBy(4.dp)) {items(10){Text("item $it")}}
}
对应效果自然就是横向间距每个条目相隔4dp:

其余属性使用与LazyColumn一致,在这就不赘述。
Box
对比原生的View体系,你会发现:
Column 相当于纵向的LinearLayout;
Row 相当于横向的LinearLayout;
那么,有没有相对应的FrameLayout。
有的,Box布局就是。使用Box可将一个元素放在另一个元素上面,例如下面:
@Composable
fun SimpleList(){Box(Modifier.size(100.dp, 100.dp).background(Color.Black)) {}Box(Modifier.size(50.dp, 50.dp).background(Color.Red)) {}
}
对应生成的界面就是重叠在一块的:
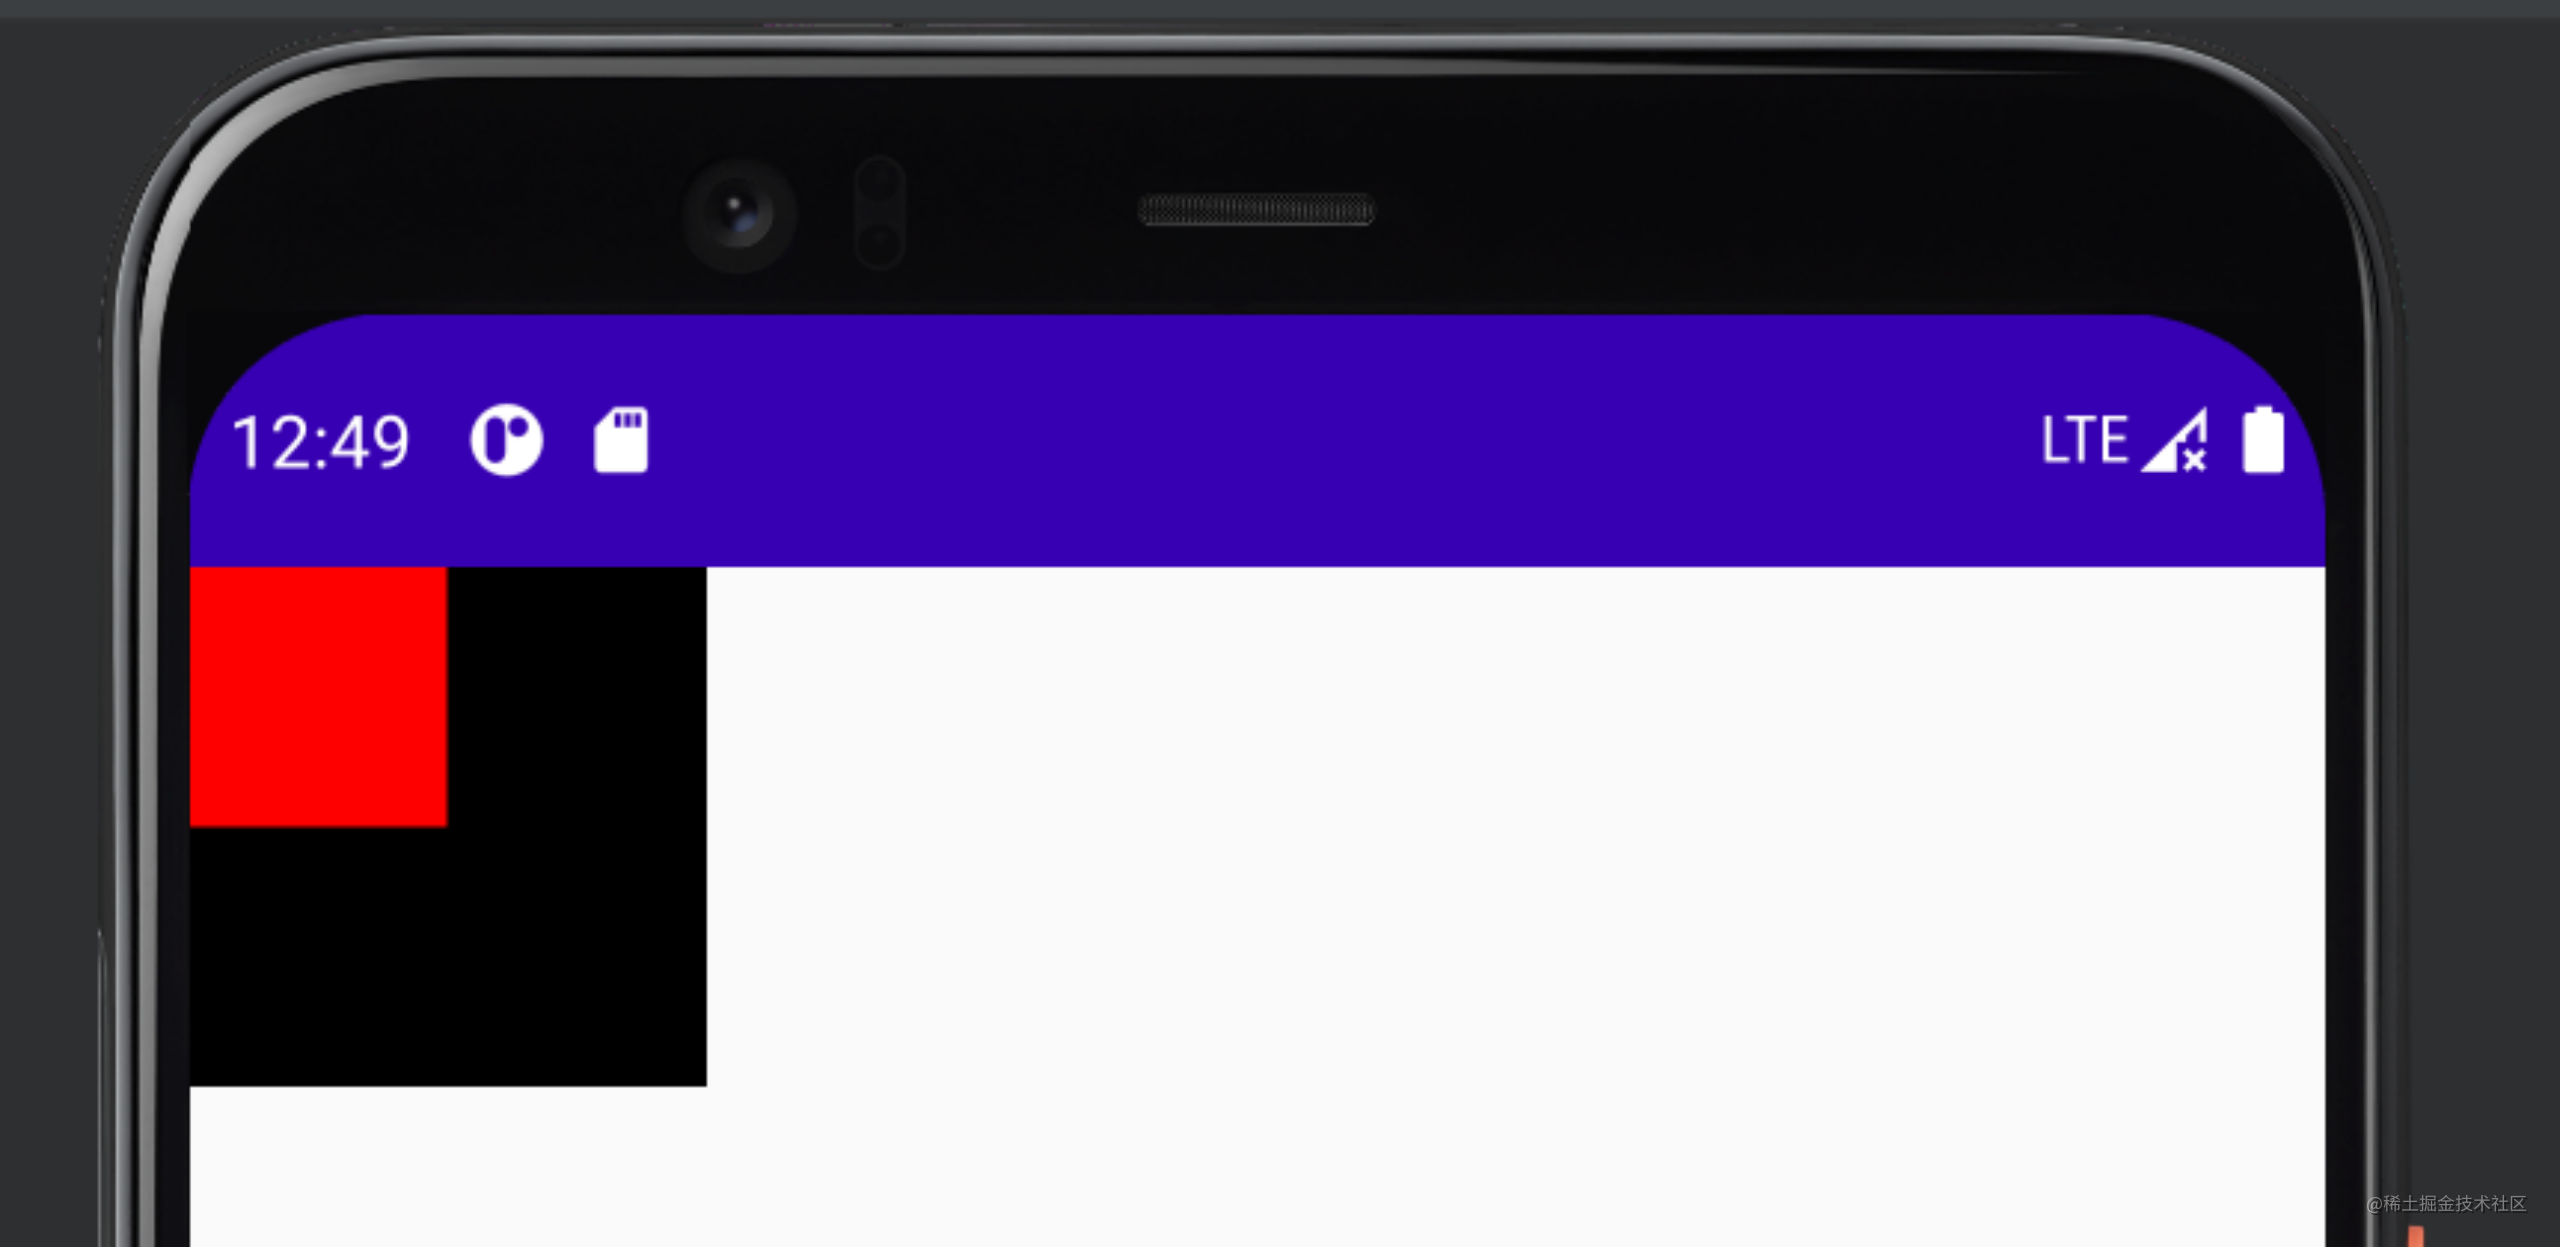
当然,Box也可以内嵌自身,上述代码也可改为:
@Composable
fun SimpleList(){Box(Modifier.size(100.dp, 100.dp).background(Color.Black)) {Box(Modifier.size(50.dp, 50.dp).background(Color.Red)) {}}
}
运行后屏幕显示效果一致。

