- 基于OpenCV灰度图像转GCode的单向扫描实现
- 引言
- 单向扫描存在的问题
- 灰度图像单向扫描代码示例
- 结论
系列文章
- ⭐深入理解G0和G1指令:C++中的实现与激光雕刻应用
- ⭐基于二值化图像转GCode的单向扫描实现
- ⭐基于二值化图像转GCode的双向扫描实现
- ⭐基于二值化图像转GCode的斜向扫描实现
- ⭐基于二值化图像转GCode的螺旋扫描实现
- ⭐基于OpenCV灰度图像转GCode的单向扫描实现
- ⭐基于OpenCV灰度图像转GCode的双向扫描实现
- ⭐基于OpenCV灰度图像转GCode的斜向扫描实现
- ⭐基于OpenCV灰度图像转GCode的螺旋扫描实现
⭐**系列文章GitHub仓库地址**
基于OpenCV灰度图像转GCode的单向扫描实现
本文将介绍如何使用OpenCV库将灰度图转换为GCode,并通过单向扫描实现对图像的激光雕刻。GCode是一种用于控制数控机床和3D打印机的指令语言,而OpenCV是一种开源计算机视觉库。通过结合这两者,我们可以实现从图像到GCode的转换,进而在机器上实现图像的物理输出。
引言
在数字制造时代,将图像转换为GCode是实现自动化加工和打印的关键步骤。本文将探讨如何利用OpenCV库将灰度图转换为GCode,并通过单向扫描的方式实现对图像的激光雕刻。

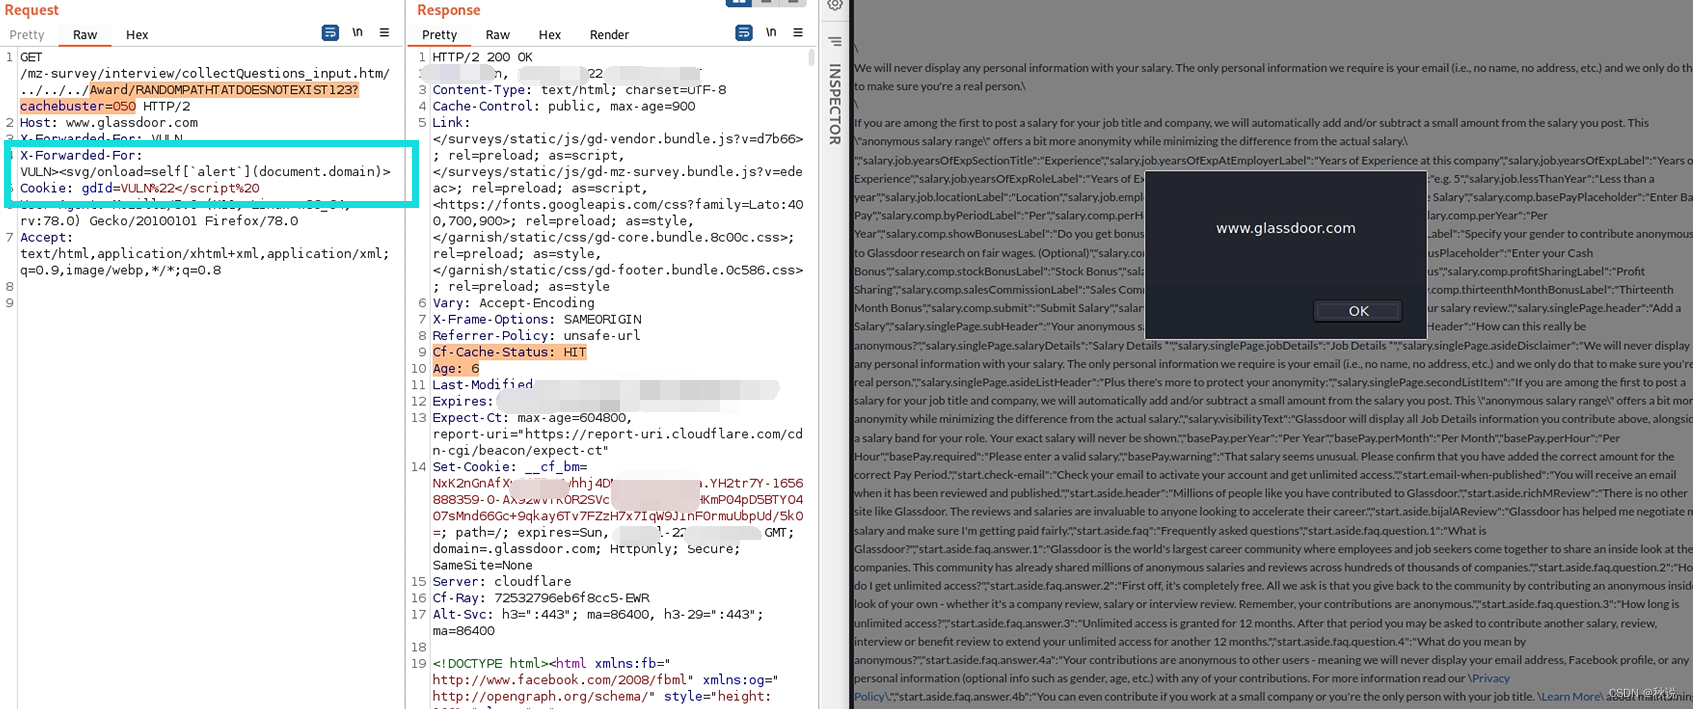
上图是未做任何处理,直接从灰度图转换成GCode。

优化后生成的GCode如上所示:

原始图像如上所示:
单向扫描存在的问题
单向操作存在来回折返空行程问题,导致加工时间变长。
本文主要通过使用以下形式的代码,删除了多余的行程(空跑没任何意义的G0)。
while(++x < image.cols && image.at<std::uint8_t>(y, x) == 255) {length++;
}
--x;
实现了未优化版本和优化版本的单向扫描,两者加工时间从生成的GCode代码上,可以看出有了很大差异。
红色是 G0,绿色是加工部分 G1。
当然如果使用双向扫描方向,加工时间差异会更大。
灰度图像单向扫描代码示例
编译器要求最低 C++23
#pragma once
#include <opencv2/opencv.hpp>
#include <fstream>
#include <print>
#include <vector>
#include <optional>
#include <ranges>struct G0 {std::optional<float> x, y;std::optional<int> s;std::string toString() {std::string command = "G0";if(x.has_value()) {command += std::format(" X{:.3f}", x.value());}if(y.has_value()) {command += std::format(" Y{:.3f}", y.value());}if(s.has_value()) {command += std::format(" S{:d}", s.value());}return command;}explicit  operator std::string() const {std::string command = "G0";if(x.has_value()) {command += std::format(" X{:.3f}", x.value());}if(y.has_value()) {command += std::format(" Y{:.3f}", y.value());}if(s.has_value()) {command += std::format(" S{:d}", s.value());}return command;}
};struct G1 {std::optional<float> x, y;std::optional<int> s;std::string toString() {std::string command = "G1";if(x.has_value()) {command += std::format(" X{:.3f}", x.value());}if(y.has_value()) {command += std::format(" Y{:.3f}", y.value());}if(s.has_value()) {command += std::format(" S{:d}", s.value());}return command;}explicit operator std::string() const {std::string command = "G1";if(x.has_value()) {command += std::format(" X{:.3f}", x.value());}if(y.has_value()) {command += std::format(" Y{:.3f}", y.value());}if(s.has_value()) {command += std::format(" S{:d}", s.value());}return command;}
};class ImageToGCode
{
public:// 激光模式enum class LaserMode {Cutting,    // 切割 M3 Constant PowerEngraving,  // 雕刻 M4 Dynamic Power};// 扫描方式enum class ScanMode {Unidirection,  // 单向Bidirection,   // 双向};struct kEnumToStringLaserMode {constexpr std::string_view operator[](const LaserMode mode) const noexcept {switch(mode) {case LaserMode::Cutting: return "M3";case LaserMode::Engraving: return "M4";}return {};}constexpr LaserMode operator[](const std::string_view mode) const noexcept {if(mode.compare("M3")) {return LaserMode::Cutting;}if(mode.compare("M4")) {return LaserMode::Engraving;}return {};}};ImageToGCode() = default;~ImageToGCode() = default;auto &setInputImage(const cv::Mat &mat) {this->mat = mat;return *this;}auto &setOutputTragetSize(double width, double height, double resolution = 10.0 /* lin/mm */) {this->width      = width;this->height     = height;this->resolution = resolution;return *this;}auto &builder() {command.clear();try {matToGCode();} catch(cv::Exception &e) {std::println("cv Exception {}", e.what());}std::vector<std::string> header;header.emplace_back("G17G21G90G54");                                             // XY平面;单位毫米;绝对坐标模式;选择G54坐标系header.emplace_back(std::format("F{:d}", 30000));                                // 移动速度 毫米/每分钟header.emplace_back(std::format("G0 X{:.3f} Y{:.3f}", 0.f, 0.f));                // 设置工作起点及偏移header.emplace_back(std::format("{} S0", kEnumToStringLaserMode()[laserMode]));  // 激光模式if(airPump.has_value()) {header.emplace_back(std::format("M16 S{:d}", 300));  // 打开气泵}std::vector<std::string> footer;footer.emplace_back("M5");if(airPump.has_value()) {footer.emplace_back("M9");  // 关闭气泵,保持 S300 功率}command.insert_range(command.begin(), header);command.append_range(footer);return *this;}bool exportGCode(const std::string &fileName) {std::fstream file;file.open(fileName, std::ios_base::out | std::ios_base::trunc);if(!file.is_open()) {return false;}for(auto &&v: command | std::views::transform([](auto item) { return item += "\n"; })) {file.write(v.c_str(), v.length());}return true;}auto setLaserMode(LaserMode mode) {laserMode = mode;return *this;}auto setScanMode(ScanMode mode) {scanMode = mode;return *this;}private:void matToGCode() {assert(mat.channels() == 1);assert(std::isgreaterequal(resolution, 1e-5f));assert(!((width * resolution < 1.0) || (height * resolution < 1.0)));unidirectionStrategy();}void internal(cv::Mat &image, auto x /*width*/, auto y /*height*/) {auto pixel = image.at<cv::uint8_t>(y, x);if(pixel == 255) {command.emplace_back(G0(x / resolution, y / resolution, std::nullopt));} else {auto power = static_cast<int>((1.0 - static_cast<double>(pixel) / 255.0) * 1000.0);command.emplace_back(G1(x / resolution, y / resolution, power));}}// 单向扫描// 未做任何优化处理,像素和G0、G1一一映射对应。void unidirectionStrategy() {cv::Mat image;cv::resize(mat, image, cv::Size(static_cast<int>(width * resolution), static_cast<int>(height * resolution)));cv::imshow("mat",image);cv::waitKey(0);for(int y = 0; y < image.rows; ++y) {command.emplace_back(G0(0, y / resolution, std::nullopt).toString());for(int x = 0; x < image.cols; ++x) {auto pixel = image.at<uchar>(y, x);if(pixel == 255) {command.emplace_back(G0(x / resolution, std::nullopt, std::nullopt));} else {auto power = static_cast<int>((1.0 - static_cast<double>(pixel) / 255.0) * 1000.0);command.emplace_back(G1(x / resolution, std::nullopt, power));}}}}// 单向扫描优化版本V1// 删除多余空行程,这里空行程指连续的无用的G0。void unidirectionOptStrategy() {cv::Mat image;cv::resize(mat, image, cv::Size(static_cast<int>(width * resolution), static_cast<int>(height * resolution)));int offset = 0;  // The frist consecutive G0int length = 0;for(int y = 0; y < image.rows; ++y) {command.emplace_back(G0(offset / resolution, y / resolution, std::nullopt).toString());for(int x = 0; x < image.cols; ++x) {auto pixel = image.at<uchar>(y, x);length     = 0;if(pixel == 255) {while(++x < image.cols && image.at<std::uint8_t>(y, x) == 255) {length++;}--x;// Whether continuous GO existsif(length) {if(x - length == 0) {  // skip The frist consecutive G0offset = length;command.emplace_back(G0((x) / resolution, std::nullopt, std::nullopt));continue;}if(x == image.cols - 1) {  // skip The last consecutive G0command.emplace_back(G0((x - length) / resolution, std::nullopt, std::nullopt));continue;}// Continuous GOcommand.emplace_back(G0(x / resolution, std::nullopt, std::nullopt));} else {// Independent GOcommand.emplace_back(G0(x / resolution, std::nullopt, std::nullopt));}} else {auto power = static_cast<int>((1.0 - static_cast<double>(pixel) / 255.0) * 1000.0);command.emplace_back(G1(x / resolution, std::nullopt, power));}}}}// Define additional strategy functions here
private:cv::Mat mat;                                 // 灰度图像double width {0};                            // 工作范围 x 轴double height {0};                           // 工作范围 y 轴double resolution {0};                       // 精度 lin/mmScanMode scanMode {ScanMode::Bidirection};   // 默认双向LaserMode laserMode {LaserMode::Engraving};  // 默认雕刻模式std::optional<int> airPump;                  // 自定义指令 气泵 用于吹走加工产生的灰尘 范围 [0,1000]// add more custom cmdstd::vector<std::string> command;            // G 代码
};int main() {// 读取以灰度的形式读取一个图像cv::Mat mat = cv::imread(R"(ImageToGCode\image\tigger.jpg)", cv::IMREAD_GRAYSCALE);cv::flip(mat, mat, 0);// 实例化一个对象ImageToGCode handle;// 设置相关参数// setInputImage 输入图像// setOutputTragetSize 输出物理尺寸大小 以 mm 为单位,这里输出 50x50 mm 大小// builder 开始执行图像转GCode操作// exportGCode 导出 gcode 文件handle.setInputImage(mat).setOutputTragetSize(50,50).builder().exportGCode(R"(ImageToGCode\output\001.nc)");
}
结论
通过结合OpenCV和GCode,我们成功地将灰度图转换为机器可执行的指令,实现了对图像的单向扫描激光雕刻。这种方法可应用于数控机床和3D打印机等领域,为数字制造提供了更灵活的图像处理和加工方式。

![[word] word表格内容自动编号 #经验分享#微信#其他](https://img-blog.csdnimg.cn/img_convert/fb445b31d281f1b6d97a58a56f7c7cdf.gif)
