一、纯文字水印
在main.ts页面里面 加入以下代码:
// 导入 Vue 的 createApp 函数
import { createApp } from 'vue';// 导入全局样式文件
import './style.css';// 导入根组件 App.vue
import App from './App.vue';// 导入路由配置
import router  from './router';// 使用 createApp 函数创建 Vue 应用实例,并将根组件挂载到 #app 元素上
createApp(App).use(router).mount('#app');// 定义全局变量水印颜色
let watermarkColor = 'rgba(0, 0, 0, 0.1)';// 辅助函数用于创建水印
const addWatermark = () => {
// 水印信息  //如果水印需要获取登录信息 那就进行修改
const loginInfo = '内部数据 禁止截图外传';// 创建水印元素
const watermark = document.createElement('div');// 设置水印元素的类名
watermark.className = 'watermark';// 设置水印元素的 whiteSpace 属性,保证水印文本不换行
watermark.style.whiteSpace = 'nowrap';// 设置水印元素的 position 属性为 fixed,使其相对于视口固定位置
watermark.style.position = 'fixed';// 设置水印元素距离视口顶部的距离
watermark.style.top = '70px';// 设置水印元素距离视口底部的距离
watermark.style.bottom = '100px';// 设置水印元素的 pointerEvents 属性为 'none',使其不参与交互
watermark.style.pointerEvents = 'none';// 设置水印元素的层级 zIndex
watermark.style.zIndex = '9999';// 设置水印行数
const rows = 10;// 设置每行显示的 div 数
const divsPerRow = 30;// 设置水印行间距
const rowMarginBottom = 250;// 设置水印左右间距
const rowMarginHorizontal = 200;// 创建水印行和 div
for (let i = 0; i < rows; i++) {// 创建水印行元素const rowElement = document.createElement('div');// 设置水印行元素的 display 属性为 flex,使其子元素水平排列rowElement.style.display = 'flex';// 设置水印行元素距离下一行的底部距离rowElement.style.marginBottom = `${rowMarginBottom}px`;// 设置水印行元素左边距离视口左侧的距离rowElement.style.marginLeft = `${rowMarginHorizontal}px`;// 设置水印行元素右边距离视口右侧的距离rowElement.style.marginRight = `${rowMarginHorizontal}px`;// 在每行上创建 div 元素for (let j = 0; j < divsPerRow; j++) {// 创建水印的 div 元素const divElement = document.createElement('div');// 设置水印的 div 元素的旋转角度divElement.style.transform = 'rotate(-45deg)';// 设置水印的 div 元素的字体大小divElement.style.fontSize = '16px';// 设置水印的 div 元素的颜色为颜色变量的值divElement.style.color = watermarkColor;// 设置水印的 div 元素的透明度divElement.style.opacity = '0.5';// 设置水印的 div 元素的文本内容divElement.textContent = loginInfo;// 将水印的 div 元素添加到水印行元素rowElement.appendChild(divElement);}// 将水印行元素添加到水印元素watermark.appendChild(rowElement);}// 将水印元素添加到 body 中document.body.appendChild(watermark);};// 在必要时更新水印颜色router.beforeEach((to, from, next) => {//登录页不显示水印 这个是登录页的路径,根据实际项目调整if (to.path !== '/login') {// 根据需要更改颜色watermarkColor = 'rgba(0, 0, 0, 0.1)';addWatermark();}next();
});
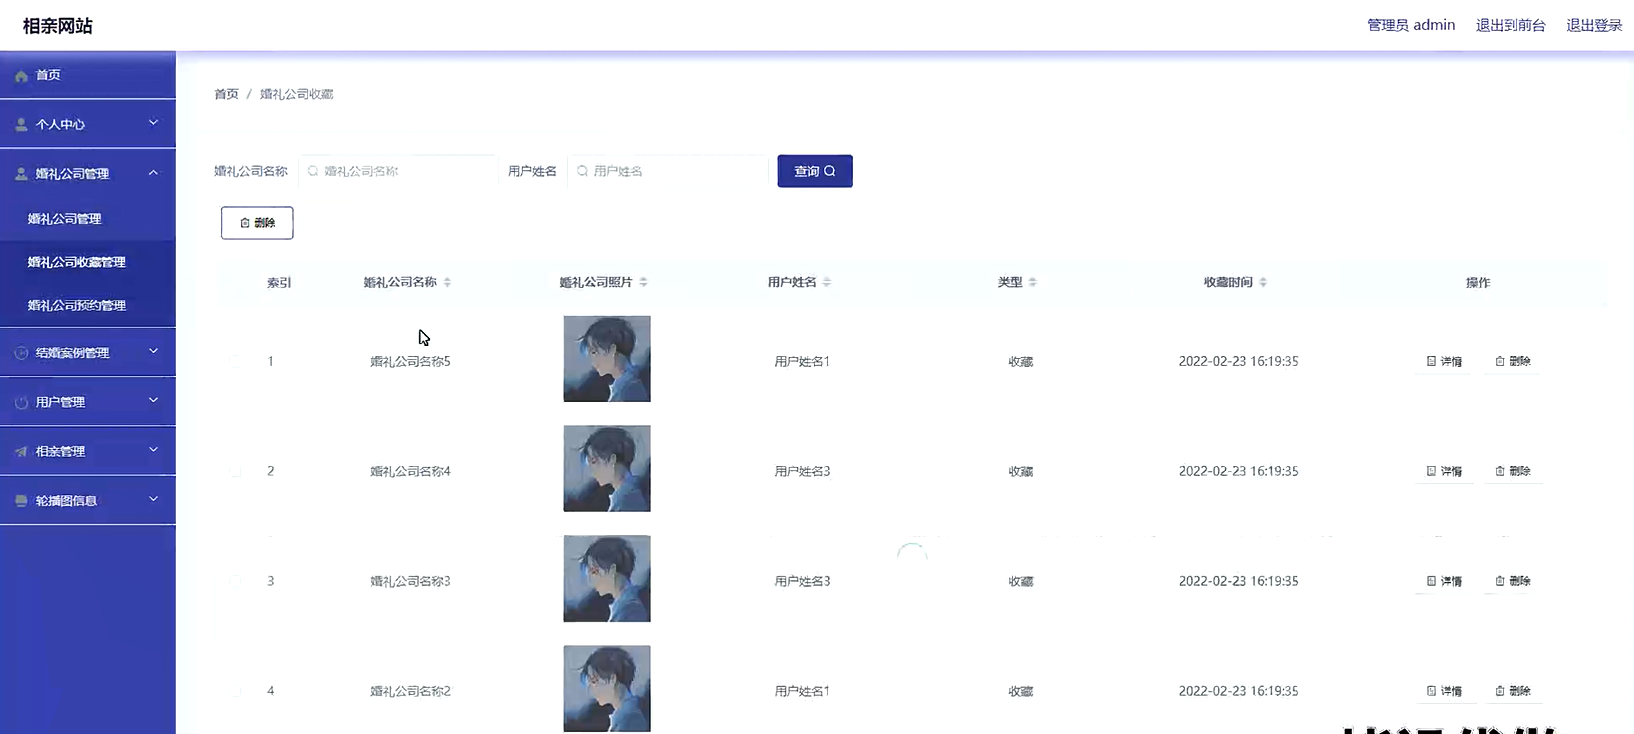
效果如下:
 二、加入登录信息(账号)的水印信息
// 导入 Vue 的 createApp 函数
import { createApp } from 'vue';
import 'uno.css';
import '@/assets/styles/index.scss';
import 'element-plus/theme-chalk/dark/css-vars.css';
// 导入根组件 App.vue
import App from './App.vue';
import store from './store';
// 导入路由配置
import router from './router';
import directive from './directive';
import plugins from './plugins/index';
import { download } from '@/utils/request';
import animate from './animate';
import 'virtual:svg-icons-register';
import ElementIcons from '@/plugins/svgicon';
import './permission';
import { useDict } from '@/utils/dict';
import { getConfigKey, updateConfigByKey } from '@/api/system/config';
import { parseTime, addDateRange, handleTree, selectDictLabel, selectDictLabels } from '@/utils/ruoyi';
import i18n from '@/lang/index';
import horizontalScroll from 'el-table-horizontal-scroll';
import { getUserProfile } from "@/api/system/user";
const app = createApp(App);
const userForm = ref({});
//获取登录信息以及水印 (具体的接口和函数名需要根据实际项目进行调整)
const getUser = async () => {const res = await getUserProfile();userForm.value = { ...res.data.user }console.log(userForm.value)// 在获取用户信息成功后调用 addWatermarkaddWatermark();
};
// 定义颜色变量
let watermarkColor = 'rgba(0, 0, 0, 0.3)';
// 辅助函数用于创建水印
const addWatermark = () => {// 移除已有的水印元素const existingWatermark = document.querySelector('.watermark');if (existingWatermark) {document.body.removeChild(existingWatermark);}// 获取用户名,如果用户名不存在,则使用一个默认值(例如:Guest)const username = userForm.value?.userName || '';const loginInfo = `${username}禁止截图外传`;  // 移除了空格const watermark = document.createElement('div'); // 创建水印元素watermark.className = 'watermark'; // 设置水印元素的类名watermark.style.whiteSpace = 'nowrap'; // 设置水印元素的 whiteSpace 属性,保证水印文本不换行watermark.style.position = 'fixed'; // 设置水印元素的 position 属性为 fixed,使其相对于视口固定位置watermark.style.top = '80px'; // 设置水印元素距离视口顶部的距离watermark.style.bottom = '100px'; // 设置水印元素距离视口底部的距离watermark.style.pointerEvents = 'none'; // 设置水印元素的 pointerEvents 属性为 'none',使其不参与交互watermark.style.zIndex = '9999'; // 设置水印元素的层级 zIndexconst rows = 10; // 设置水印行数const divsPerRow = 18; // 设置每行显示的 div 数const rowMarginBottom = 280; // 设置水印行间距//const rowMarginHorizontal = 200; // 设置水印左右间距for (let i = 0; i < rows; i++) {const rowElement = document.createElement('div');// 创建水印行元素rowElement.style.display = 'flex';// 设置水印行元素的 display 属性为 flex,使其子元素水平排列rowElement.style.marginBottom = `${rowMarginBottom}px`;// 设置水印行元素距离下一行的底部距离// rowElement.style.marginLeft = `${rowMarginHorizontal}px`;// 设置水印行元素左边距离视口左侧的距离// rowElement.style.marginRight = `${rowMarginHorizontal}px`;// 设置水印行元素右边距离视口右侧的距离// 创建水印行和 divfor (let j = 0; j < divsPerRow; j++) {const divElement = document.createElement('div'); // 创建水印行元素divElement.style.transform = 'rotate(-45deg)';// 设置水印行元素的 display 属性为 flex,使其子元素水平排列divElement.style.fontSize = '16px';// 设置水印行元素字体大小divElement.style.color = watermarkColor; // 设置水印的 div 元素的颜色为颜色变量的值divElement.style.opacity = '0.3'; // 设置水印的 div 元素的透明度divElement.style.whiteSpace = 'nowrap';  // 不换行divElement.textContent = loginInfo; // 设置水印的 div 元素的文本内容rowElement.appendChild(divElement); // 将水印的 div 元素添加到水印行元素}watermark.appendChild(rowElement);// 将水印行元素添加到水印元素}document.body.appendChild(watermark);// 将水印元素添加到 body 中
};
//移除水印的函数
const removeWatermark = () => {// 获取已存在的水印元素const existingWatermark = document.querySelector('.watermark');// 如果存在水印元素,则从 DOM 中移除if (existingWatermark) {document.body.removeChild(existingWatermark);}
};
// 在必要时更新水印颜色
router.beforeEach((to, from, next) => {if (to.path !== '/login') {// 根据需要更改颜色watermarkColor = 'rgba(0, 0, 0, 0.3)';// 将用户名存储到全局变量getUser();next();} else {// 如果是登录页,清除水印removeWatermark();next();}
});
// 全局方法挂载
app.config.globalProperties.useDict = useDict;
app.config.globalProperties.getConfigKey = getConfigKey;
app.config.globalProperties.updateConfigByKey = updateConfigByKey;
app.config.globalProperties.download = download;
app.config.globalProperties.parseTime = parseTime;
app.config.globalProperties.handleTree = handleTree;
app.config.globalProperties.addDateRange = addDateRange;
app.config.globalProperties.selectDictLabel = selectDictLabel;
app.config.globalProperties.selectDictLabels = selectDictLabels;
app.config.globalProperties.animate = animate;app.use(ElementIcons);
app.use(router);
app.use(store);
app.use(i18n);
app.use(plugins);
app.use(horizontalScroll);// 自定义指令
directive(app);app.mount('#app');