先上图为敬。

驱动的是0.96寸的OLED,SSD1315。使用的I2C接口驱动。
有一说一树莓派Pico用来学习底层真的太好了,没有之一。首先是价格便宜,10块钱包邮还要什么自行车。然后底层封装很完备,接近闭源。最后是用的python,开发效率最高。
使用Thonny进行开发。真的很简单,CSDN上就有示例。
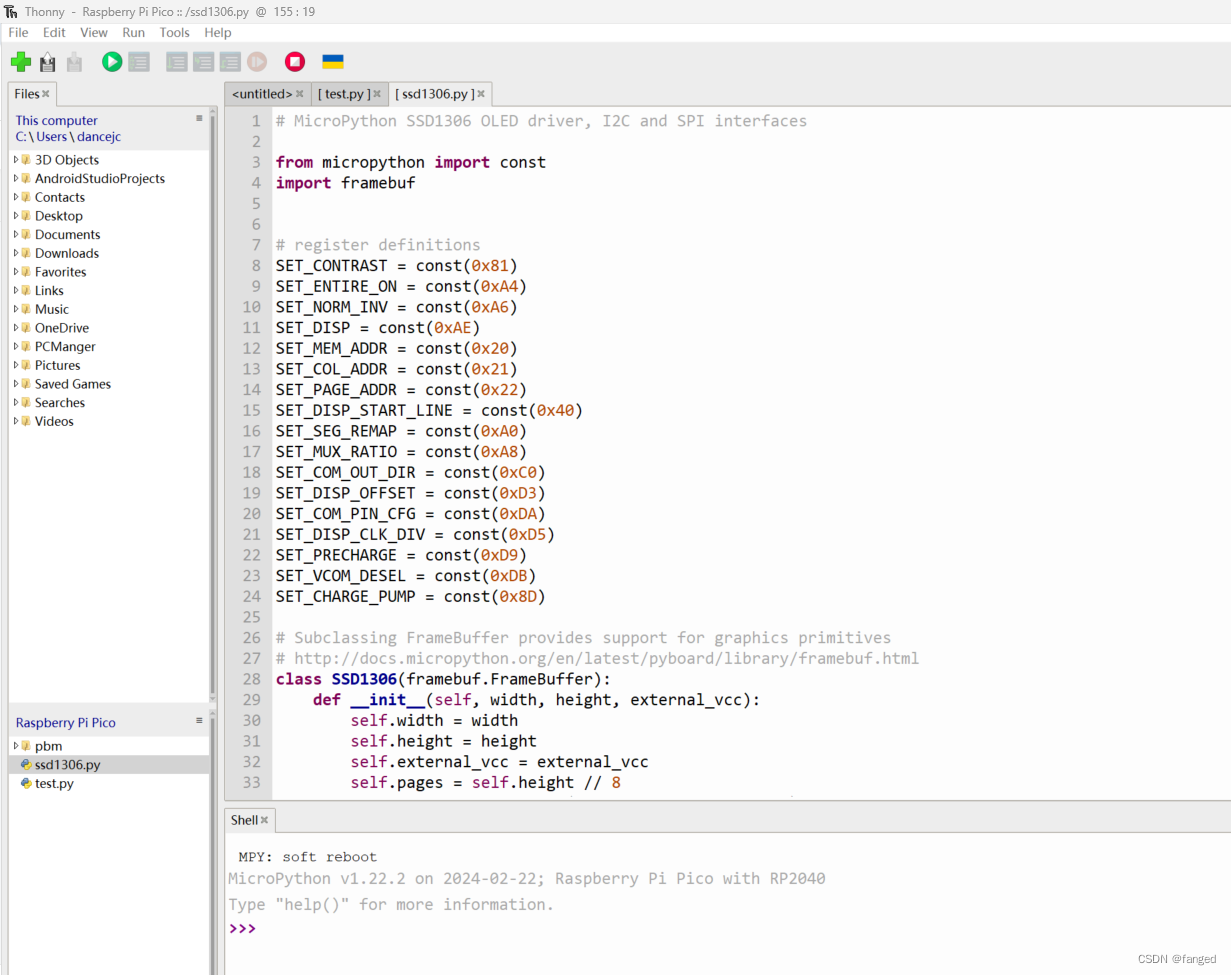
首先是找SSD1315的驱动文件,网上看了下说SD1306的也是通用。
看了一下驱动,主要是以下几个部分:
1 设置寄存器和各个命令码。这个应该是要查阅硬件手册。
可以参考这位大佬的:oled--SSD1315驱动-CSDN博客
2 OLED初始化。在I2C中,主要是向地址0x3C写入命令,0x80应该是命令字,后面接命令。
for cmd in (SET_DISP | 0x00, # off# address settingSET_MEM_ADDR,0x00, # horizontal# resolution and layoutSET_DISP_START_LINE | 0x00,SET_SEG_REMAP | 0x01, # column addr 127 mapped to SEG0SET_MUX_RATIO,self.height - 1,SET_COM_OUT_DIR | 0x08, # scan from COM[N] to COM0SET_DISP_OFFSET,0x00,SET_COM_PIN_CFG,0x02 if self.width > 2 * self.height else 0x12,# timing and driving schemeSET_DISP_CLK_DIV,0x80,SET_PRECHARGE,0x22 if self.external_vcc else 0xF1,SET_VCOM_DESEL,0x30, # 0.83*Vcc# displaySET_CONTRAST,0xFF, # maximumSET_ENTIRE_ON, # output follows RAM contentsSET_NORM_INV, # not inverted# charge pumpSET_CHARGE_PUMP,0x10 if self.external_vcc else 0x14,SET_DISP | 0x01,): # onself.write_cmd(cmd)驱动中同时有I2C和SPI写命令的差异,可以看看。
I2C:
def write_cmd(self, cmd):self.temp[0] = 0x80 # Co=1, D/C#=0self.temp[1] = cmdself.i2c.writeto(self.addr, self.temp)SPI:
def write_cmd(self, cmd):self.spi.init(baudrate=self.rate, polarity=0, phase=0)self.cs(1)self.dc(0)self.cs(0)self.spi.write(bytearray([cmd]))self.cs(1)3 其它接口
比如poweron,poweroff,show。对于show的理解是framebuffer中进行操作,操作完成之后调用show显示。
def show(self):x0 = 0x1 = self.width - 1if self.width == 64:# displays with width of 64 pixels are shifted by 32x0 += 32x1 += 32self.write_cmd(SET_COL_ADDR)self.write_cmd(x0)self.write_cmd(x1)self.write_cmd(SET_PAGE_ADDR)self.write_cmd(0)self.write_cmd(self.pages - 1)self.write_data(self.buffer)暂时先写到这吧,关于framebuffer,我单独写一篇。还有各个接口的区别,比如I2C,SPI,PCIE。
显示学习2 -- Framebuffer(TODO)-CSDN博客
树莓派Pico的官方例子:
GitHub - raspberrypi/pico-micropython-examples: Examples to accompany the "Raspberry Pi Pico Python SDK" book.
