一、使用docker部署minio
1、拉取镜像
docker pull minio/minio2、创建目录
mkdir -p /home/minio/config
mkdir -p /home/minio/data
3、创建Minio容器并运行
docker run -p 9000:9000 -p 9090:9090 \--net=host \--name minio \-d --restart=always \-e "MINIO_ACCESS_KEY=minioadmin" \-e "MINIO_SECRET_KEY=minioadmin" \-v /home/minio/data:/data \-v /home/minio/config:/root/.minio \minio/minio server \/data --console-address ":9090" -address ":9000"4、登录minio控制台
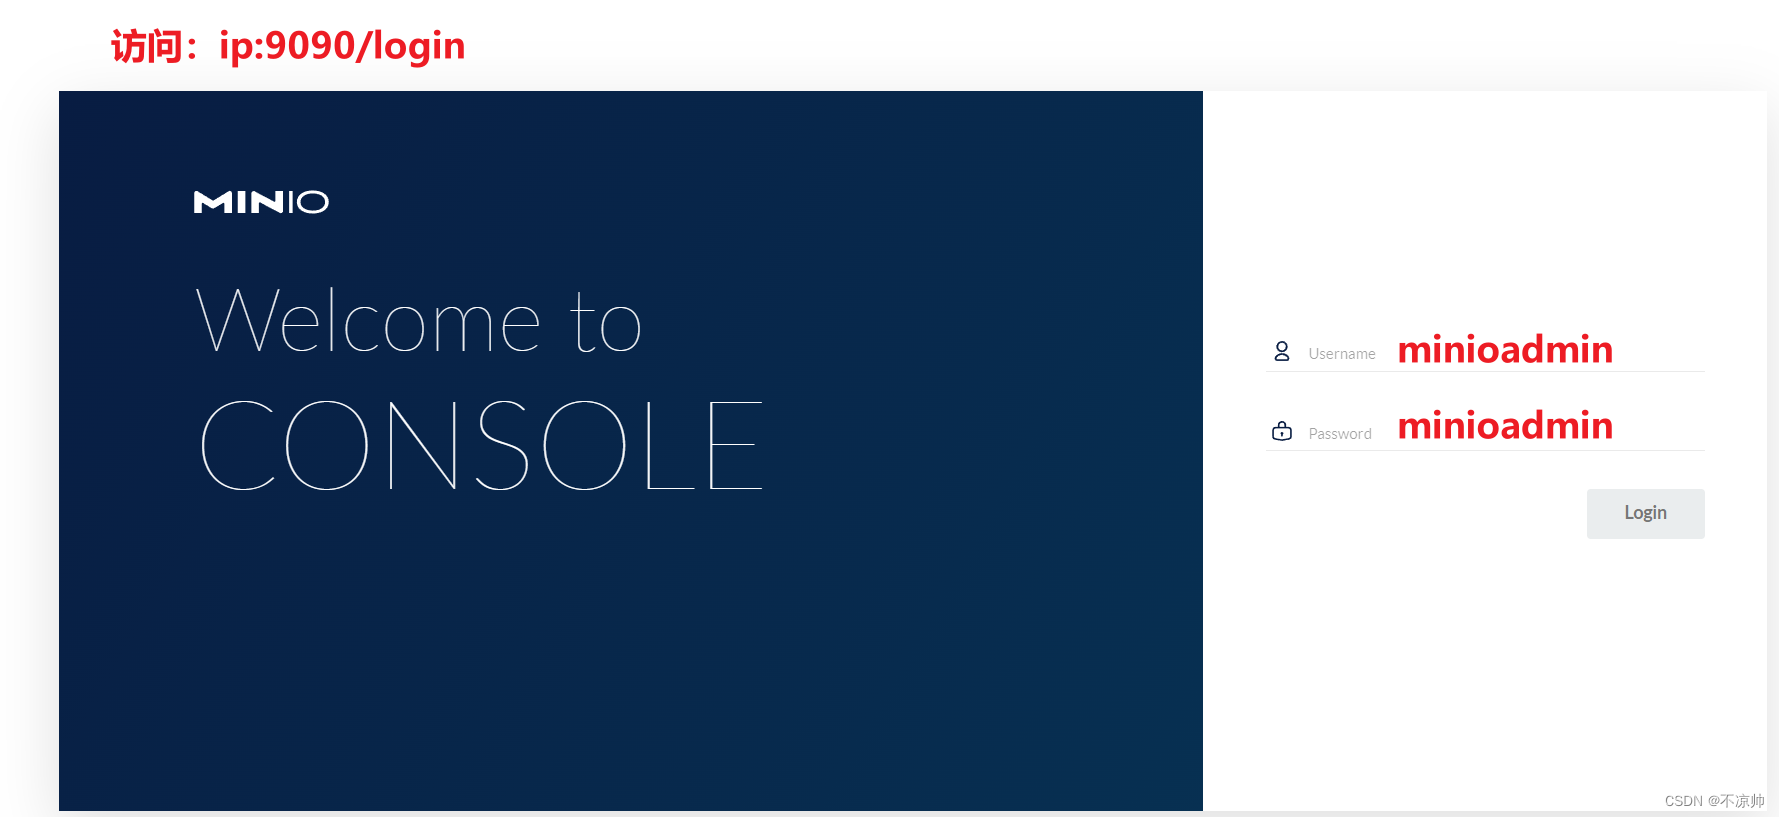
5、创建buckets存储桶测试
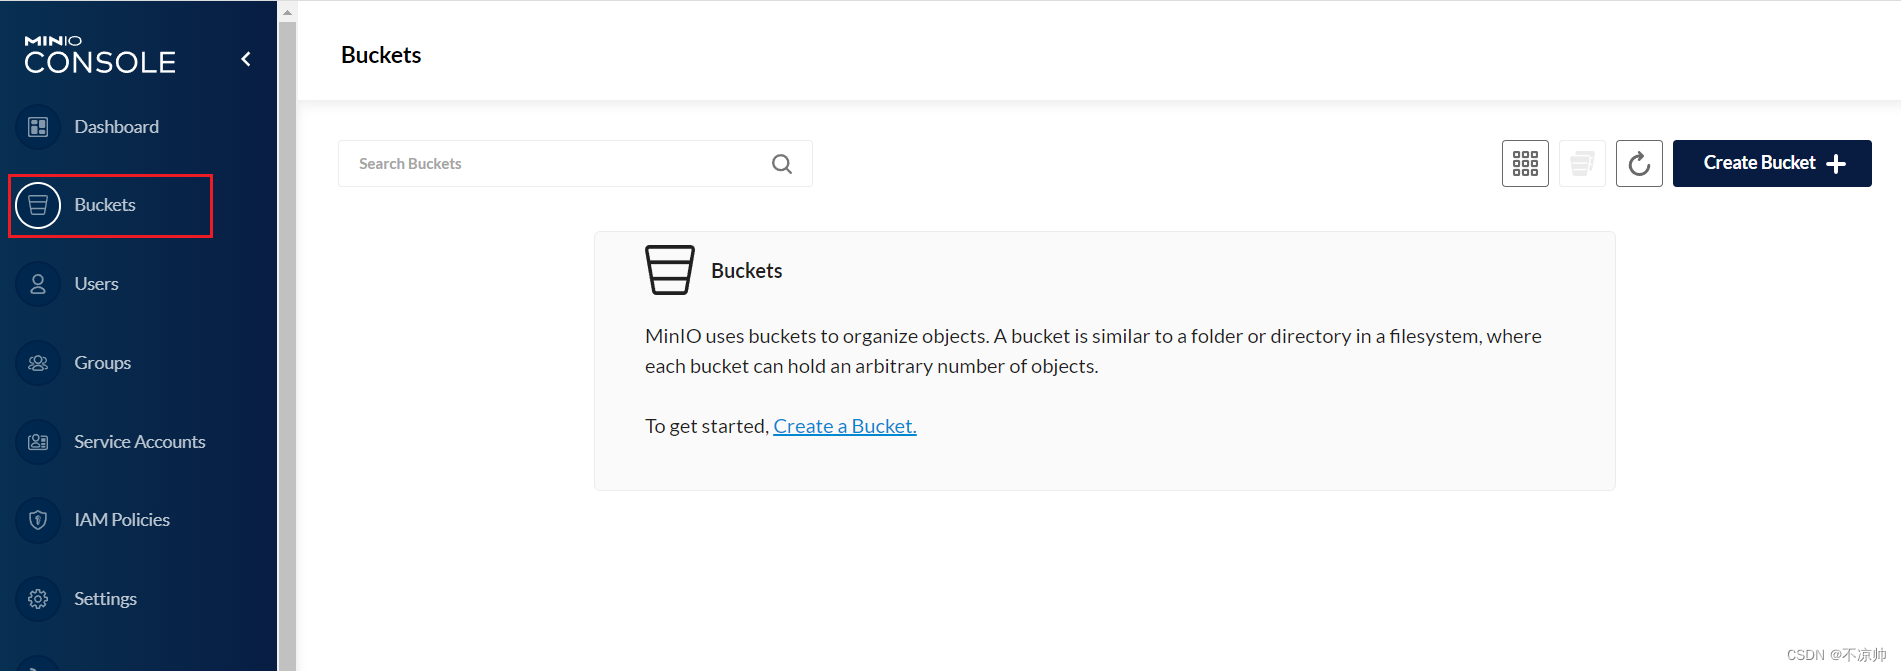
创建一个名为public的存储桶(名字可自定义),上传文件。

通过http://ip:9000/存储桶名/文件名访问文件
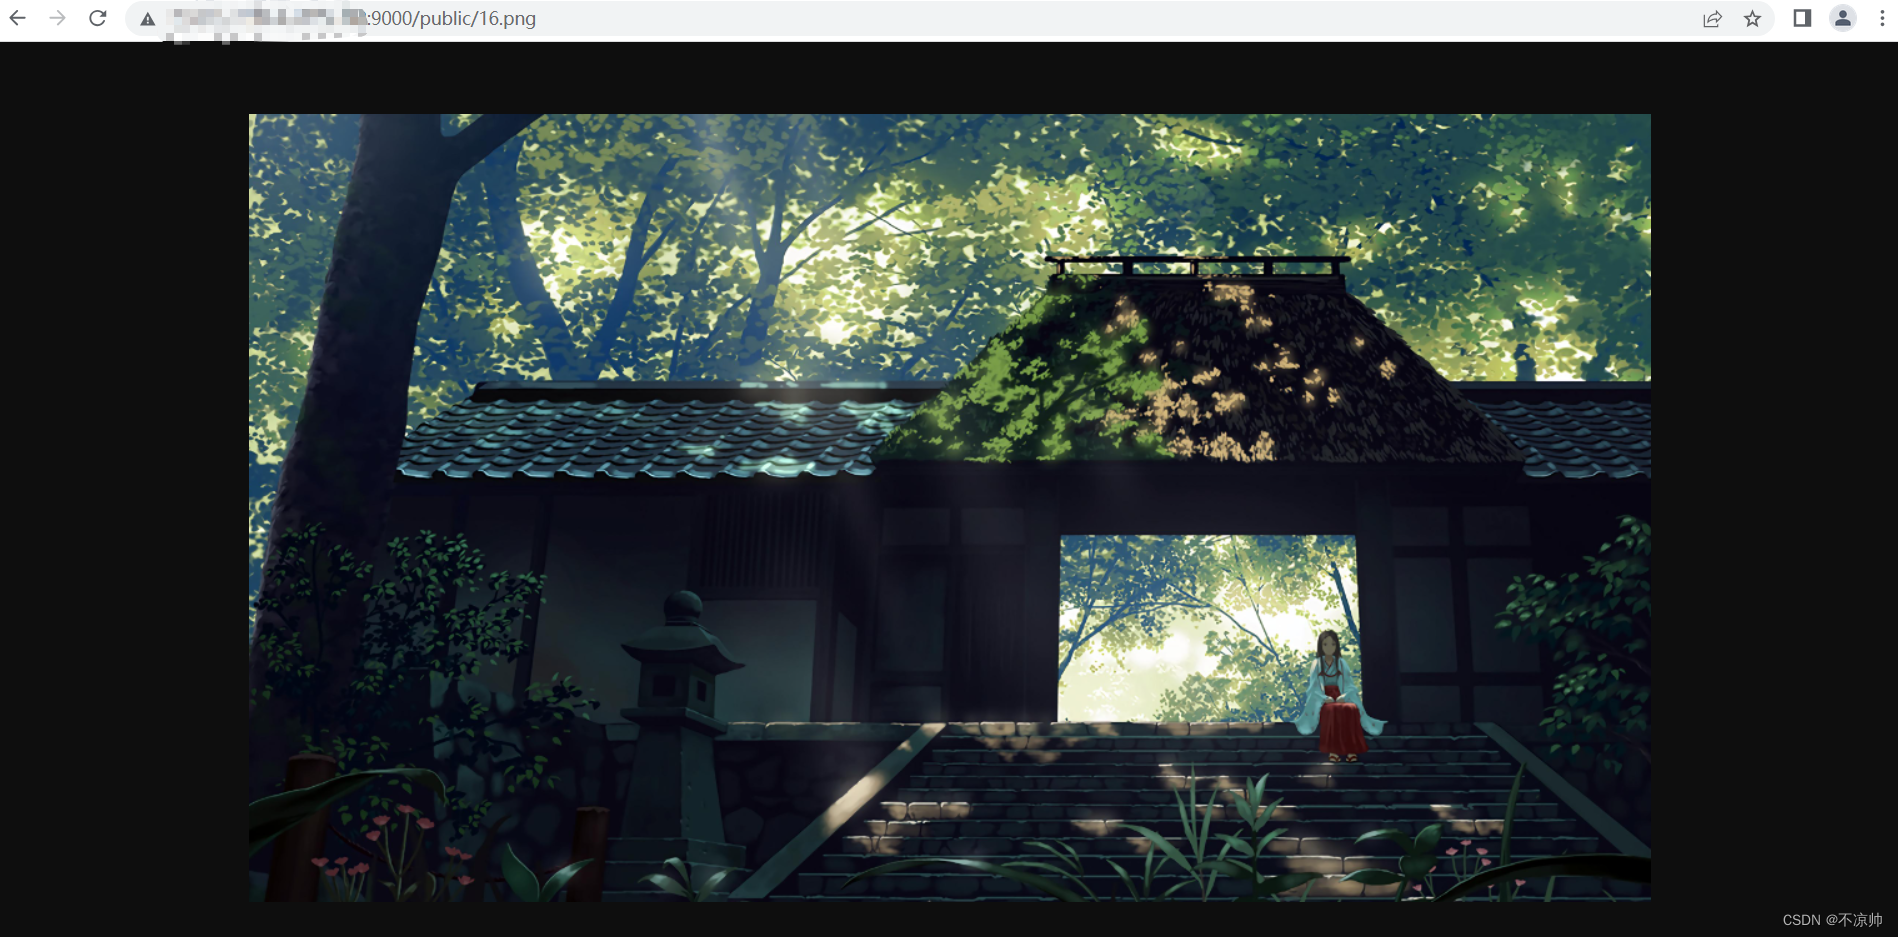
若出现:

可以将存储桶的访问权限设置为public.
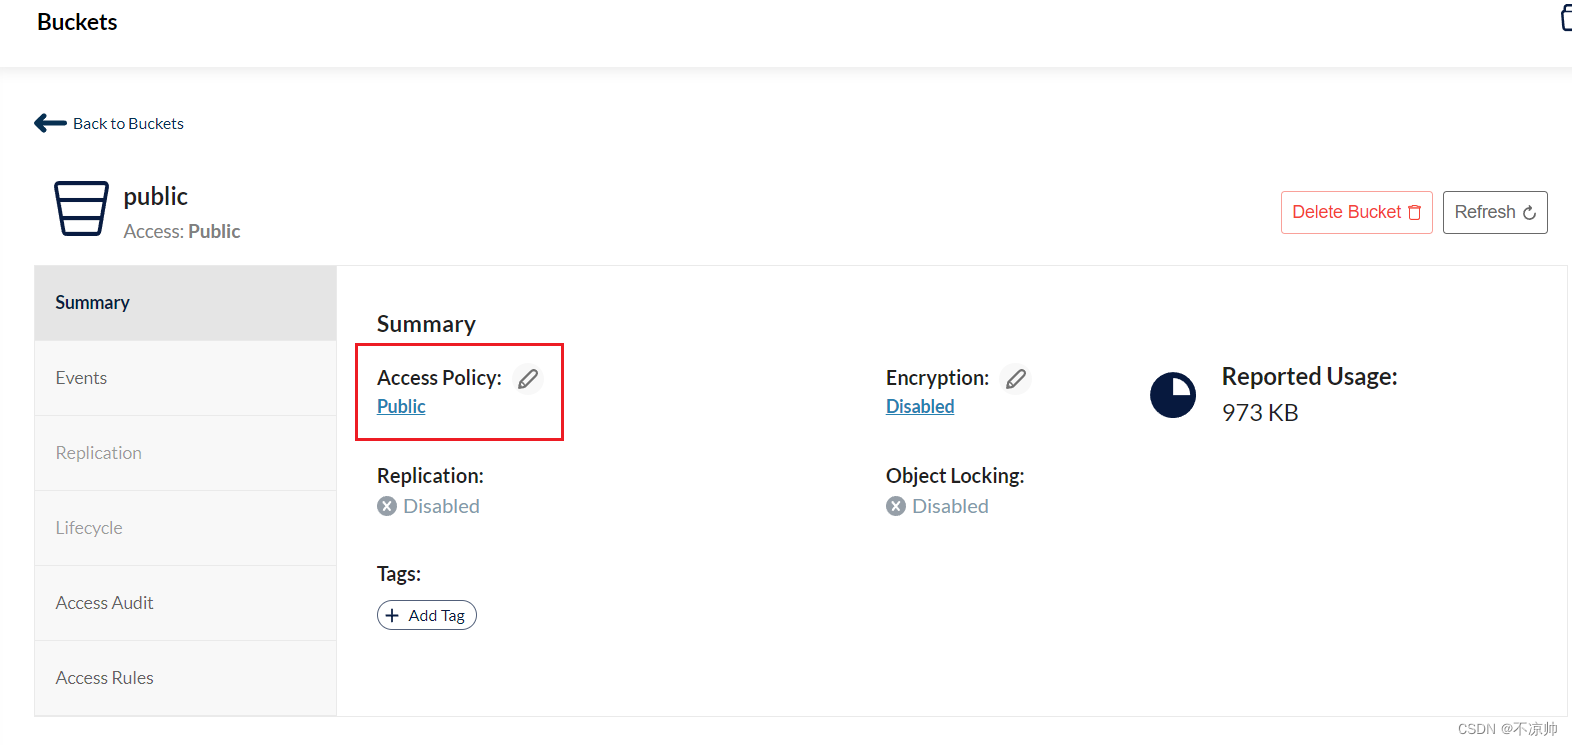
二、SpringBoot整合minio
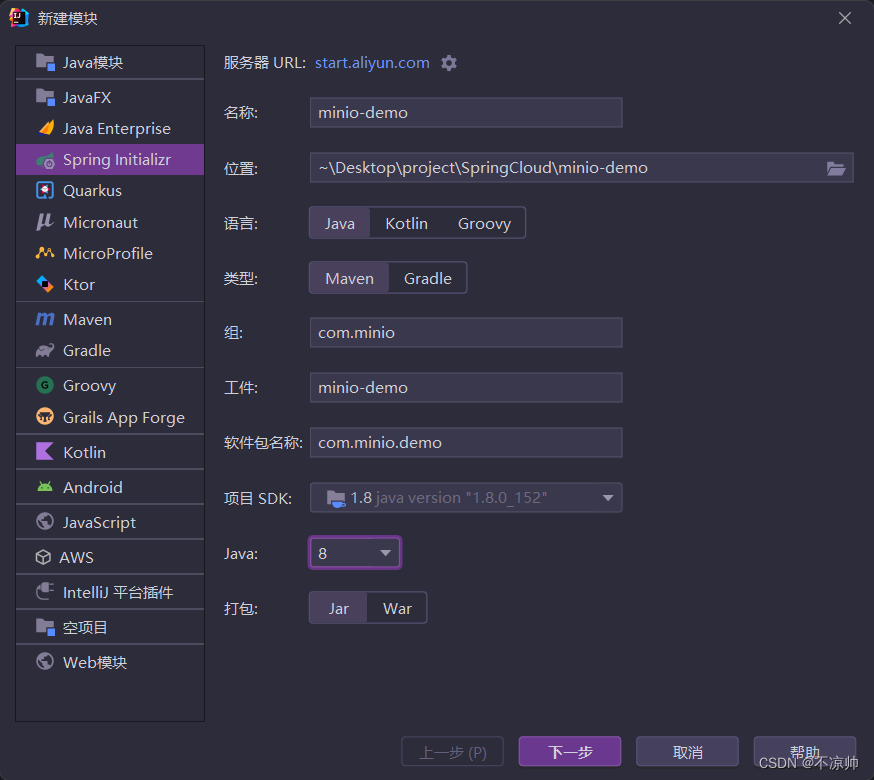
1、创建minio-demo项目
2、引入pom依赖
<dependency><groupId>io.minio</groupId><artifactId>minio</artifactId><version>7.0.2</version>
</dependency>
3、编写配置文件
在application.yml文件中编写相关配置。
server:port: 8081
spring:# 配置文件上传大小限制servlet:multipart:max-file-size: 200MBmax-request-size: 200MB
minio:host: http://127.0.0.1:9000url: ${minio.host}/${minio.bucket}/access-key: minioadminsecret-key: minioadminbucket: public
4、编写MinioConfig配置类
import io.minio.MinioClient;
import io.minio.ObjectStat;
import io.minio.PutObjectOptions;
import io.minio.Result;
import io.minio.messages.Bucket;
import io.minio.messages.Item;
import org.apache.tomcat.util.http.fileupload.IOUtils;
import org.springframework.beans.factory.InitializingBean;
import org.springframework.beans.factory.annotation.Value;
import org.springframework.stereotype.Component;
import org.springframework.util.Assert;
import org.springframework.web.multipart.MultipartFile;
import org.springframework.web.util.UriUtils;import javax.servlet.http.HttpServletResponse;
import java.io.IOException;
import java.io.InputStream;
import java.net.URLEncoder;
import java.nio.charset.StandardCharsets;
import java.util.ArrayList;
import java.util.List;@Component
public class MinioConfig implements InitializingBean {@Value(value = "${minio.bucket}")private String bucket;@Value(value = "${minio.host}")private String host;@Value(value = "${minio.url}")private String url;@Value(value = "${minio.access-key}")private String accessKey;@Value(value = "${minio.secret-key}")private String secretKey;private MinioClient minioClient;@Overridepublic void afterPropertiesSet() throws Exception {Assert.hasText(url, "Minio url 为空");Assert.hasText(accessKey, "Minio accessKey为空");Assert.hasText(secretKey, "Minio secretKey为空");this.minioClient = new MinioClient(this.host, this.accessKey, this.secretKey);}/*** 上传*/public String putObject(MultipartFile multipartFile) throws Exception {// bucket 不存在,创建if (!minioClient.bucketExists(this.bucket)) {minioClient.makeBucket(this.bucket);}try (InputStream inputStream = multipartFile.getInputStream()) {// 上传文件的名称String fileName = multipartFile.getOriginalFilename();// PutObjectOptions,上传配置(文件大小,内存中文件分片大小)PutObjectOptions putObjectOptions = new PutObjectOptions(multipartFile.getSize(), PutObjectOptions.MIN_MULTIPART_SIZE);// 文件的ContentTypeputObjectOptions.setContentType(multipartFile.getContentType());minioClient.putObject(this.bucket, fileName, inputStream, putObjectOptions);// 返回访问路径return this.url + UriUtils.encode(fileName, StandardCharsets.UTF_8);}}/*** 文件下载*/public void download(String fileName, HttpServletResponse response){// 从链接中得到文件名InputStream inputStream;try {MinioClient minioClient = new MinioClient(host, accessKey, secretKey);ObjectStat stat = minioClient.statObject(bucket, fileName);inputStream = minioClient.getObject(bucket, fileName);response.setContentType(stat.contentType());response.setCharacterEncoding("UTF-8");response.setHeader("Content-Disposition", "attachment;filename=" + URLEncoder.encode(fileName, "UTF-8"));IOUtils.copy(inputStream, response.getOutputStream());inputStream.close();} catch (Exception e){e.printStackTrace();System.out.println("有异常:" + e);}}/*** 列出所有存储桶名称** @return* @throws Exception*/public List<String> listBucketNames()throws Exception {List<Bucket> bucketList = listBuckets();List<String> bucketListName = new ArrayList<>();for (Bucket bucket : bucketList) {bucketListName.add(bucket.name());}return bucketListName;}/*** 查看所有桶** @return* @throws Exception*/public List<Bucket> listBuckets()throws Exception {return minioClient.listBuckets();}/*** 检查存储桶是否存在** @param bucketName* @return* @throws Exception*/public boolean bucketExists(String bucketName) throws Exception {boolean flag = minioClient.bucketExists(bucketName);if (flag) {return true;}return false;}/*** 创建存储桶** @param bucketName* @return* @throws Exception*/public boolean makeBucket(String bucketName)throws Exception {boolean flag = bucketExists(bucketName);if (!flag) {minioClient.makeBucket(bucketName);return true;} else {return false;}}/*** 删除桶** @param bucketName* @return* @throws Exception*/public boolean removeBucket(String bucketName)throws Exception {boolean flag = bucketExists(bucketName);if (flag) {Iterable<Result<Item>> myObjects = listObjects(bucketName);for (Result<Item> result : myObjects) {Item item = result.get();// 有对象文件,则删除失败if (item.size() > 0) {return false;}}// 删除存储桶,注意,只有存储桶为空时才能删除成功。minioClient.removeBucket(bucketName);flag = bucketExists(bucketName);if (!flag) {return true;}}return false;}/*** 列出存储桶中的所有对象** @param bucketName 存储桶名称* @return* @throws Exception*/public Iterable<Result<Item>> listObjects(String bucketName) throws Exception {boolean flag = bucketExists(bucketName);if (flag) {return minioClient.listObjects(bucketName);}return null;}/*** 列出存储桶中的所有对象名称** @param bucketName 存储桶名称* @return* @throws Exception*/public List<String> listObjectNames(String bucketName) throws Exception {List<String> listObjectNames = new ArrayList<>();boolean flag = bucketExists(bucketName);if (flag) {Iterable<Result<Item>> myObjects = listObjects(bucketName);for (Result<Item> result : myObjects) {Item item = result.get();listObjectNames.add(item.objectName());}}return listObjectNames;}/*** 删除一个对象** @param bucketName 存储桶名称* @param objectName 存储桶里的对象名称* @throws Exception*/public boolean removeObject(String bucketName, String objectName) throws Exception {boolean flag = bucketExists(bucketName);if (flag) {List<String> objectList = listObjectNames(bucketName);for (String s : objectList) {if(s.equals(objectName)){minioClient.removeObject(bucketName, objectName);return true;}}}return false;}/*** 文件访问路径** @param bucketName 存储桶名称* @param objectName 存储桶里的对象名称* @return* @throws Exception*/public String getObjectUrl(String bucketName, String objectName) throws Exception {boolean flag = bucketExists(bucketName);String url = "";if (flag) {url = minioClient.getObjectUrl(bucketName, objectName);}return url;}}
5、编写MinioController类
import com.minio.demo.config.MinioConfig;
import org.springframework.beans.factory.annotation.Autowired;
import org.springframework.web.bind.annotation.*;
import org.springframework.web.multipart.MultipartFile;import javax.servlet.http.HttpServletResponse;
import java.util.List;@RestController
@CrossOrigin
@RequestMapping("/test")
public class MinioController {@AutowiredMinioConfig minioConfig;// 上传@PostMapping("/upload")public Object upload(@RequestParam("file") MultipartFile multipartFile) throws Exception {return this.minioConfig.putObject(multipartFile);}// 下载文件@GetMapping("/download")public void download(@RequestParam("fileName")String fileName, HttpServletResponse response) {this.minioConfig.download(fileName,response);}// 列出所有存储桶名称@PostMapping("/list")public List<String> list() throws Exception {return this.minioConfig.listBucketNames();}// 创建存储桶@PostMapping("/createBucket")public boolean createBucket(String bucketName) throws Exception {return this.minioConfig.makeBucket(bucketName);}// 删除存储桶@PostMapping("/deleteBucket")public boolean deleteBucket(String bucketName) throws Exception {return this.minioConfig.removeBucket(bucketName);}// 列出存储桶中的所有对象名称@PostMapping("/listObjectNames")public List<String> listObjectNames(String bucketName) throws Exception {return this.minioConfig.listObjectNames(bucketName);}// 删除一个对象@PostMapping("/removeObject")public boolean removeObject(String bucketName, String objectName) throws Exception {return this.minioConfig.removeObject(bucketName, objectName);}// 文件访问路径@PostMapping("/getObjectUrl")public String getObjectUrl(String bucketName, String objectName) throws Exception {return this.minioConfig.getObjectUrl(bucketName, objectName);}
}
6、测试(上传)
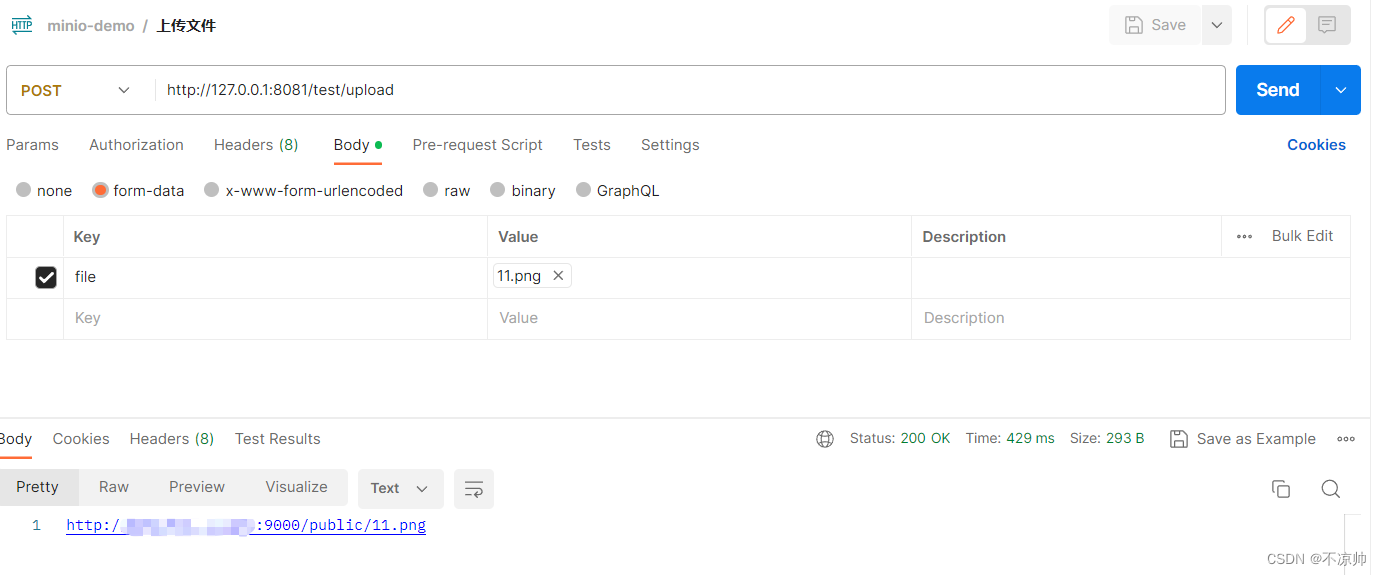
开发中上传接口用得较多,其他接口可自行测试。
三、Vue+Element-ui前端交互
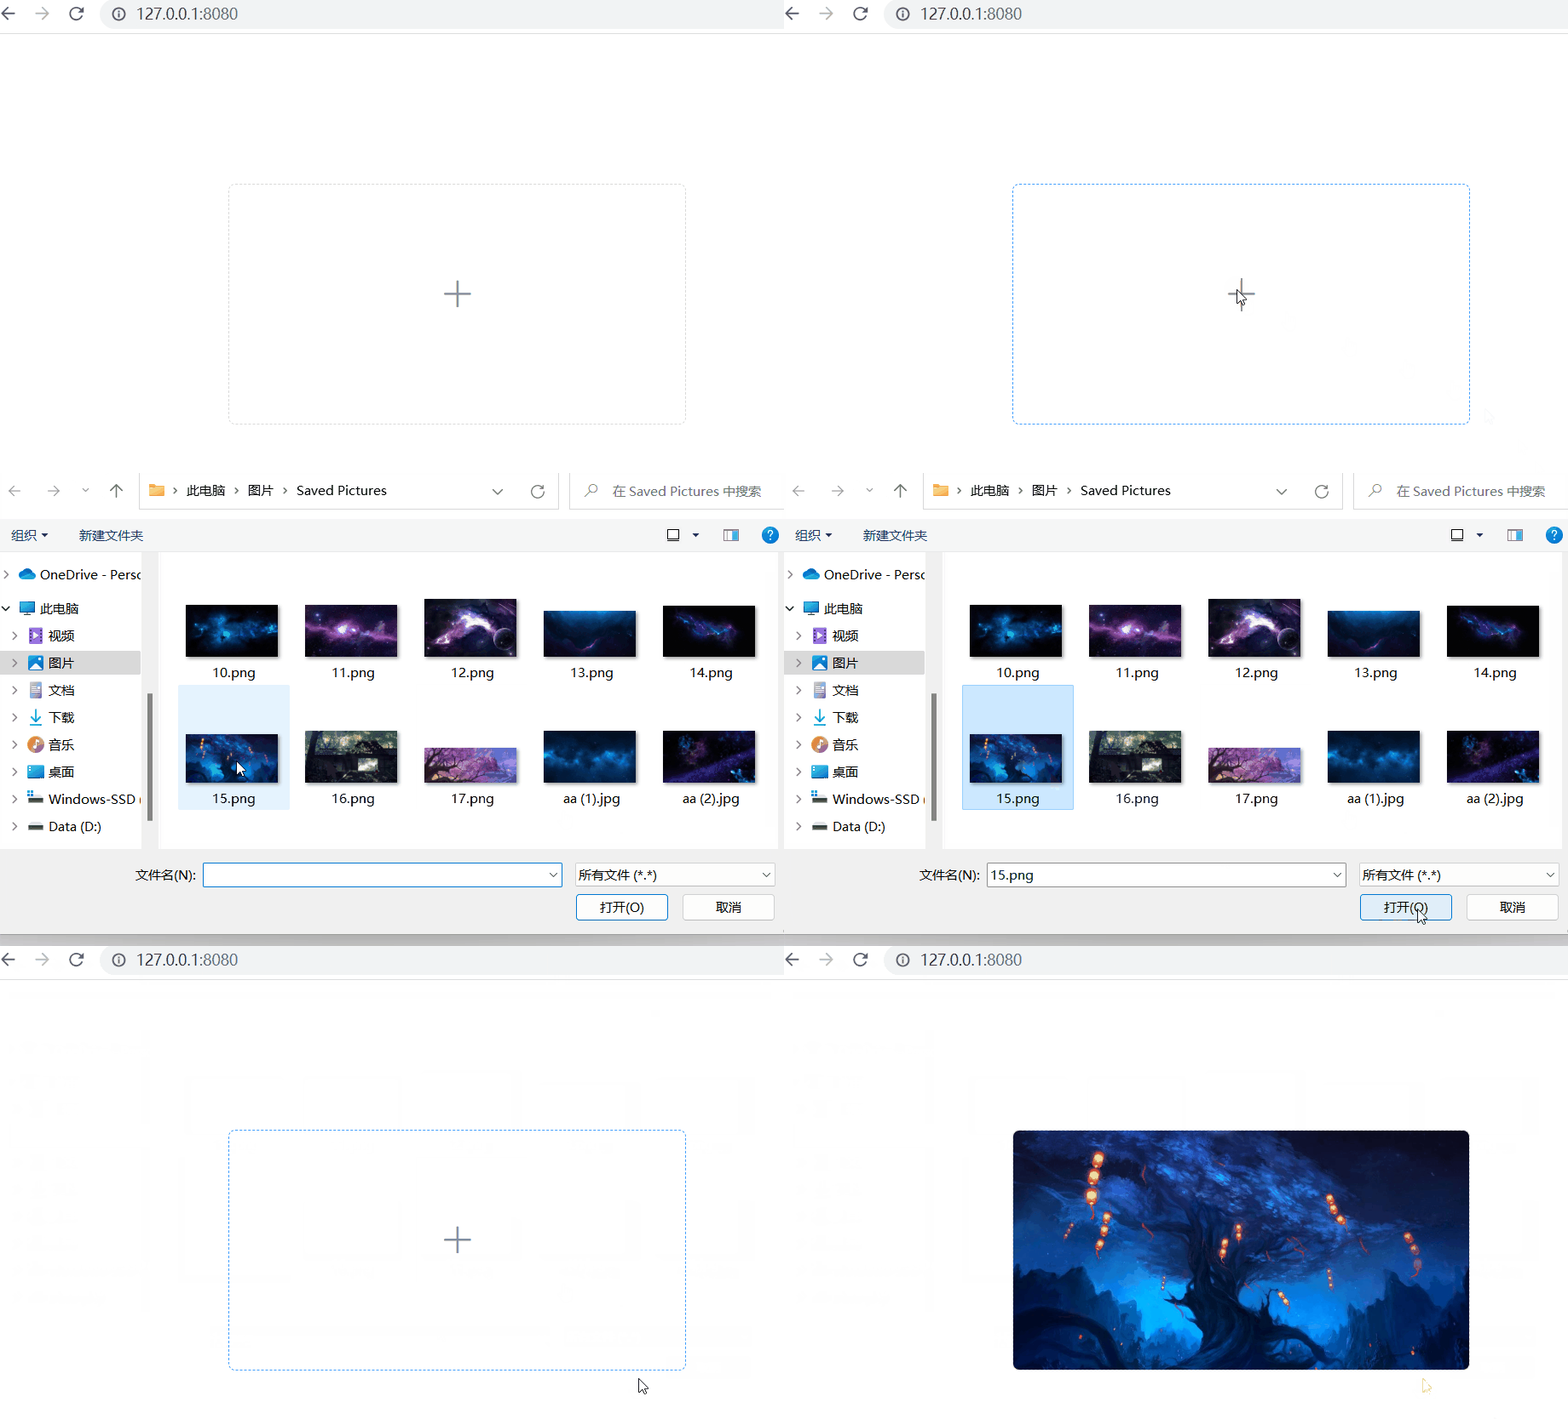
# npm下载element-ui
npm install element-ui -S
// 引入ElementUI
import ElementUI from 'element-ui'
import 'element-ui/lib/theme-chalk/index.css'
Vue.use(ElementUI)
<template><div id="app"><el-uploadclass="avatar-uploader"action="http://127.0.0.1:8081/test/upload":show-file-list="false":on-success="handleAvatarSuccess":before-upload="beforeAvatarUpload"><img v-if="imageUrl" :src="imageUrl" class="avatar"><i v-else class="el-icon-plus avatar-uploader-icon"></i></el-upload></div>
</template><script>
export default {data() {return {imageUrl: ''};},methods: {handleAvatarSuccess(res, file) {this.imageUrl = URL.createObjectURL(file.raw);},beforeAvatarUpload(file) {const isJPG = file.type === 'image/jpeg' || file.type === 'image/png';const isLt2M = file.size / 1024 / 1024 < 2;if (!isJPG) {this.$message.error('上传头像图片只能是 jpg或png 格式!');}if (!isLt2M) {this.$message.error('上传头像图片大小不能超过 2MB!');}return isJPG && isLt2M;}}
}
</script><style lang="less">
.avatar-uploader .el-upload {border: 1px dashed #d9d9d9;border-radius: 6px;cursor: pointer;position: relative;left: 200px;top: 120px;overflow: hidden;
}
.avatar-uploader .el-upload:hover {border-color: #409EFF;
}
.avatar-uploader-icon {position: relative;top: 80px;font-size: 28px;color: #8c939d;width: 389px;height: 204px;line-height: 178px;text-align: center;
}
.avatar {width: 389px;height: 204px;display: block;
}
</style>

