先决条件
- Microsoft/Office 365订阅(Exchange是必须的)并添加一个gitlab专用的账户,本文使用E5开发者订阅
- 部署好的GitLab,参考上一篇文章
步骤
一、 配置Microsoft Entra
1. 注册应用程序
登录Azure门户,进入Microsoft Entra ID,选择管理-应用注册-新注册
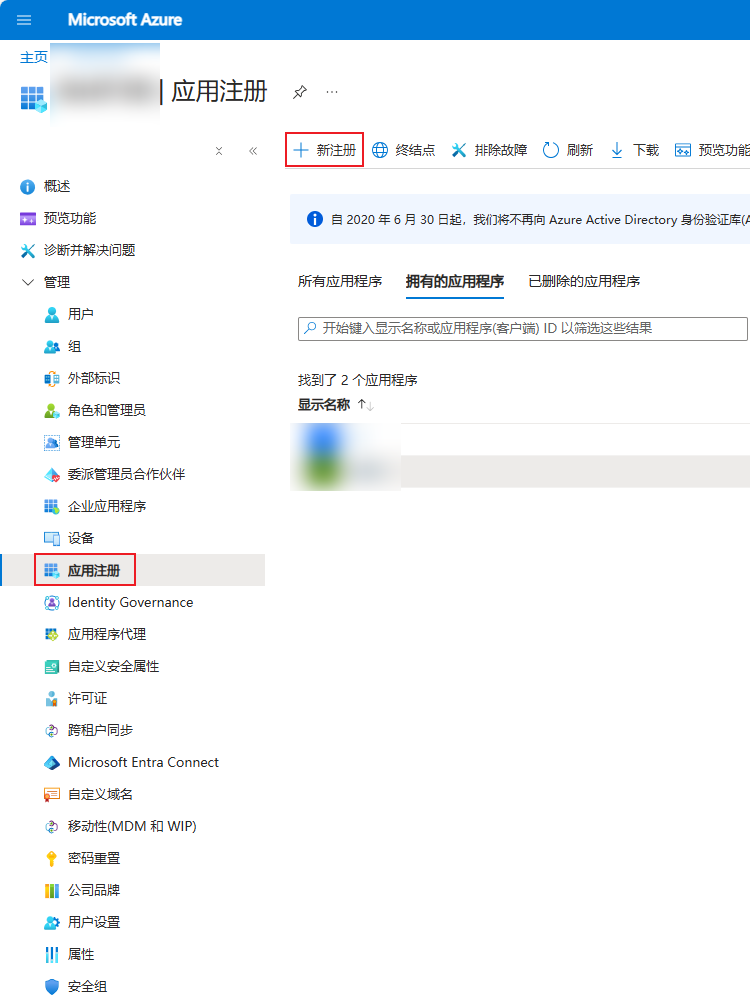
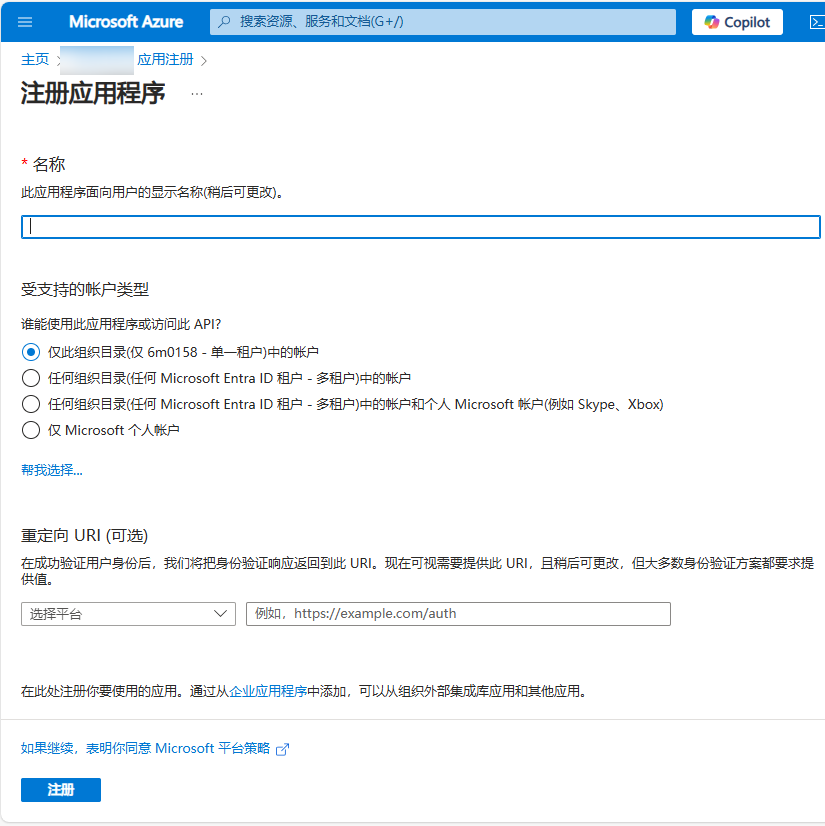
填写你想要的名称,点击注册
2. 配置应用程序权限
进入新注册的应用程序,选择API
权限-添加权限,选择Microsoft Graph
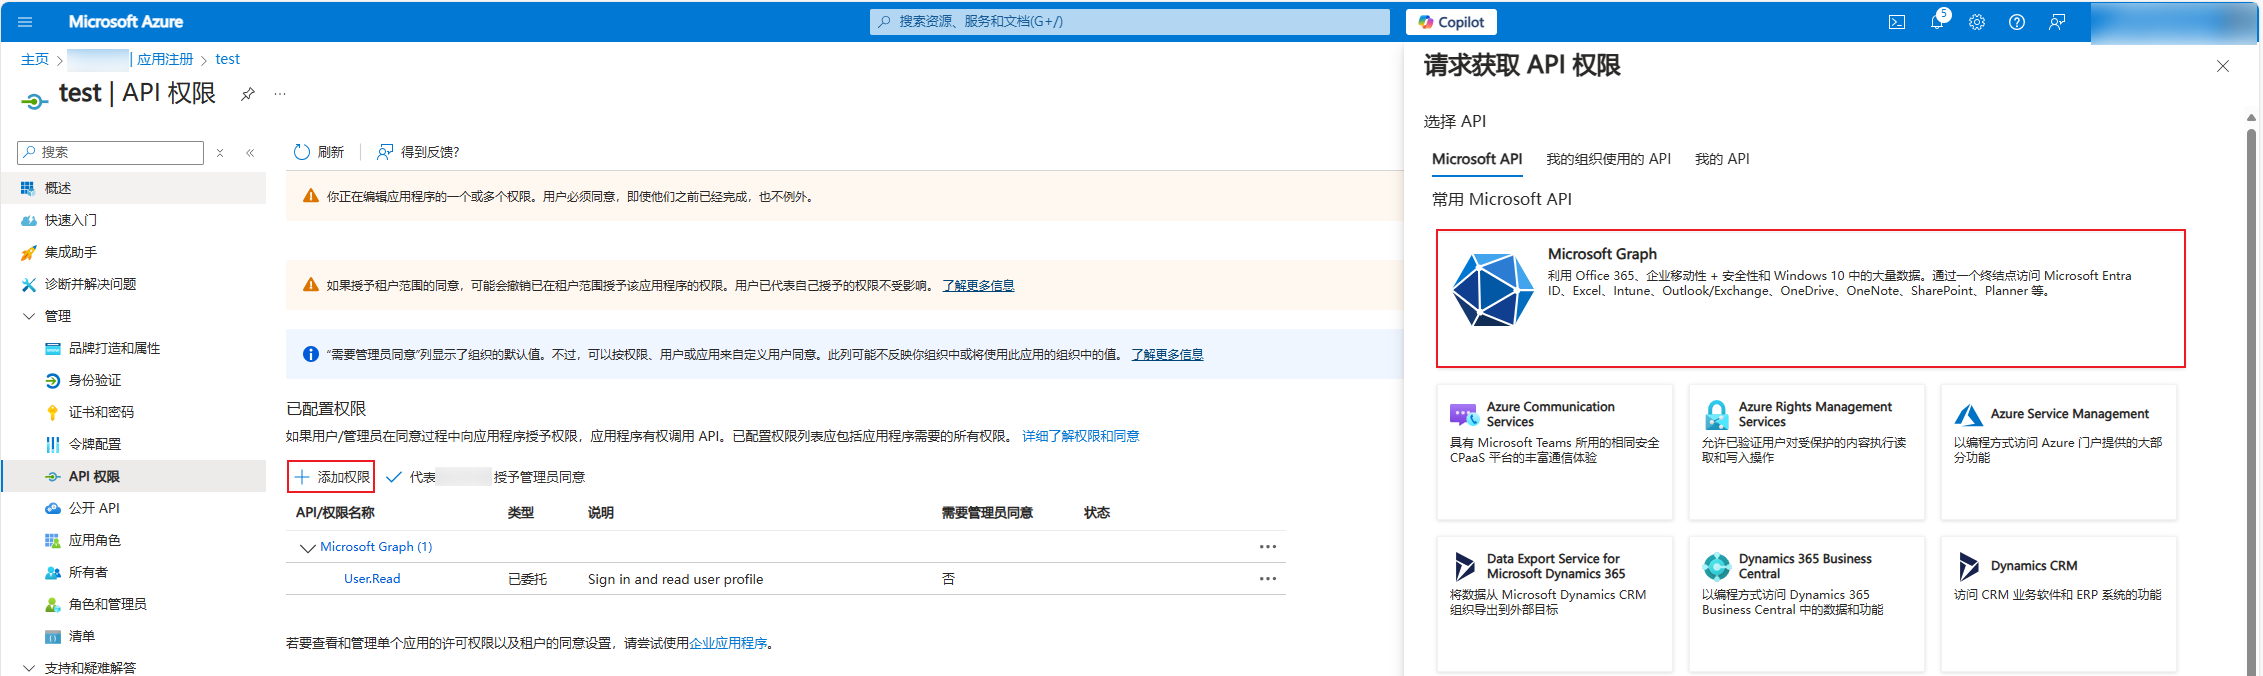
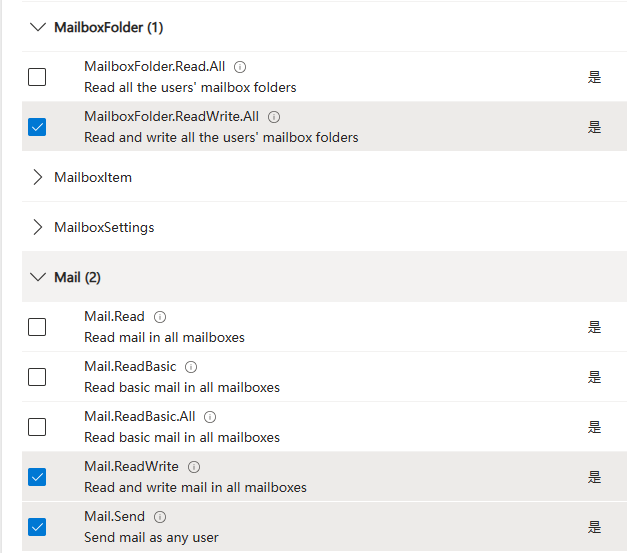
选择应用程序权限下的并添加权限
MailboxFolder.ReadWrite.All
Mail.ReadWrite
Mail.Send
代表组织授管理员同意

3. 生成密钥
选择左侧的证书和密码,选择客户端密码-新客户端密码并添加一个客户端密码
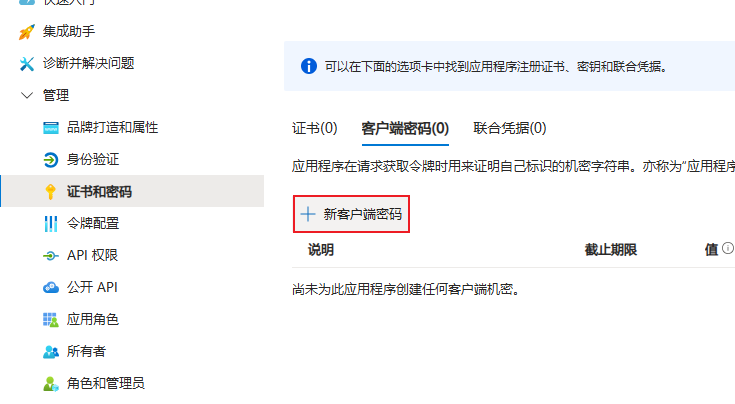
即时记下值中的内容,离开页面后将不可见
二、 配置GitLab
1. 通用配置
gitlab_rails['gitlab_email_from'] = 'gitlab@example.com'
#这里发件人的显示名称对于Microsoft Graph无效,需要在Exchange中手动修改
gitlab_rails['gitlab_email_display_name'] = 'Example Gitlab'
gitlab_rails['gitlab_email_reply_to'] = 'gitlab@example.com'
2. GitLab发件配置
gitlab_rails['microsoft_graph_mailer_enabled'] = true
gitlab_rails['microsoft_graph_mailer_user_id'] = "发件用户ID"
gitlab_rails['microsoft_graph_mailer_tenant'] = "租户ID"
gitlab_rails['microsoft_graph_mailer_client_id'] = "应用程序(客户端) ID"
gitlab_rails['microsoft_graph_mailer_client_secret'] = "客户端密码值"
gitlab_rails['microsoft_graph_mailer_azure_ad_endpoint'] = "https://login.microsoftonline.com"
gitlab_rails['microsoft_graph_mailer_graph_endpoint'] = "https://graph.microsoft.com"
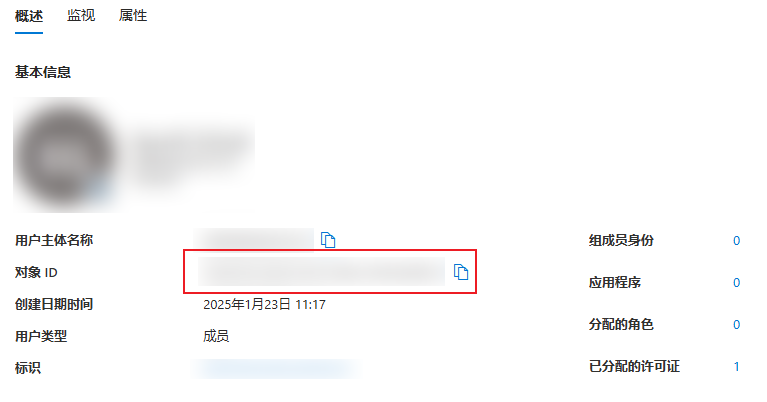
其中,发件用户ID可以在Microsoft Entra ID中选择管理-用户-所有用户-发件用户-对象ID获取
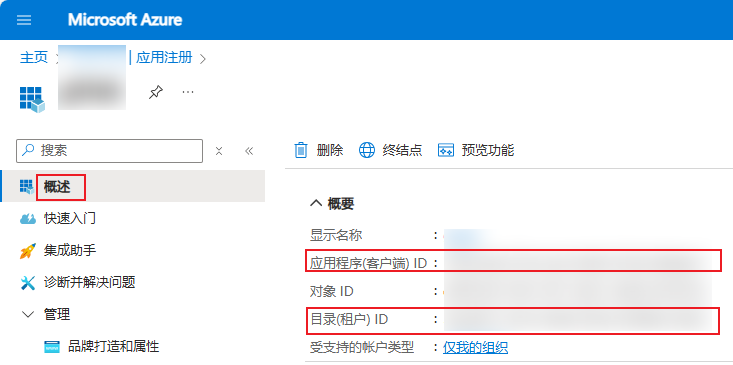
租户ID和应用程序ID在刚刚注册的应用程序概述中获取
3. GitLab收件自动化配置
gitlab_rails['incoming_email_enabled'] = true
gitlab_rails['incoming_email_address'] = "gitlab+%{key}@example.com"
gitlab_rails['incoming_email_email'] = "gitlab@example.com"
gitlab_rails['incoming_email_mailbox_name'] = "收件箱名称"
gitlab_rails['incoming_email_inbox_method'] = 'microsoft_graph'
gitlab_rails['incoming_email_inbox_options'] = {  'azure_ad_endpoint': 'https://login.microsoftonline.com',  'graph_endpoint': 'https://graph.microsoft.com',  'tenant_id': '租户ID',  'client_id': '应用程序(客户端) ID',  'client_secret': '客户端密码值',  'poll_interval': 60  # Optional  }
其中,收件箱名称在使用非默认的inbox(收件箱)时需要手动获取收件箱的ID,例如在邮箱新建了一个文件夹ABC,这里不能填ABC否则Graph Api会报错
接下来在Postman中调用Microsoft Graph手动获取邮箱文件夹ID
先登录获取token
GET https://login.microsoftonline.com/5bbef931-9b10-4928-834d-92698bc78da7/oauth2/v2.0/token
Body选择x-www-form-urlencoded,添加如下参数
| 参数 | 值 |
|---|---|
| grant_type | client_credentials |
| client_id | 应用程序(客户端)ID |
| client_secret | 客户端密码值 |
| scope | https://graph.microsoft.com/.default |
请求后获取access_token
然后获取邮箱文件夹ID
GET https://graph.microsoft.com/v1.0/users/gitlab@example.com/mailFolders
Header中添加Authorization 值为刚刚获取的token
请求后得到所有文件夹的信息,记录下我们所需的文件夹的ID填入配置中
{"@odata.context": "https://graph.microsoft.com/v1.0/$metadata#users('gitlab@example.com')/mailFolders","value": [{"id": "xxx","displayName": "ABC","parentFolderId": "xxx","childFolderCount": 0,"unreadItemCount": 0,"totalItemCount": 0,"sizeInBytes": 0,"isHidden": false},{"id": "xxx","displayName": "发件箱","parentFolderId": "xxx","childFolderCount": 0,"unreadItemCount": 0,"totalItemCount": 0,"sizeInBytes": 0,"isHidden": false},...]
}
4. 重新应用GitLab配置并测试
进入GitLab容器并运行命令gitlab-ctl reconfigure
等待配置重新应用后运行命令gitlab-rails console进入GitLab命令行,可能需要几分钟进行初始化
执行测试命令
Notify.test_email('your-email@example.com', 'Test Email', 'This is a test email.').deliver_now
若配置正常会提示邮件发送成功
本文可能随时更新,原始地址:https://blog.akadot.net/post/2025/2/6/config-microsoft-graph-as-the-send-and-incoming-email-tool
欢迎转载、引用,请务必申明出处与作者
园子博客是为了优化SEO,最新文章请访问我的博客:https://blog.akadot.net