一、Axios 网络请求
- Axios 是一个基于 promise 的网络请求库。
1.1 安装
- ctrl + c :停止服务。
- 安装:npm install -save axios
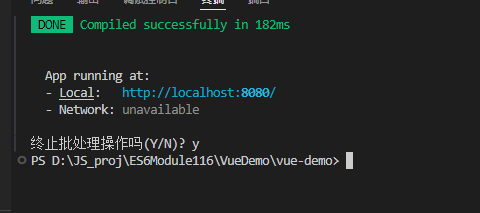
- 安装完启动原来的服务:npm run serve
1.2 引入
-
局部引用:
- import axios from 'axios'; //局部引用
-
全局引用:
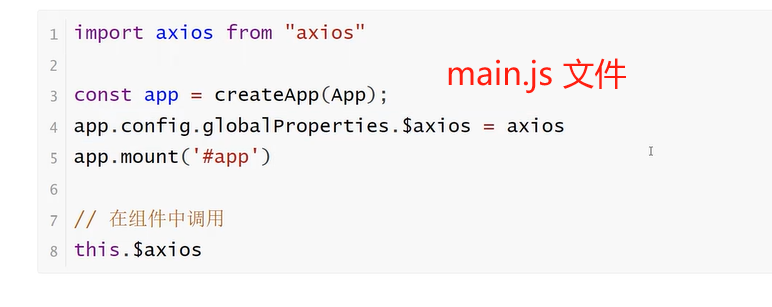
1.3 get请求方式
//get請求方式axios({method:"get",url:"https://www.cnblogs.com/bltstop"}).then(res =>{console.log(res.data);})
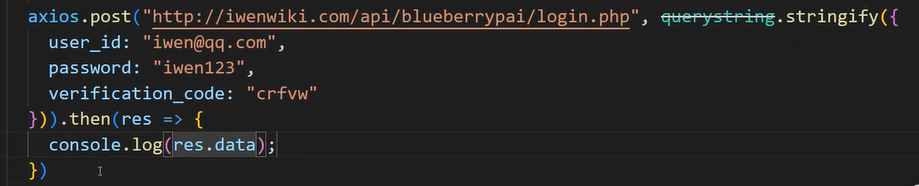
1.4 post 请求方式
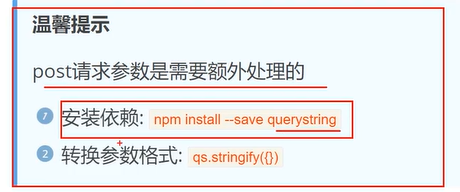
axios({method:"post",url:"http://iwenwiki.com/api/blueberrypai/login.php",data:qs.queryify({user_id:"zhangsan@qq.com",pwd:"12345678",verification_code:"cerf",})}).then(res =>{console.log(res.data);})
1.5 get和post 的快捷方式

二、Axios 网络的请求封装
- 在日常应用过程中,一个项目中的网络请求会很多,此时一般采取的方案是将网络请求封装起来。
step1:安装querystring 和axios
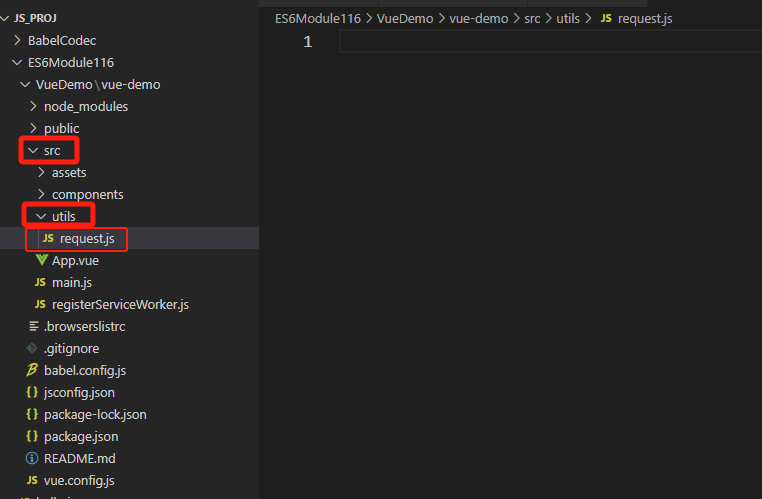
step2: 在src文件夹下创建文件夹utils,
step3 : 在utils文件夹下创建request.js文件。
step5:在request.js 文件中写入代码
import axios from "axios"import querystring from "querystring"const errorHandle = (status,info) => {switch(status){case 400:console.log("语义有误");break;case 401:console.log("服务器认证失败");break;case 403:console.log("服务器拒绝访问");break;case 404:console.log("地址错误");break;case 500:console.log("服务器遇到意外");break;case 502:console.log("服务器无响应");break;default:console.log(info);break;}
}const instance = axios.create({//网络请求的公共配置timeout:5000
})//拦截器(最常用)
//发送数据之前
instance.interceptors.request.use(config =>{if(config.method === "post"){config.data = querystring.stringify(config.data)}//config:包含着网络请求的所有信息return config;},error =>{return Promise.reject(error);}
)//拦截器(最常用)
//发送数据之前
instance.interceptors.response.use(response =>{return response.status === 200 ? Promise.resolve(response) : Promise.reject(response);},error =>{const {response} = error;//错误的信息才是我们需要关注的errorHandle(response.status,response.info)}
)
export default instance;
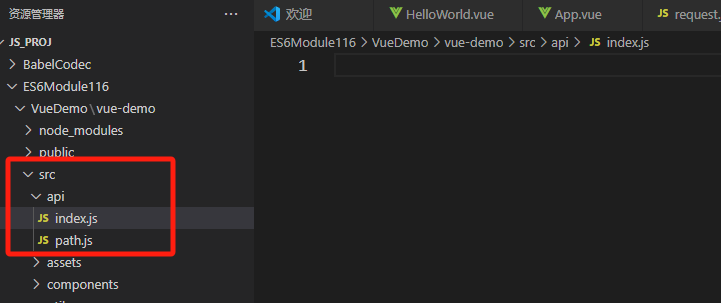
step6:调用,src 文件夹下创建文件夹api, api文件夹下创建文件path.js 和index.js.
step.7: 在path.js 中写入:
const base = {baseurl:"http://iwenwiki.com",chengpin:"/api/blueberrypai/getchengpinDetails.php"
}export default base;
step8 : 在index.js 文件中写入:
import axios from "../utils/request";
import path from "./path"const api = {//chengpin 地址getChengpin(){return axios.get(path.baseurl + path.chengpin)}
}export default api;
step9:在HelloWorld.vue中引用
<template><div class="hello"><h1>{{ msg }}</h1></div>
</template><script>
import api from '../api/index';export default {name: 'HelloWorld',props: {msg: String},mounted(){api.getChengpin().then(res =>{console.log(res.data);})}
}
</script><!-- Add "scoped" attribute to limit CSS to this component only -->
<style scoped></style>
三、网络请求跨域解决方案
3.1 JS采取的是同源策略
同源策略是浏览器的一项安全策略,浏览器只允许is 代码请求和当前所在服务器域名,端口,协议相同的数据接口上的数据,这就是同源策略.
也就是说,当协议、域名、端口任意一个不相同时,都会产生跨域问题,所以又应该如何解决跨域问题呢?
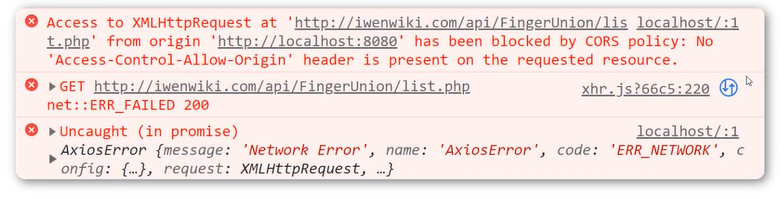
3.2 跨域错误提示信息
3.3 目前主流的跨域解决方案有两种:
-
后台解决:cors
-
前台解决:proxy
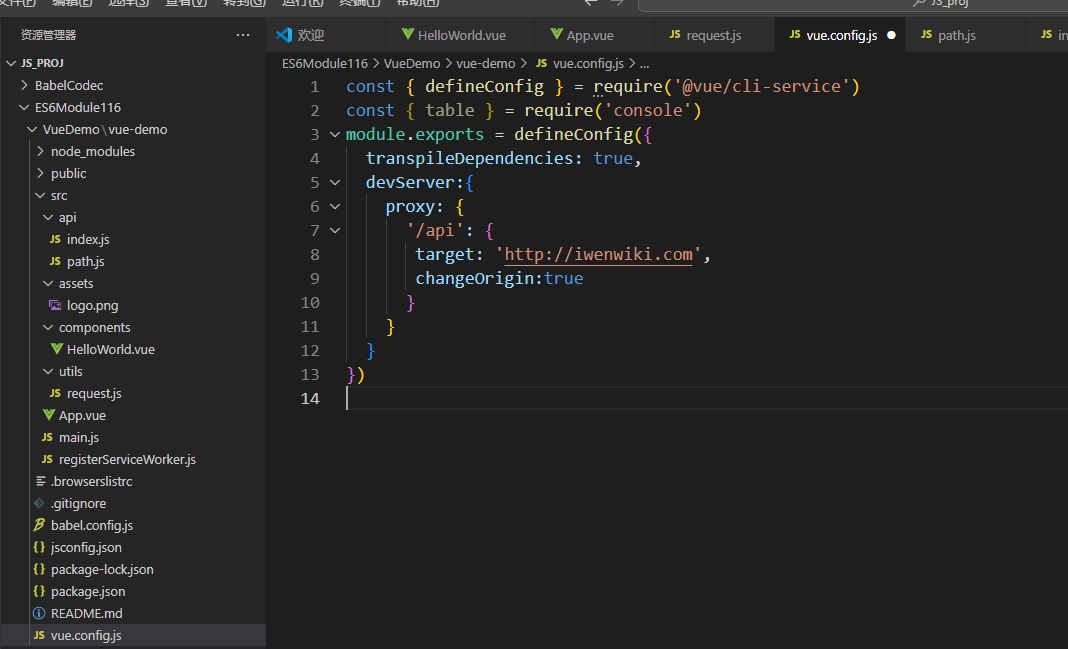
step1:找到文件vue.config.js
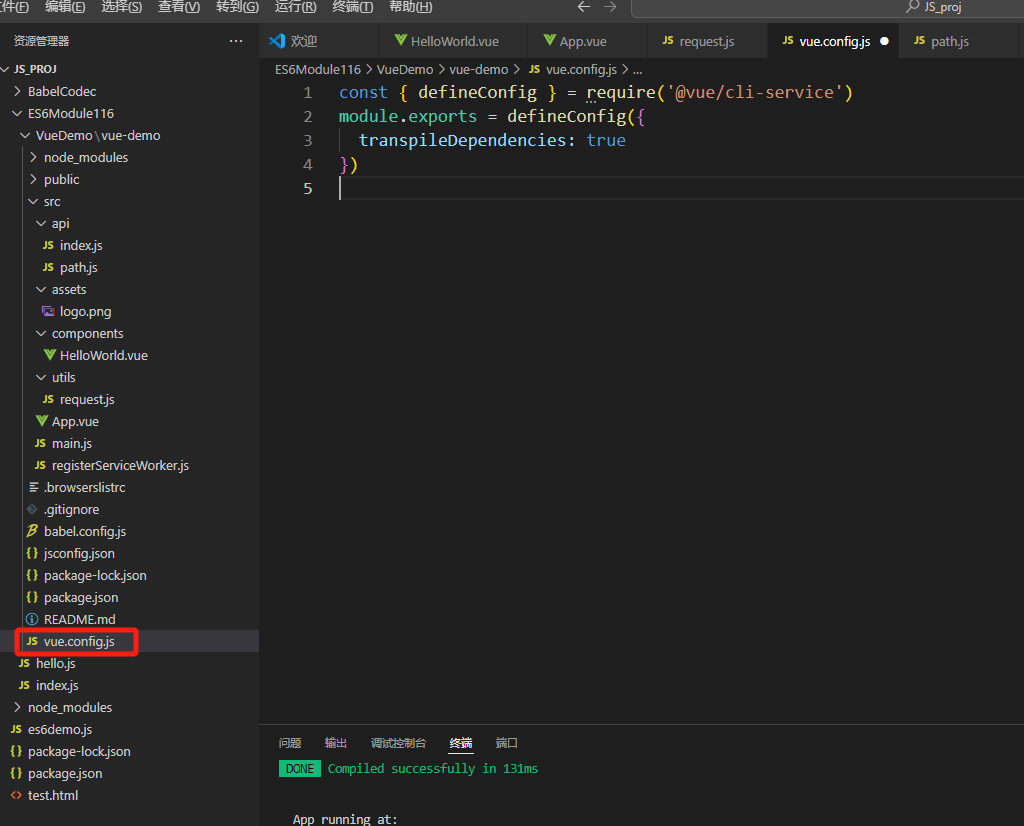
step2: 给文件中添加代码
const { defineConfig } = require('@vue/cli-service')
const { table } = require('console')
module.exports = defineConfig({transpileDependencies: true,
  devServer:{proxy: {'/api': {target: 'http://iwenwiki.com',changeOrigin:true}}}
})
step3:重启服务器
- ctrl + c
- npm run serve