平时注册或者登录一个网站时,可能收到过邮件用来发送验证码等,邮件在项目中经常会被用到,比如邮件发送通知,比如通过邮件注册,认证,找回密码,系统报警通知,报表信息等。
发送邮件用到了Spring Email的技术,我们这里使用的是SMTP。
1.邮箱打开SMTP服务
找一个邮箱用来给其他邮箱发送文件,要用SMTP服务发送邮件,所以邮箱要提前开启这个功能。
以163邮箱为例:(其他邮箱也是相同的操作)
开启SMTP服务后,会出现弹框,将授权密码记录下来,注意:只出现一次
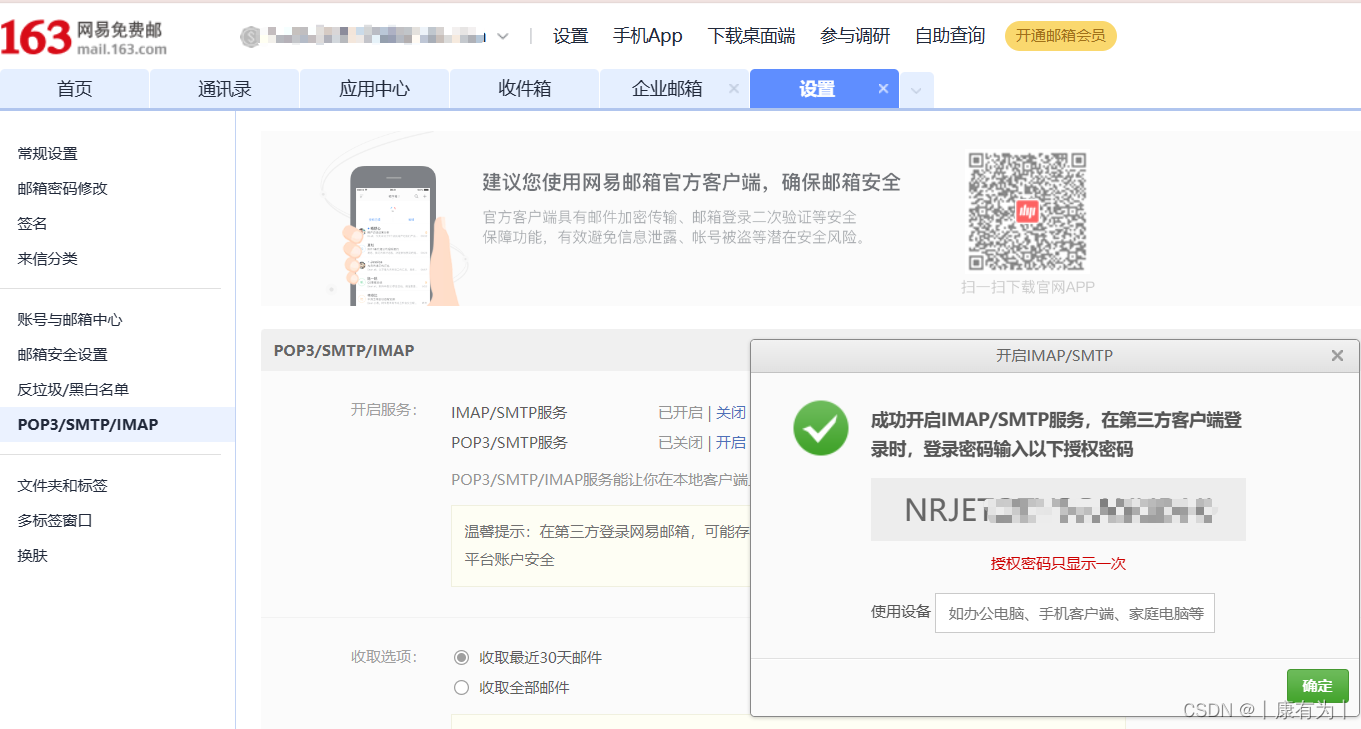
还可以看到服务器地址

2.SpringBoot集成Email
将下面的maven配置拷贝下来,集成到SpringBoot中。
<!-- https://mvnrepository.com/artifact/org.springframework.boot/spring-boot-starter-mail -->
<dependency><groupId>org.springframework.boot</groupId><artifactId>spring-boot-starter-mail</artifactId><version>2.1.5.RELEASE</version>
</dependency>
3.邮箱参数配置
首先进行配置文件,配置文件的目的是告诉Spring需要用哪个邮箱来发送邮件
写到SpringBoot的yaml配置文件里面
(登录授权密码不是你邮箱的密码,是你邮箱开启SMTP服务后显示的那个授权密码)
spring:mail:#邮箱域名、端口、邮箱账号、登录授权密码、启用smtps安全协议、采用ssl安全链接host: smtp.163.comport: 465username: ************@163.compassword: ************protocol: smtpsproperties:mail.smtp.ssl.enable: true4.发送邮件工具类
package com.kyw.util;
import org.slf4j.Logger;
import org.slf4j.LoggerFactory;
import org.springframework.beans.factory.annotation.Autowired;
import org.springframework.beans.factory.annotation.Value;
import org.springframework.mail.javamail.JavaMailSender;
import org.springframework.mail.javamail.MimeMessageHelper;
import org.springframework.stereotype.Component;import javax.mail.MessagingException;
import javax.mail.internet.MimeMessage;@Component
public class MailClient {private static final Logger logger = LoggerFactory.getLogger(MailClient.class);@Autowiredprivate JavaMailSender mailSender;//读取到配置类中的 “发送者”邮箱@Value("${spring.mail.username}")private String from;/*** 发送邮件* @param to        “接收者”邮箱* @param subject   邮件的主题* @param content   邮件的内容*/public void sendMail(String to, String subject, String content) {try {MimeMessage mimeMessage = mailSender.createMimeMessage();MimeMessageHelper helper = new MimeMessageHelper(mimeMessage);helper.setFrom(from);helper.setTo(to);helper.setText(content,true);//表示可以发送HTML文件helper.setSubject(subject);mailSender.send(helper.getMimeMessage());} catch (MessagingException e) {logger.error("发送邮件失败:" + e.getMessage());}}
}
发送文本邮件测试
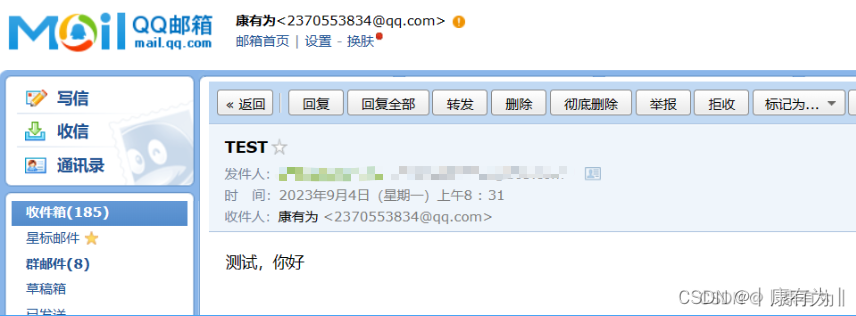
写一个测试类来测试,给我的qq邮箱发送一个邮件
package com.kyw;import com.kyw.util.MailClient;
import org.junit.Test;
import org.junit.runner.RunWith;
import org.springframework.beans.factory.annotation.Autowired;
import org.springframework.boot.test.context.SpringBootTest;
import org.springframework.test.context.ContextConfiguration;
import org.springframework.test.context.junit4.SpringRunner;@RunWith(SpringRunner.class)
@SpringBootTest
@ContextConfiguration(classes  = SpringBootDemoApplication.class)
public class MailTests {@Autowiredprivate MailClient mailClient;@Testpublic void testTextMail() {mailClient.sendMail("2370553834@qq.com","TEST","测试,你好");}
}
收到啦
发送HTML邮件
也是用Thymeleaf实现的,没有配置Thymeleaf先去集成一下,搜索SpringBoot集成Thymeleaf即可。
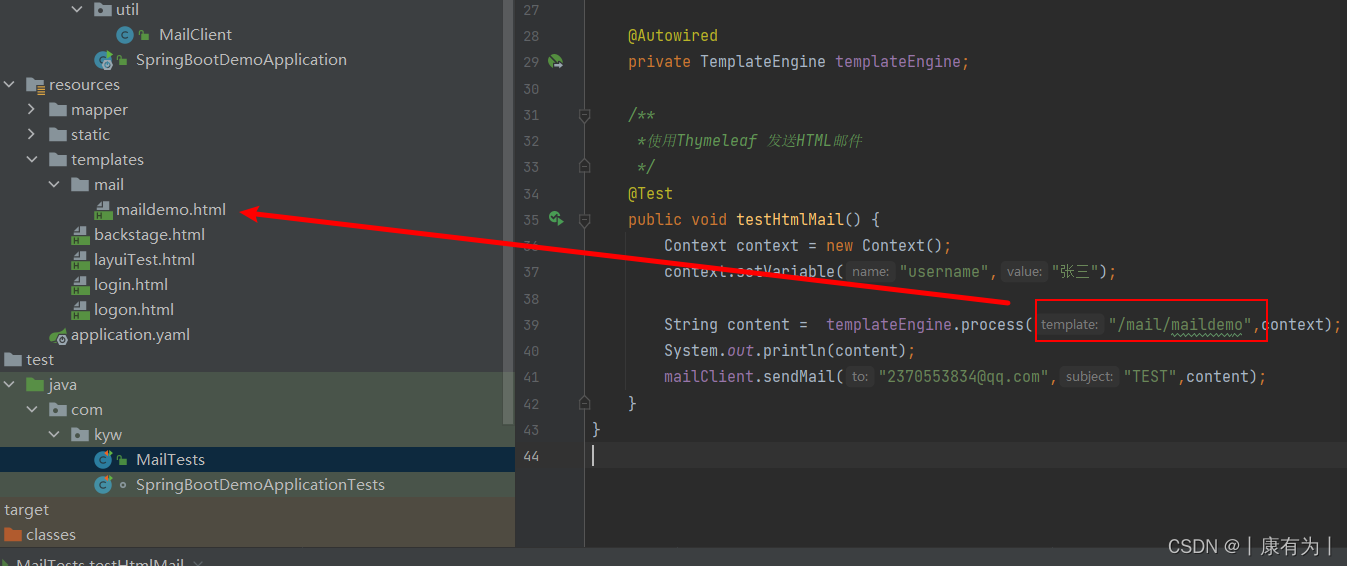
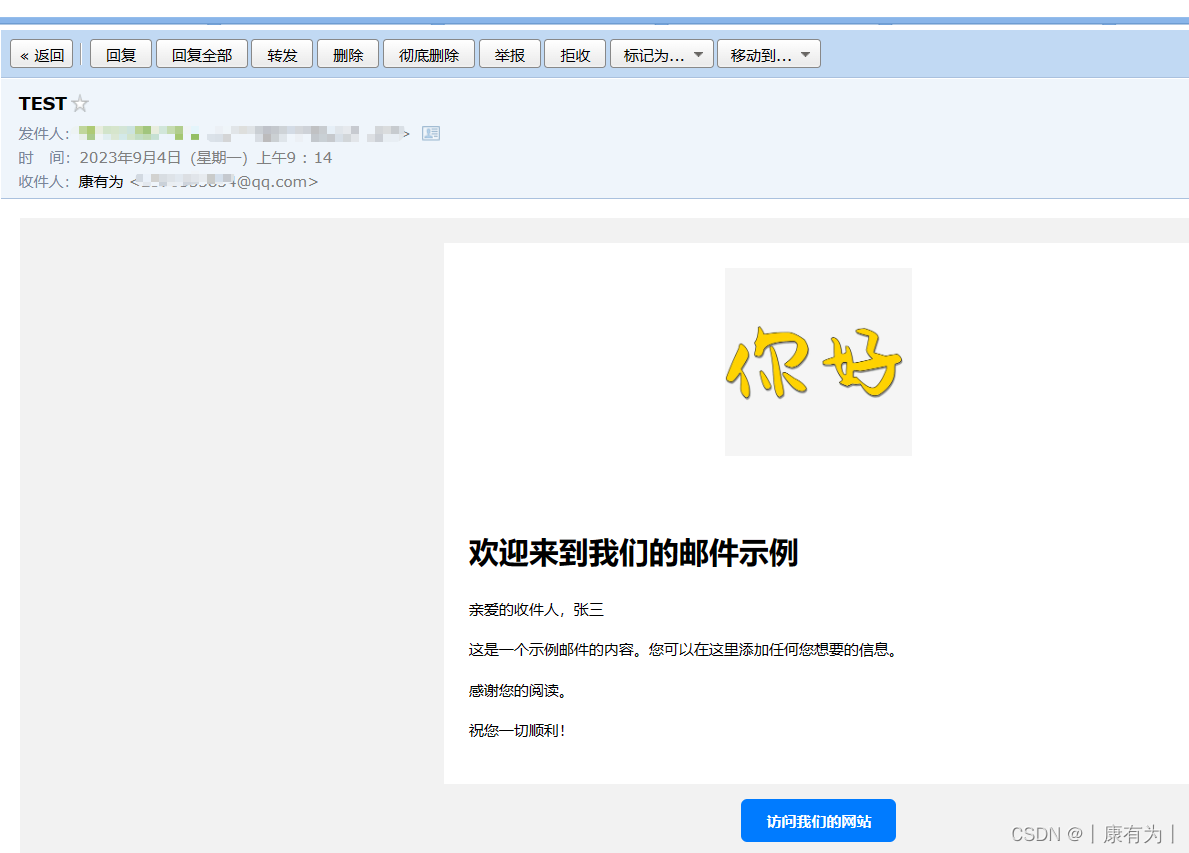
先写一个邮件模板页面,里面的username是动态的值,等待后端调用的时候填充
<!DOCTYPE html>
<html lang="en" xmlns:th="http://www.thymeleaf.org">
<head><meta charset="UTF-8"><title>示例邮件</title>
</head>
<body>
<table cellpadding="0" cellspacing="0" border="0" width="100%" bgcolor="#f2f2f2"><tr><td align="center" style="padding: 20px 0;"><table cellpadding="0" cellspacing="0" border="0" width="600" bgcolor="#ffffff"><tr><td align="center" style="padding: 20px 0;"><img src="https://pic.izihun.com/pic/art_font/2019/01/16/10/png_temp_1570533438378_9814.jpg?imageMogr2/auto-orient/thumbnail/820x/format/jpeg" alt="公司标志"width="150" height="150"></td></tr><tr><td style="padding: 20px;"><h1>欢迎来到我们的邮件示例</h1><p>亲爱的收件人,<span th:text="${username}" ></span> </p><p>这是一个示例邮件的内容。您可以在这里添加任何您想要的信息。</p><p>感谢您的阅读。</p><p>祝您一切顺利!</p></td></tr><tr><td align="center" style="background-color: #f2f2f2; padding: 20px;"><a href="https://www.baidu.com" style="text-decoration: none; background-color: #007BFF; color: #ffffff; padding: 10px 20px; border-radius: 5px; font-weight: bold;">访问我们的网站</a></td></tr></table></td></tr>
</table>
</body>
</html>
后端测试类
package com.kyw;import com.kyw.util.MailClient;
import org.junit.Test;
import org.junit.runner.RunWith;
import org.springframework.beans.factory.annotation.Autowired;
import org.springframework.boot.test.context.SpringBootTest;
import org.springframework.test.context.ContextConfiguration;
import org.springframework.test.context.junit4.SpringRunner;
import org.thymeleaf.TemplateEngine;
import org.thymeleaf.context.Context;@RunWith(SpringRunner.class)
@SpringBootTest
@ContextConfiguration(classes  = SpringBootDemoApplication.class)
public class MailTests {@Autowiredprivate MailClient mailClient;/***发送文本文件*/@Testpublic void testTextMail() {mailClient.sendMail("2370553834@qq.com","TEST","测试,你好");}@Autowiredprivate TemplateEngine templateEngine;/***使用Thymeleaf 发送HTML邮件*/@Testpublic void testHtmlMail() {Context context = new Context();context.setVariable("username","张三");String content =  templateEngine.process("/mail/maildemo",context);System.out.println(content);mailClient.sendMail("2370553834@qq.com","TEST",content);}
}
注意路径要按照Thymeleaf的规范来
