webpack基础构建
- 新建文件夹进入文件夹
- 查看是否安装node,命令:node-v
- 创建package.json文件,命令:npm init -y
- 安装webpack和webpack-cli,(命令自动创建出package-lock.json文件和node_modules文件夹)命令:npm install webpack webpack-cli --save-dev
- npx webpack -v查看版本
- 手动创建文件夹src,在src文件夹内创建出index.js
- 手动创建一个webpack.config.js配置文件。
const path = require('path')//管理路径模块的包
//CommonJS语法
module.exports = {mode:'development',//开发模式entry:path.join(__dirname,'src','index.js'),//__dirname代表当前文件位于的目录//上述整行命令代表的是,整个打包的入口output:{path:path.join(__dirname,'dist'),//path把打包好的文件放在什么路径下filename:'bundle.js',//filename打包好的文件叫啥名}
}- 去package.json文件内“scrptis”里去配置脚本"build":"webpack"
- 终端去输入命令:npm run build 将文件打包好
- 在dist文件下新建一个index.html文件,然后用<script>引入bundle.js文件,直接在浏览器中打开就ok
<!DOCTYPE html>
<html><head><meta charset="utf-8"><title></title></head><body><p>webpack</p><script src="dist/bundle.js"></script></body>
</html> 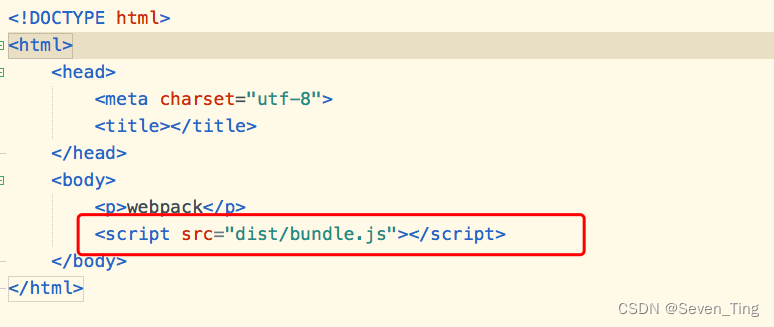
webpack拆分配置
首先在build文件目录下新建四个js文件
- 通用配置:webpack.common.js
- dev配置: webpack.dev.js
- prod配置:webpack.prod.js
- 通用地址引入:paths.js
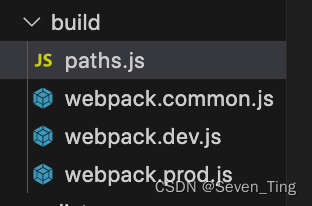
webpack.common.js:
const path = require('path')
const HtmlWebpackPlugin = require('html-webpack-plugin')
const { srcPath, distPath } = require('./paths')module.exports = {entry: path.join(srcPath, 'index'),plugins: [new HtmlWebpackPlugin({template: path.join(srcPath, 'index.html'),filename: 'index.html'})],
}
webpack.dev.js:
const path = require('path')
const webpack = require('webpack')
const webpackCommonConf = require('./webpack.common.js')
const { merge } = require('webpack-merge')
const { srcPath, distPath } = require('./paths')module.exports = merge(webpackCommonConf, {mode: 'development',devServer: {historyApiFallback: true,static: distPath,open: true,compress: true,hot: true,port: 8080,// 设置代理 —— 如果有需要的话!proxy: {// 将本地 /api/xxx 代理到 localhost:3000/api/xxx'/api': 'http://localhost:3000',// 将本地 /api2/xxx 代理到 localhost:3000/xxx'/api2': {target: 'http://localhost:3000',pathRewrite: {'/api2': ''}}}},plugins: [new webpack.DefinePlugin({// window.ENV = 'production'ENV: JSON.stringify('development')})]
})
webpack.prod.js :
const path = require('path')
const webpack = require('webpack')
const { CleanWebpackPlugin } = require('clean-webpack-plugin')
const webpackCommonConf = require('./webpack.common.js')
const { merge } = require('webpack-merge')
const { srcPath, distPath } = require('./paths')module.exports = merge(webpackCommonConf, {mode: 'production',output: {filename: 'bundle.[contenthash:8].js',  // 打包代码时,加上 hash 戳path: distPath,// publicPath: 'http://cdn.abc.com'  // 修改所有静态文件 url 的前缀(如 cdn 域名),这里暂时用不到},plugins: [new CleanWebpackPlugin(), // 会默认清空 output.path 文件夹new webpack.DefinePlugin({// window.ENV = 'production'ENV: JSON.stringify('production')})]
})
- 安装插件 :
npm install -D webpack-dev-server
npm i html-webpack-plugin
npm i clean-webpack-plugin
npm i webpack-merge- 在src目录下新建index.html
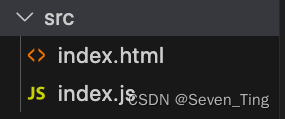
index.html:
<!DOCTYPE html>
<html lang="en">
<head><meta charset="UTF-8"><meta name="viewport" content="width=device-width, initial-scale=1.0"><title>Document</title>
</head>
<body><p class="wes">webpack demo5</p>
</body>
</html>
执行命令:npm run dev启动项目
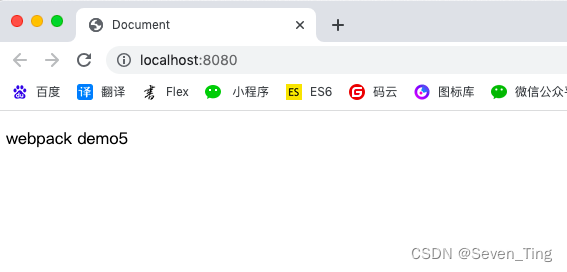
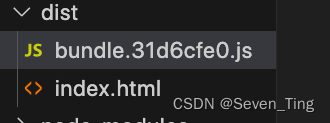
执行命令:npm run build打包
当前package.json文件:
{"name": "webpack","version": "1.0.0","description": "","main": "index.js","scripts": {"test": "echo \"Error: no test specified\" && exit 1","dev-without-dev-server": "webpack --config build/webpack.dev.js","dev": "webpack serve --config build/webpack.dev.js","build": "webpack --config build/webpack.prod.js"},"keywords": [],"author": "Seven_Ting","license": "ISC","devDependencies": {"webpack": "^5.88.1","webpack-cli": "^5.1.4","webpack-dev-server": "^4.15.1"},"dependencies": {"clean-webpack-plugin": "^4.0.0","html-webpack-plugin": "^5.5.3","webpack-merge": "^5.9.0"}
}
webpack处理样式
- 首先安装插件:
npm i style-loader css-loader postcss-loader less-loader -D
npm i less -D
npm i autoprefixer -D- 新建文件 postcss.config.js
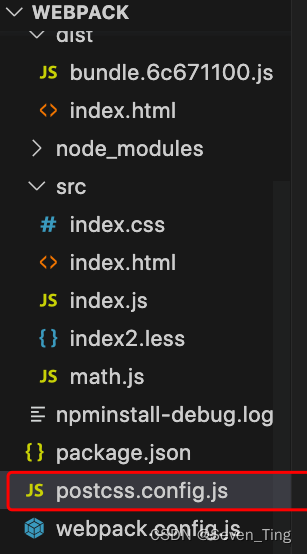
module.exports = {plugins: [require('autoprefixer')]
}- 处理样式写在公共配置文件里webpack.common.js:
- 在webpack.common.js文件中的module对象的rules数组中配置css样式相关
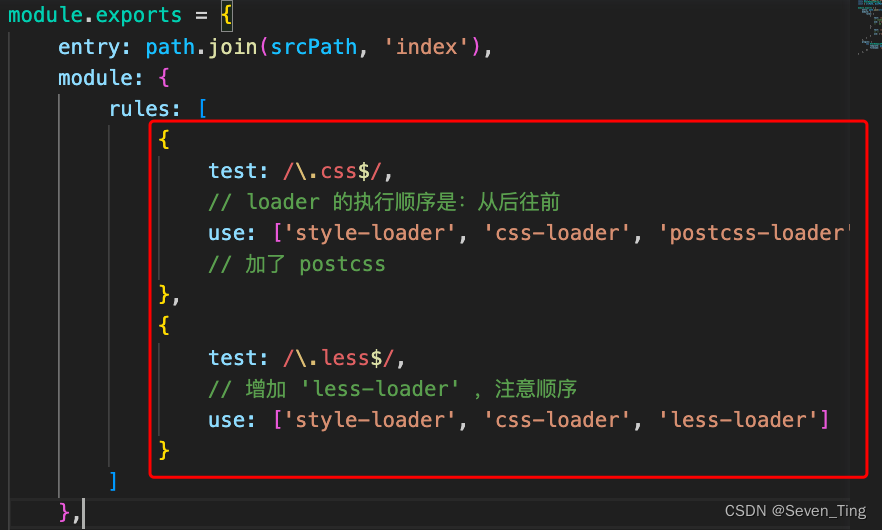
{test: /\.css$/,// loader 的执行顺序是:从后往前use: ['style-loader', 'css-loader', 'postcss-loader'] // 加了 postcss
},
{ test: /\.less$/,// 增加 'less-loader' ,注意顺序use: ['style-loader', 'css-loader', 'less-loader']
}- 在src目录下新建两个css文件
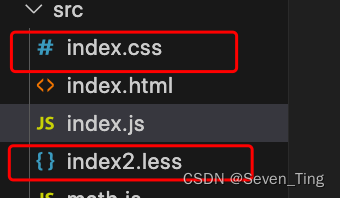
index.css:
body{background: green;
}
index2.less:
.wes{font-size: 50px;color: aliceblue;
}
执行命令npm run dev:
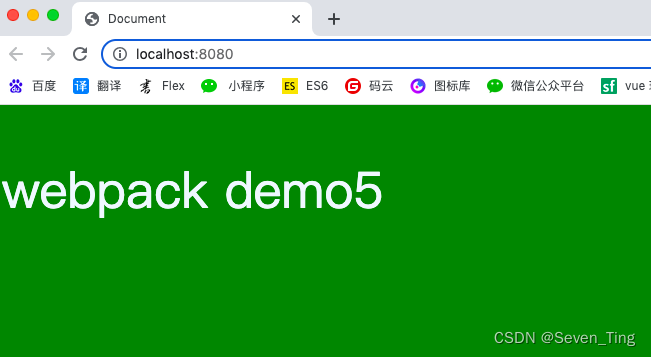
执行命令npm run build:

注意:
1、样式loader是从后往前一步一步解析的
2、打包后的css文件是直接在html的<script>标签中去插入css样式的
3、postcss-loader是用作浏览器兼容性的,几乎兼容所有浏览器
webpack处理ES6
注意:需要去webpack.common.js文件里的利用babel-loader,处理babel需要配置一个文件叫.babelrc
- 安装插件:
npm i babel-loader -D
npm i @babel/core -D
npm i @babel/preset-env -D- 新建文件.babelrc
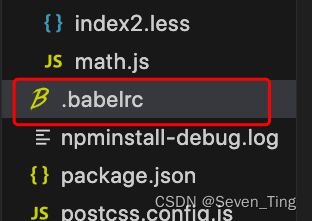
- .babelrc:
{"presets": ["@babel/preset-env"],"plugins": []
}- webpack.common.js: 的module对像的rules数组内配置
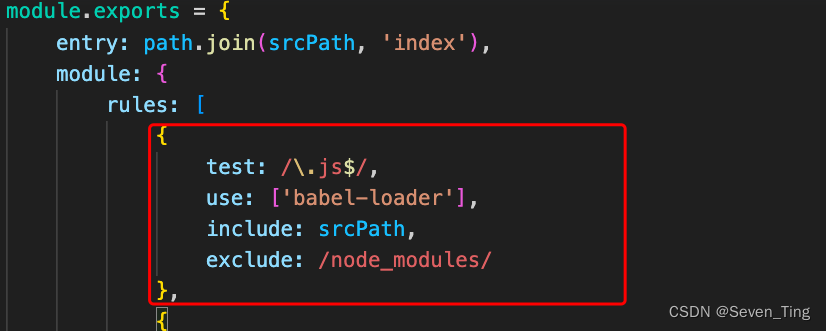
{test: /\.js$/,use: ['babel-loader'],include: srcPath,exclude: /node_modules/
},
测试:
- 新建math.js文件
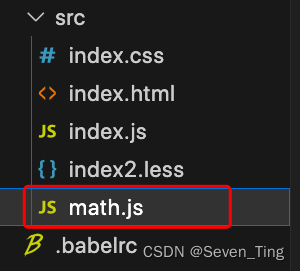
export const sum = (a, b) => {return a + b
}
- 在index.js文件中编码
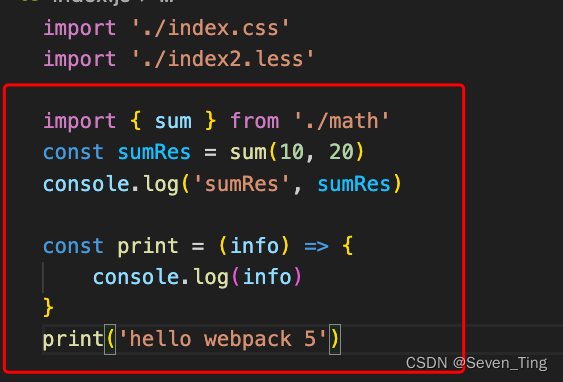
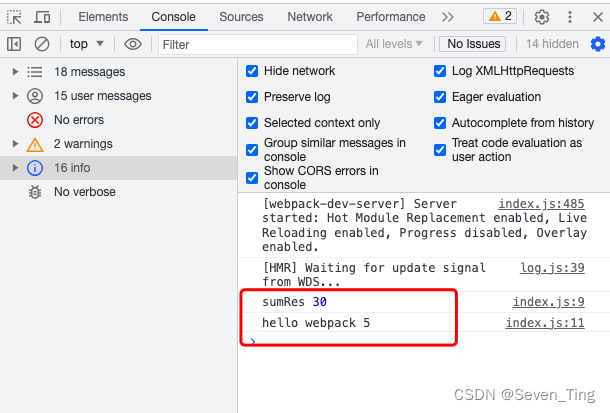
import { sum } from './math'
const sumRes = sum(10, 20)
console.log('sumRes', sumRes)const print = (info) => {console.log(info)
}
print('hello webpack 5')
运行npm run dev
