制作一个简单UI:
1."端口设置"模块
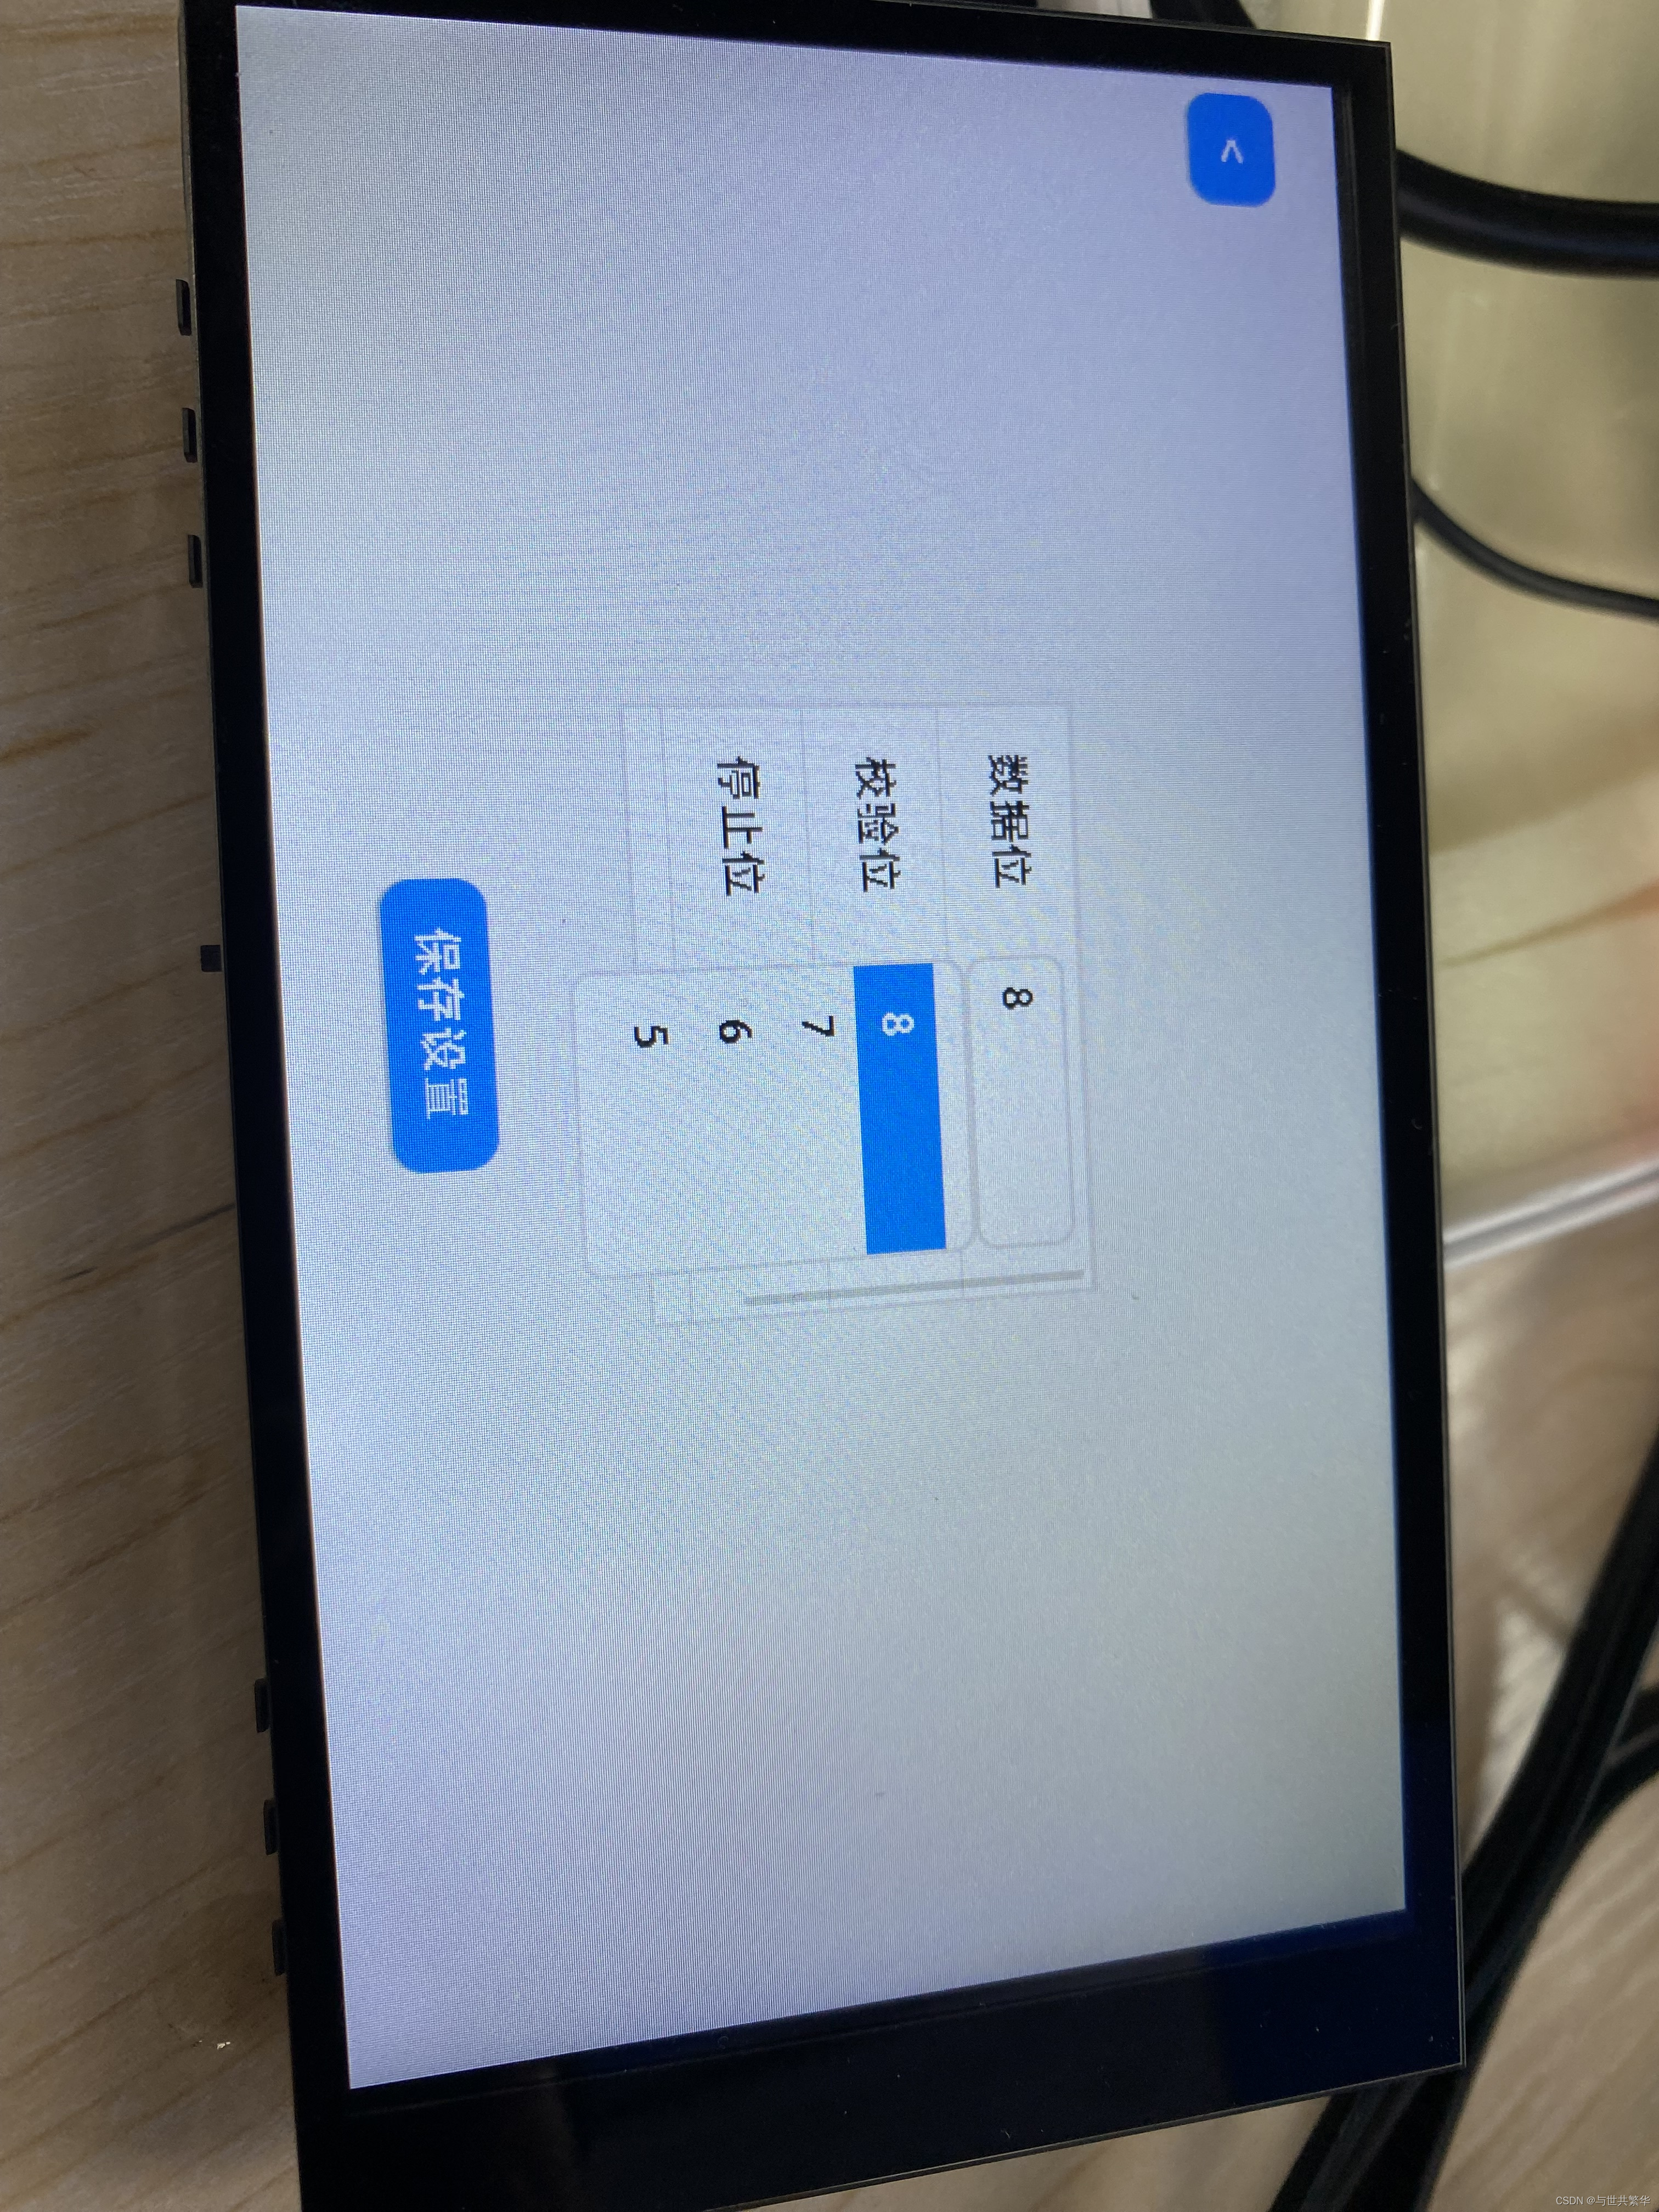
*效果图
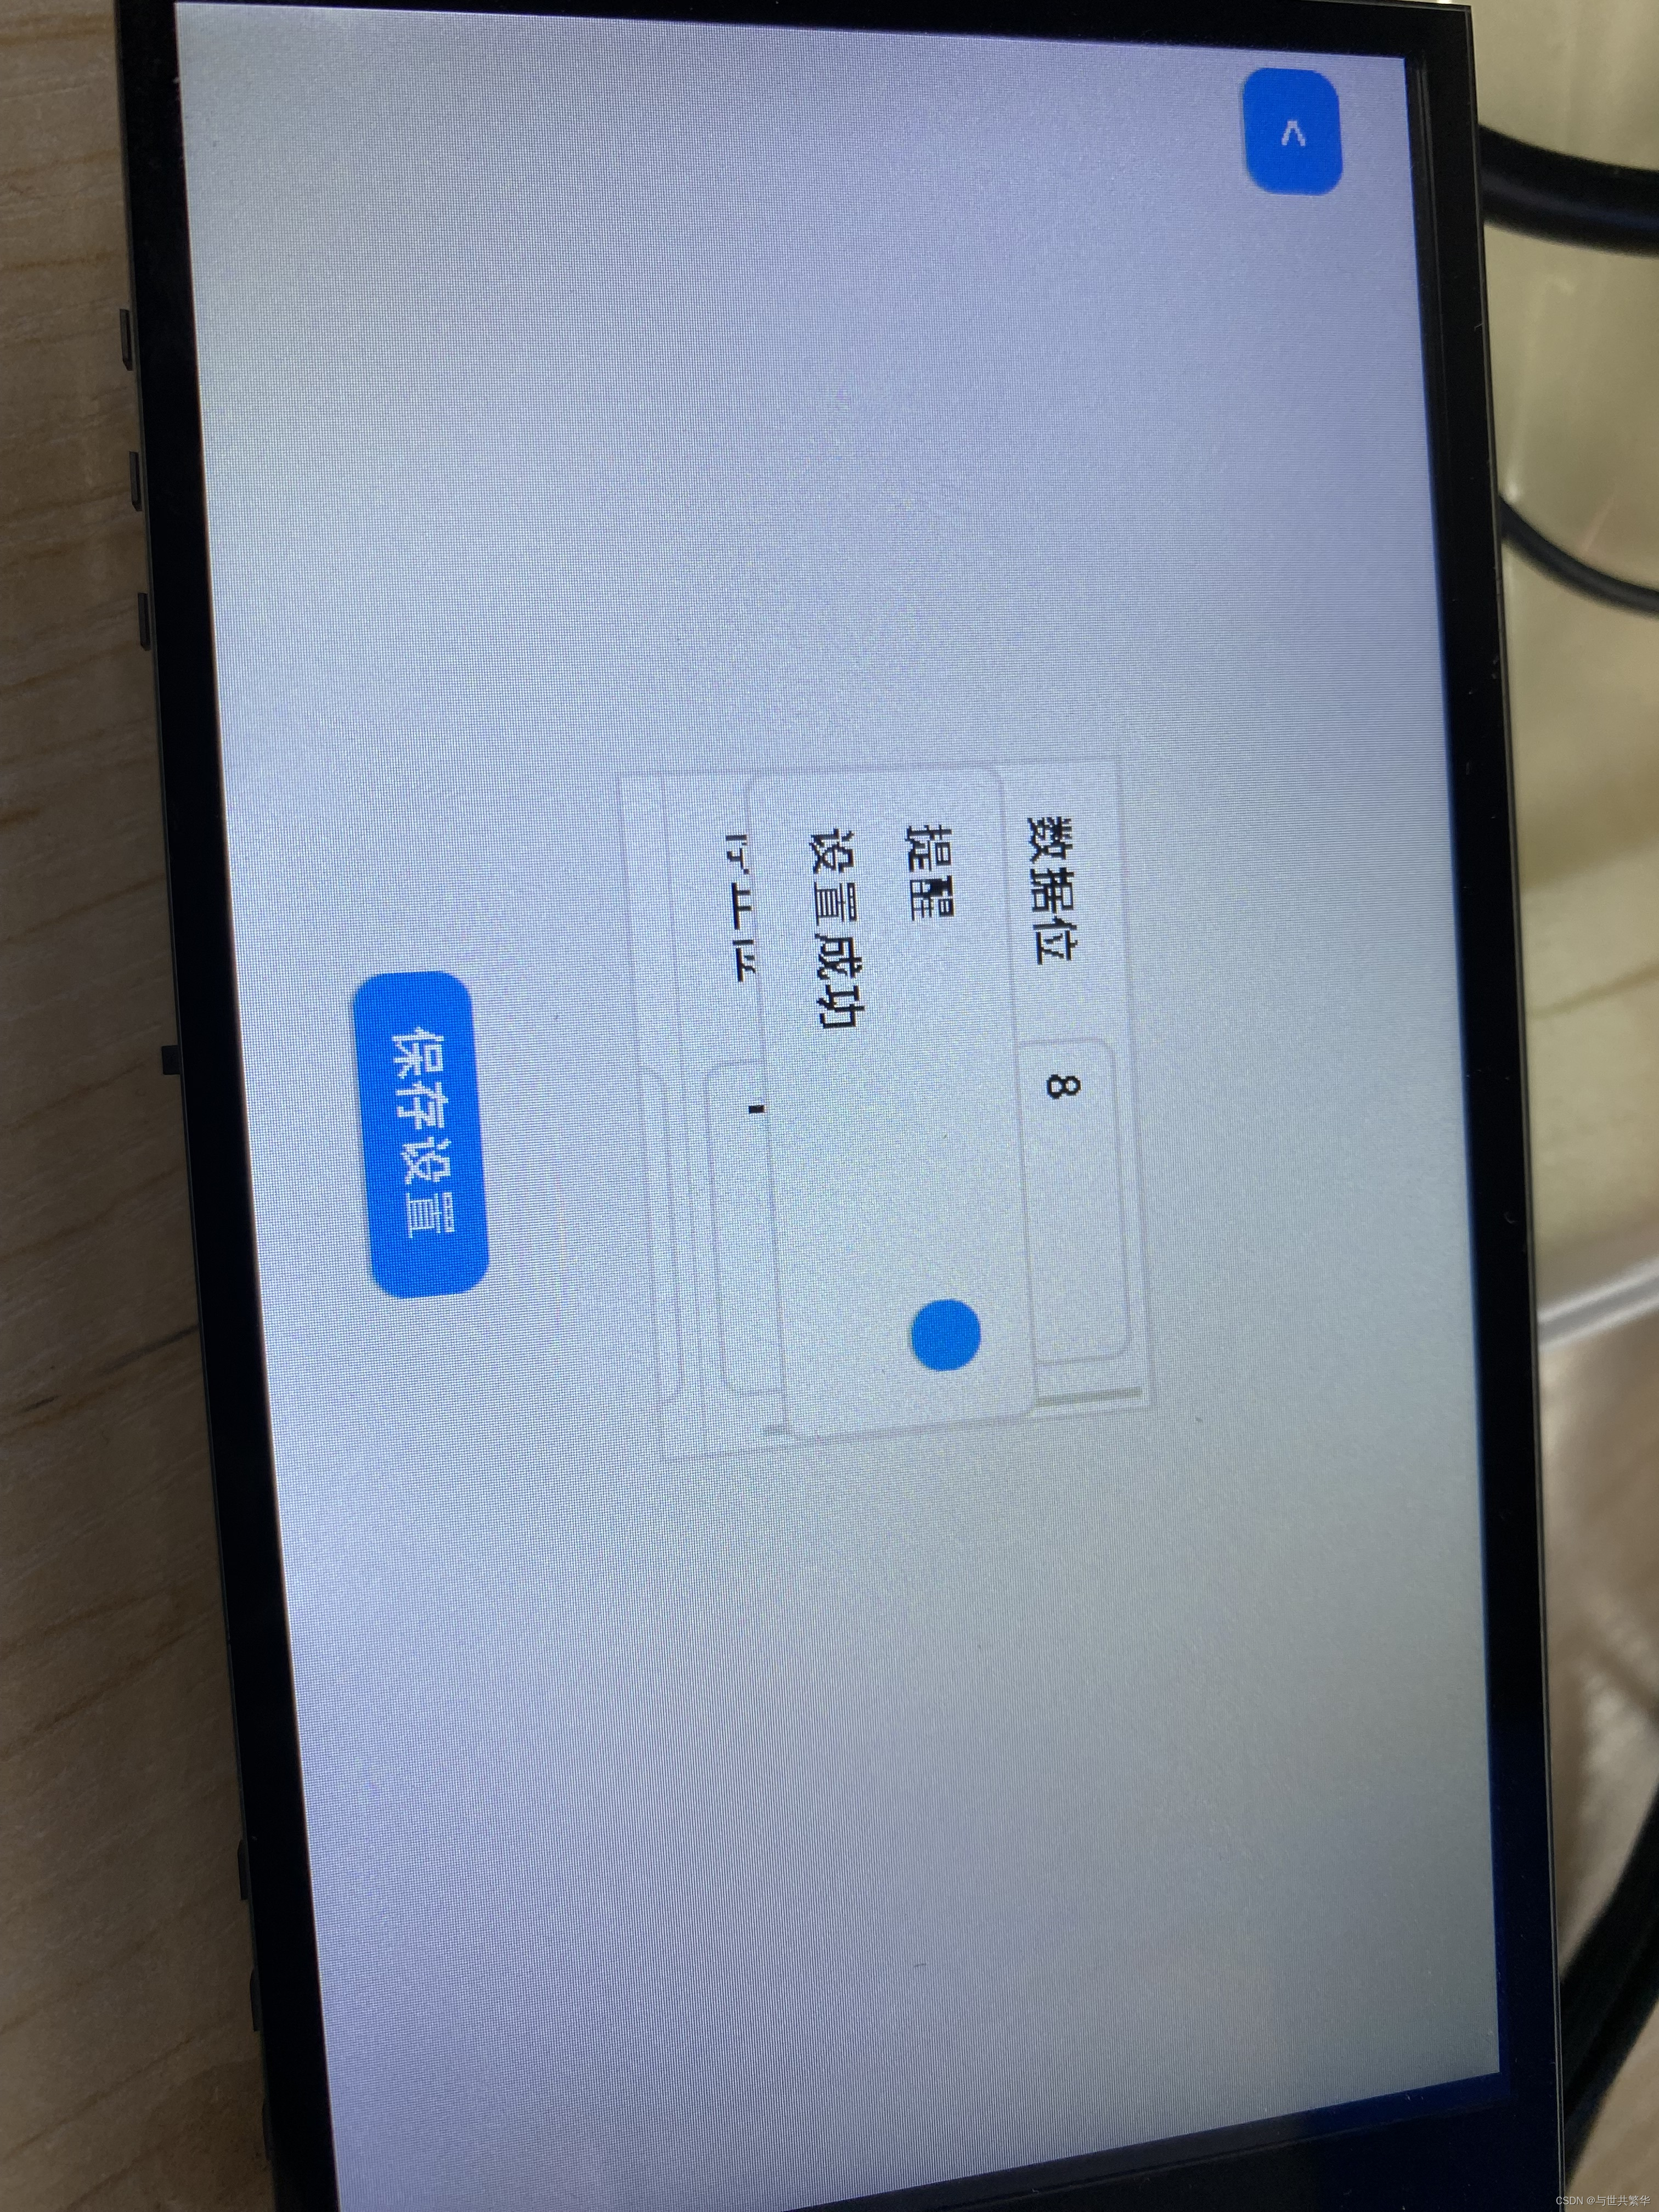
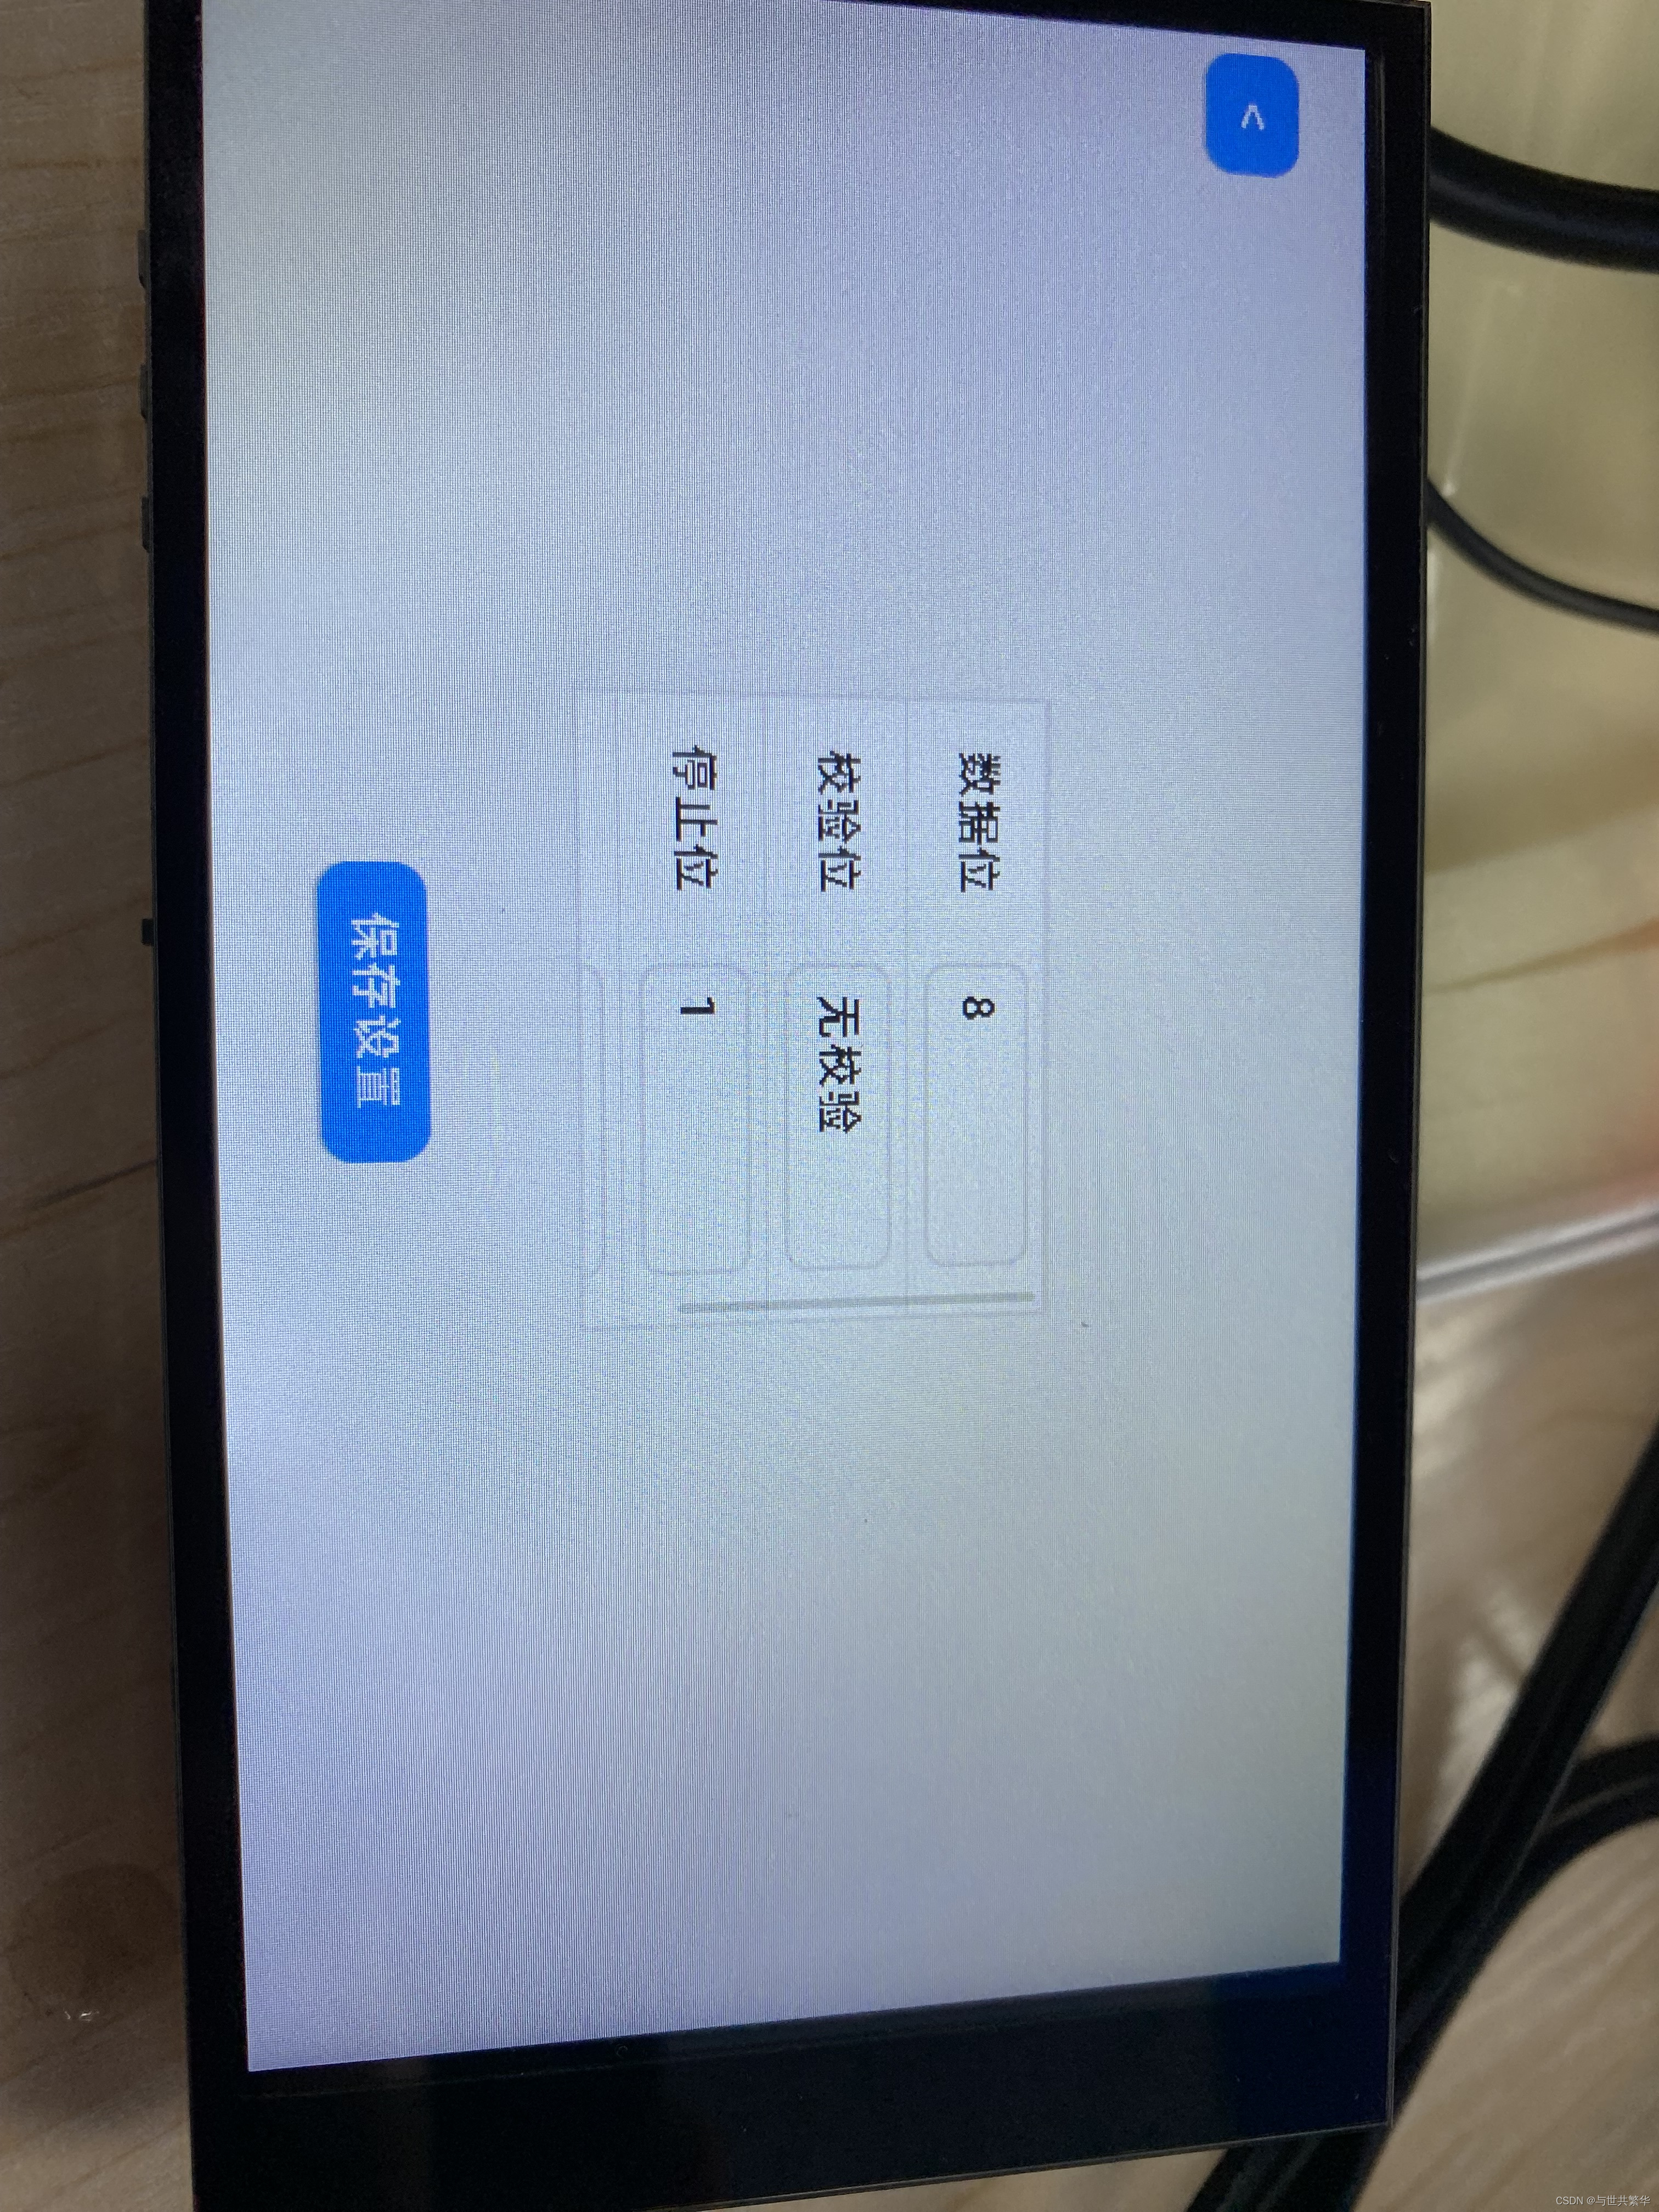
*代码
def backEvent(evt):            #返回主界面code = evt.get_code()    if code == lv.EVENT.CLICKED:lv.scr_load(mainInterface)def popUpEvent(evt):        #弹窗提醒code = evt.get_code()if code == lv.EVENT.CLICKED:btns = []mbox1 = lv.msgbox(portSet, "提醒", "设置成功",btns, True)mbox1.center()portSet = lv.obj() pReturnBtn = lv.btn(portSet)     #返回按钮
pReturnBtn.align(lv.ALIGN.TOP_LEFT,20,30) #按钮位置置于左上角
labelPReturnBtn = lv.label(pReturnBtn)   #按钮文本
labelPReturnBtn.set_text('<')
pReturnBtn.add_event_cb(event_handler1, lv.EVENT.ALL, None)    #回调函数dataFrames = lv.table(portSet)  #数据设置框# Fill the first column
dataFrames.set_cell_value(0, 0, "数据位")
dataFrames.set_cell_value(1, 0, "校验位")
dataFrames.set_cell_value(2, 0, "停止位")
dataFrames.set_cell_value(3, 0, "波特率")
portSet.set_style_text_font(self_myfont_cn, 0)# Fill the second column
dataFrames.set_cell_value(0, 1, "")
dataFrames.set_cell_value(1, 1, "")
dataFrames.set_cell_value(2, 1, "")
dataFrames.set_cell_value(3, 1, "")dataBits = lv.dropdown(dataFrames)
dataBits.set_options("\n".join(["8","7","6","5",]))
dataBits.align(lv.ALIGN.TOP_RIGHT,-20,7)checkDigit = lv.dropdown(dataFrames)
checkDigit.set_options("\n".join(["无校验","奇校验","偶校验",]))
checkDigit.align(lv.ALIGN.TOP_RIGHT,-20,67)stopBits = lv.dropdown(dataFrames)
stopBits.set_options("\n".join(["1","1.5","2",]))
stopBits.align(lv.ALIGN.TOP_RIGHT,-20,127)baudRate = lv.dropdown(dataFrames)
baudRate.set_options("\n".join(["1200","2400","9600","19200","38400",]))
baudRate.align(lv.ALIGN.TOP_RIGHT,-20,187)
# Set a smaller height to the table. It'll make it scrollable
dataFrames.set_height(200)
dataFrames.center()saveBtn = lv.btn(portSet)       #保存按钮
saveBtn.align(lv.ALIGN.BOTTOM_MID,0,-40)
labelbtn = lv.label(saveBtn)
labelbtn.set_text('保存设置')
saveBtn.add_event_cb(popUpEvent, lv.EVENT.ALL, None)


