本文为B站系列教学视频 《UE5_C++多人TPS完整教程》 —— 《P32 角色移动(Character Movement)》 的学习笔记,该系列教学视频为 Udemy 课程 《Unreal Engine 5 C++ Multiplayer Shooter》 的中文字幕翻译版,UP主(也是译者)为 游戏引擎能吃么。
文章目录
- P32 角色移动
- 32.1 修改输入映射并绑定到角色蓝图类上
- 32.2 Summary
P32 角色移动
本节课将为我们创建的第三人称射击游戏角色蓝图类进行输入配置(包括操作映射和轴映射),并将它们绑定到角色蓝图类上,以实现角色的移动功能。

32.1 修改输入映射并绑定到角色蓝图类上
-
在虚幻引擎中打开项目 “
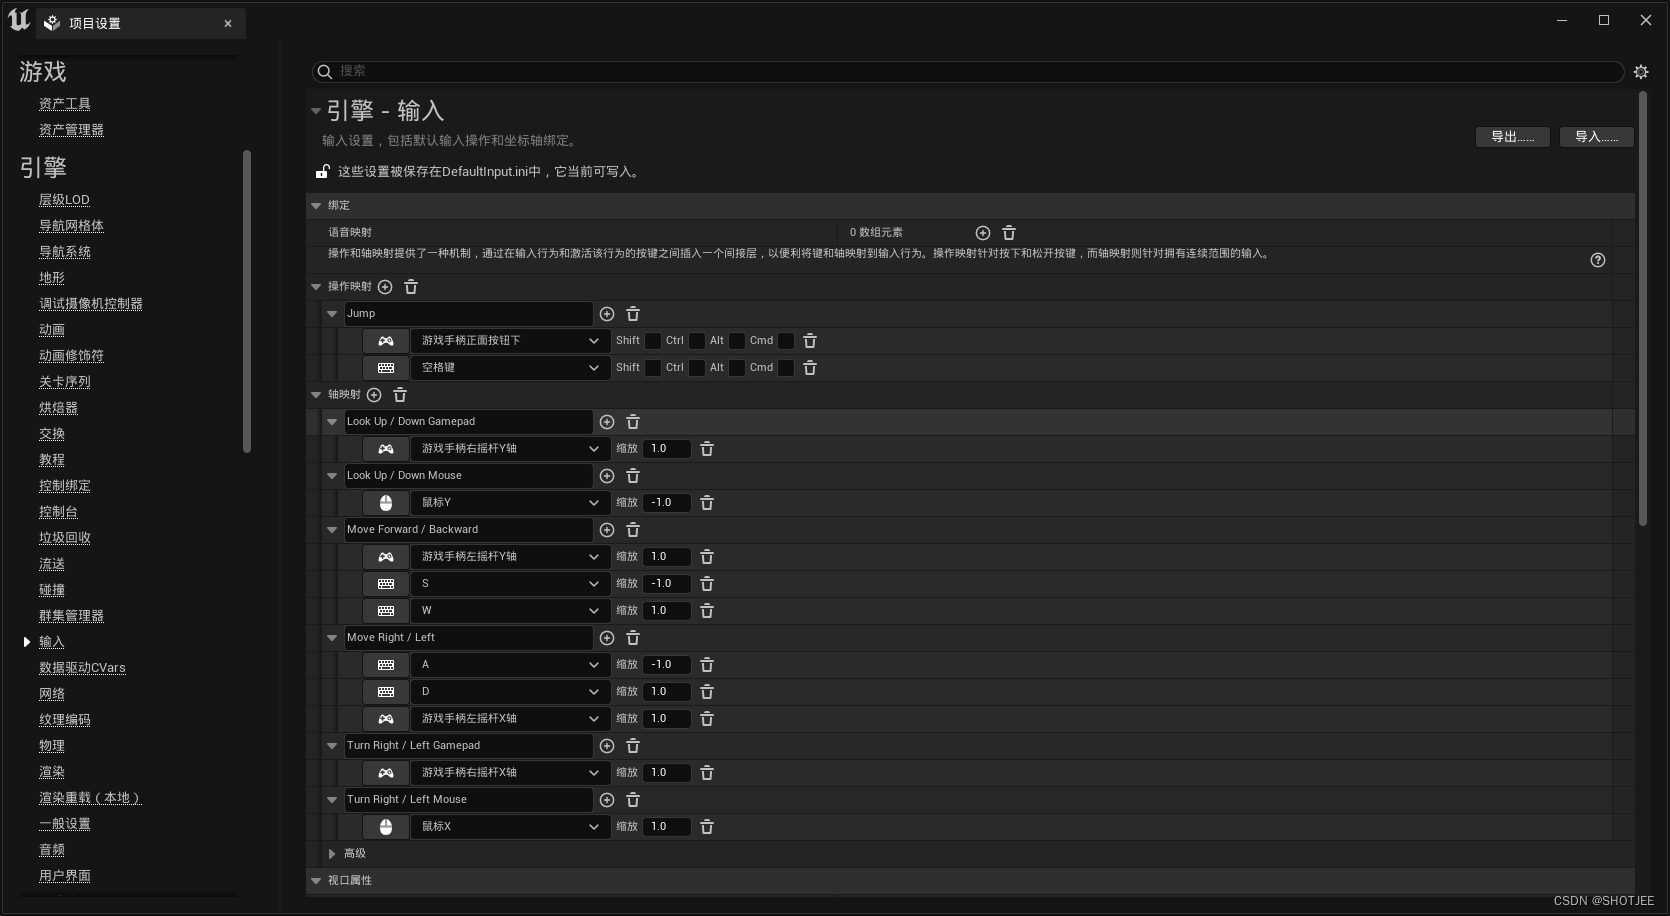
Blaster” 的 “项目设置” 窗口,找到 “引擎 - 输入” 选项卡,可以看到我们在迁移资产时自动创建的一些操作映射和轴映射。
-
删除这些操作映射和轴映射,并添加新的操作映射和轴映射。
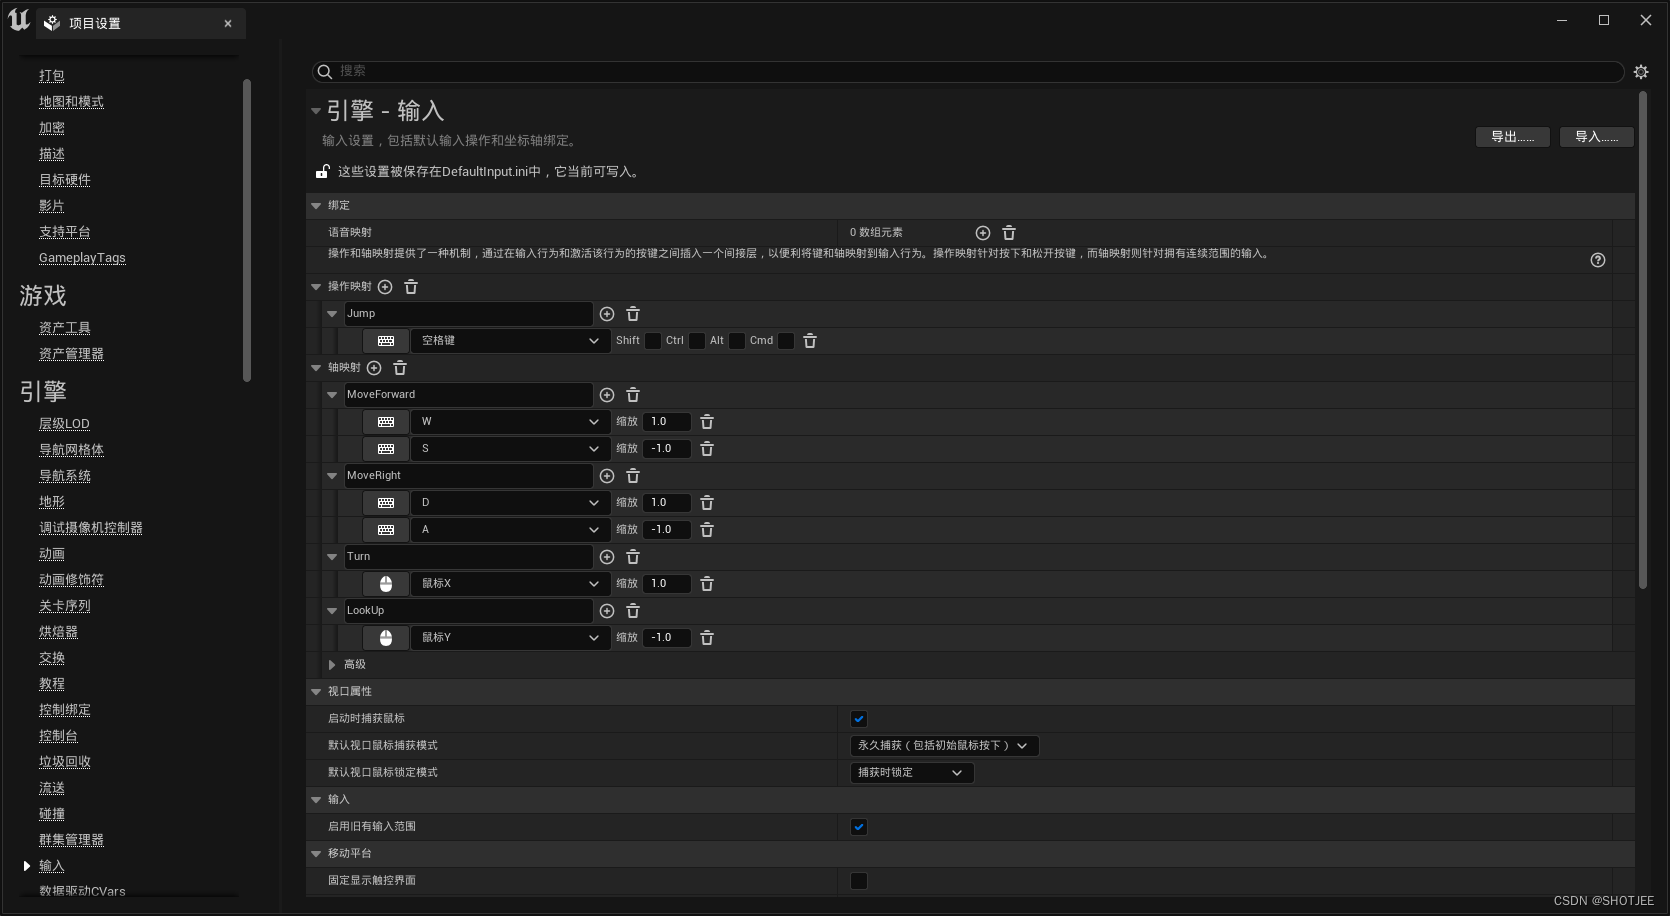
-
在 VS 中打开 “
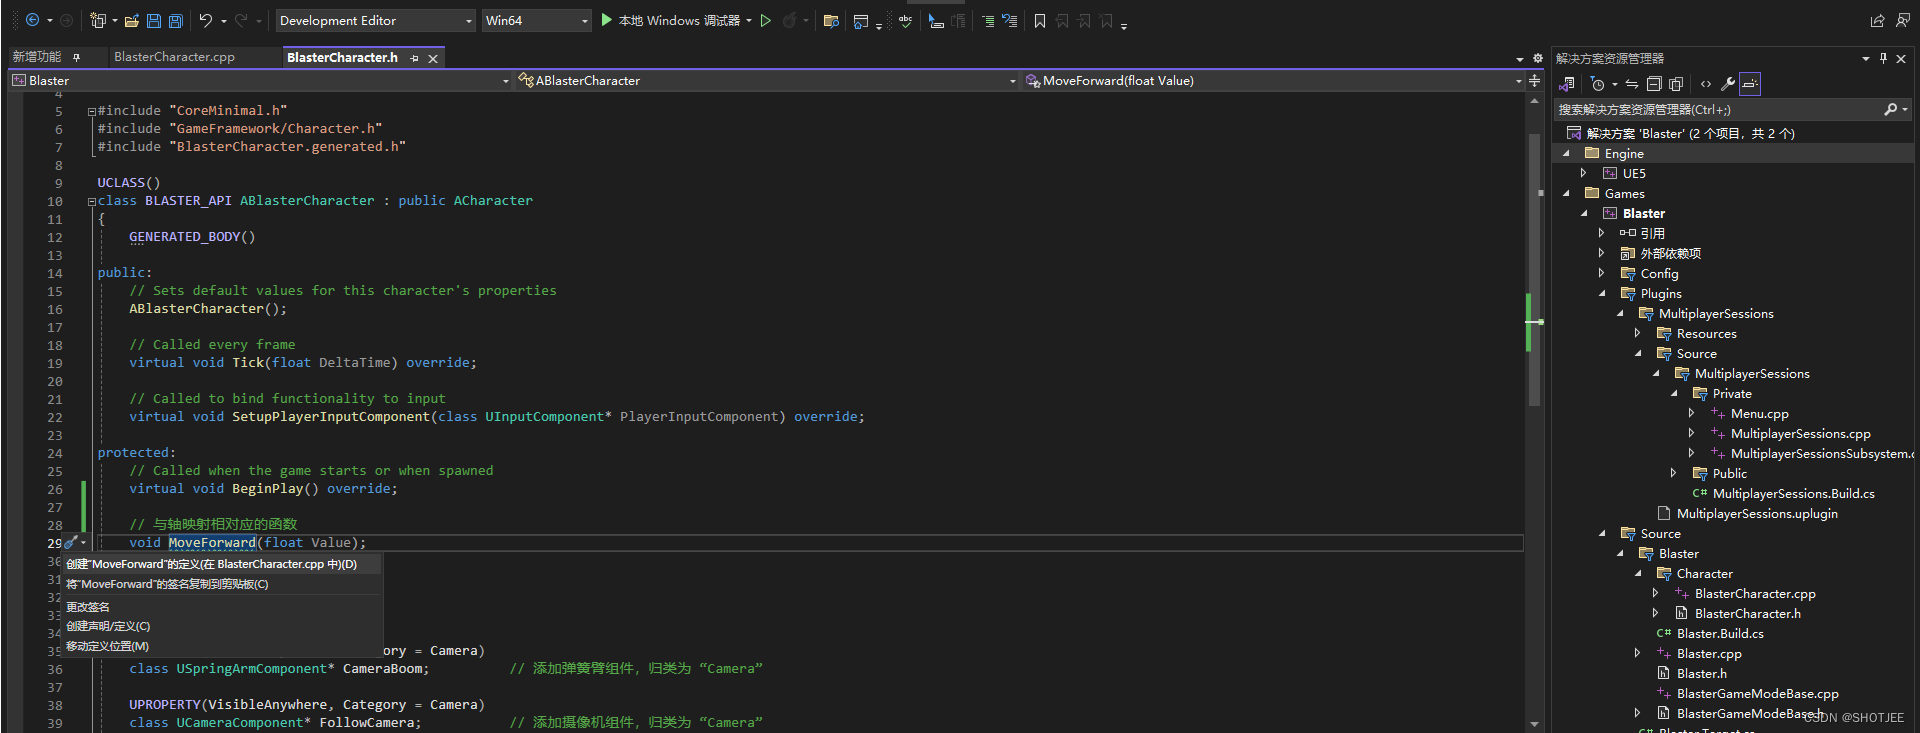
BlasterCharacter.h”,声明与上述轴映射相对应的函数为 “ABlasterCharacter” 类的保护成员函数。...UCLASS() class BLASTER_API ABlasterCharacter : public ACharacter {...protected:// Called when the game starts or when spawnedvirtual void BeginPlay() override;/* P32 角色移动(Character Movement)*/// 与轴映射相对应的函数void MoveForward(float Value); // 角色前进或后退void MoveRight(float Value); // 角色左移或右移void Turn(float Value); // 角色视角左转或右转void LookUp(float Value); // 角色俯视或仰视/* P32 角色移动(Character Movement)*/private:UPROPERTY(VisibleAnywhere, Category = Camera) class USpringArmComponent* CameraBoom; // 添加弹簧臂组件,归类为 “Camera”UPROPERTY(VisibleAnywhere, Category = Camera)class UCameraComponent* FollowCamera; // 添加摄像机组件,归类为 “Camera”public: };在头文件中鼠标左键单击函数名,即可出现
 按钮,鼠标左键单击该按钮,就可以在弹出的下拉菜单栏中选择快速创建函数的定义到 cpp 文件。
-
在 “
BlasterCharacter.cpp” 中完成与轴映射相对应的函数的定义。/* P32 角色移动(Character Movement)*/ // 角色前进或后退 void ABlasterCharacter::MoveForward(float Value) {if (Controller != nullptr && Value != 0.f) {// const FVector Direction = GetActorForwardVector(); // 使用 GetActorForwardVector() 获取的是角色胶囊体的前后方向向量,而我们想要通过获取角色控制器的前后方向向量来控制角色前进const FRotator YawRotation(0.f, Controller->GetControlRotation().Yaw, 0.f); // 获取角色控制器的航向const FVector Direction(FRotationMatrix(YawRotation).GetUnitAxis(EAxis::X)); // 使用角色控制器的航向获取前后方向向量。// FRotationMatrix(YawRotation).GetUnitAxis(EAxis::X) 可以获取 FRotationMatrix 在 X 轴上的向量AddMovementInput(Direction, Value); // 添加移动输入,移动方向为角色控制器的前后方向} }// 角色左移或右移 void ABlasterCharacter::MoveRight(float Value) {if (Controller != nullptr && Value != 0.f) {const FRotator YawRotation(0.f, Controller->GetControlRotation().Yaw, 0.f); // 获取角色控制器的航向const FVector Direction(FRotationMatrix(YawRotation).GetUnitAxis(EAxis::Y)); // 使用角色控制器的航向获取左右方向向量。AddMovementInput(Direction, Value); // 添加移动输入,移动方向为角色控制器的左右方向} }// 角色视角左转或右转 void ABlasterCharacter::Turn(float Value) {AddControllerYawInput(Value); // 添加角色控制器的航向输入 }// 角色视角俯视或仰视 void ABlasterCharacter::LookUp(float Value) {AddControllerPitchInput(Value); // 获取角色控制器的俯仰输入 } /* P32 角色移动(Character Movement)*/注意这里要了解 “
pitch”、“yaw”、“roll” 三个欧拉角的含义,便于看懂代码,可以参阅《pitch、yaw、roll三个角的区别》 -
在 “
BlasterCharacter.cpp” 的 “SetupPlayerInputComponent()” 函数中将角色跳跃对应的函数 “ACharacter::Jump” 与相应的操作映射进行绑定,然后将上述与轴映射相对应的函数与轴映射进行绑定。最后进行编译即可。// Called to bind functionality to input void ABlasterCharacter::SetupPlayerInputComponent(UInputComponent* PlayerInputComponent) {Super::SetupPlayerInputComponent(PlayerInputComponent);/* P32 角色移动(Character Movement)*/// 绑定操作映射PlayerInputComponent->BindAction("Jump", IE_Pressed, this, &ACharacter::Jump);// 绑定轴映射PlayerInputComponent->BindAxis("MoveForward", this, &ABlasterCharacter::MoveForward);PlayerInputComponent->BindAxis("MoveRight", this, &ABlasterCharacter::MoveRight);PlayerInputComponent->BindAxis("Turn", this, &ABlasterCharacter::Turn);PlayerInputComponent->BindAxis("LookUp", this, &ABlasterCharacter::LookUp);/* P32 角色移动(Character Movement)*/ } -
在虚幻引擎中打开关卡 “
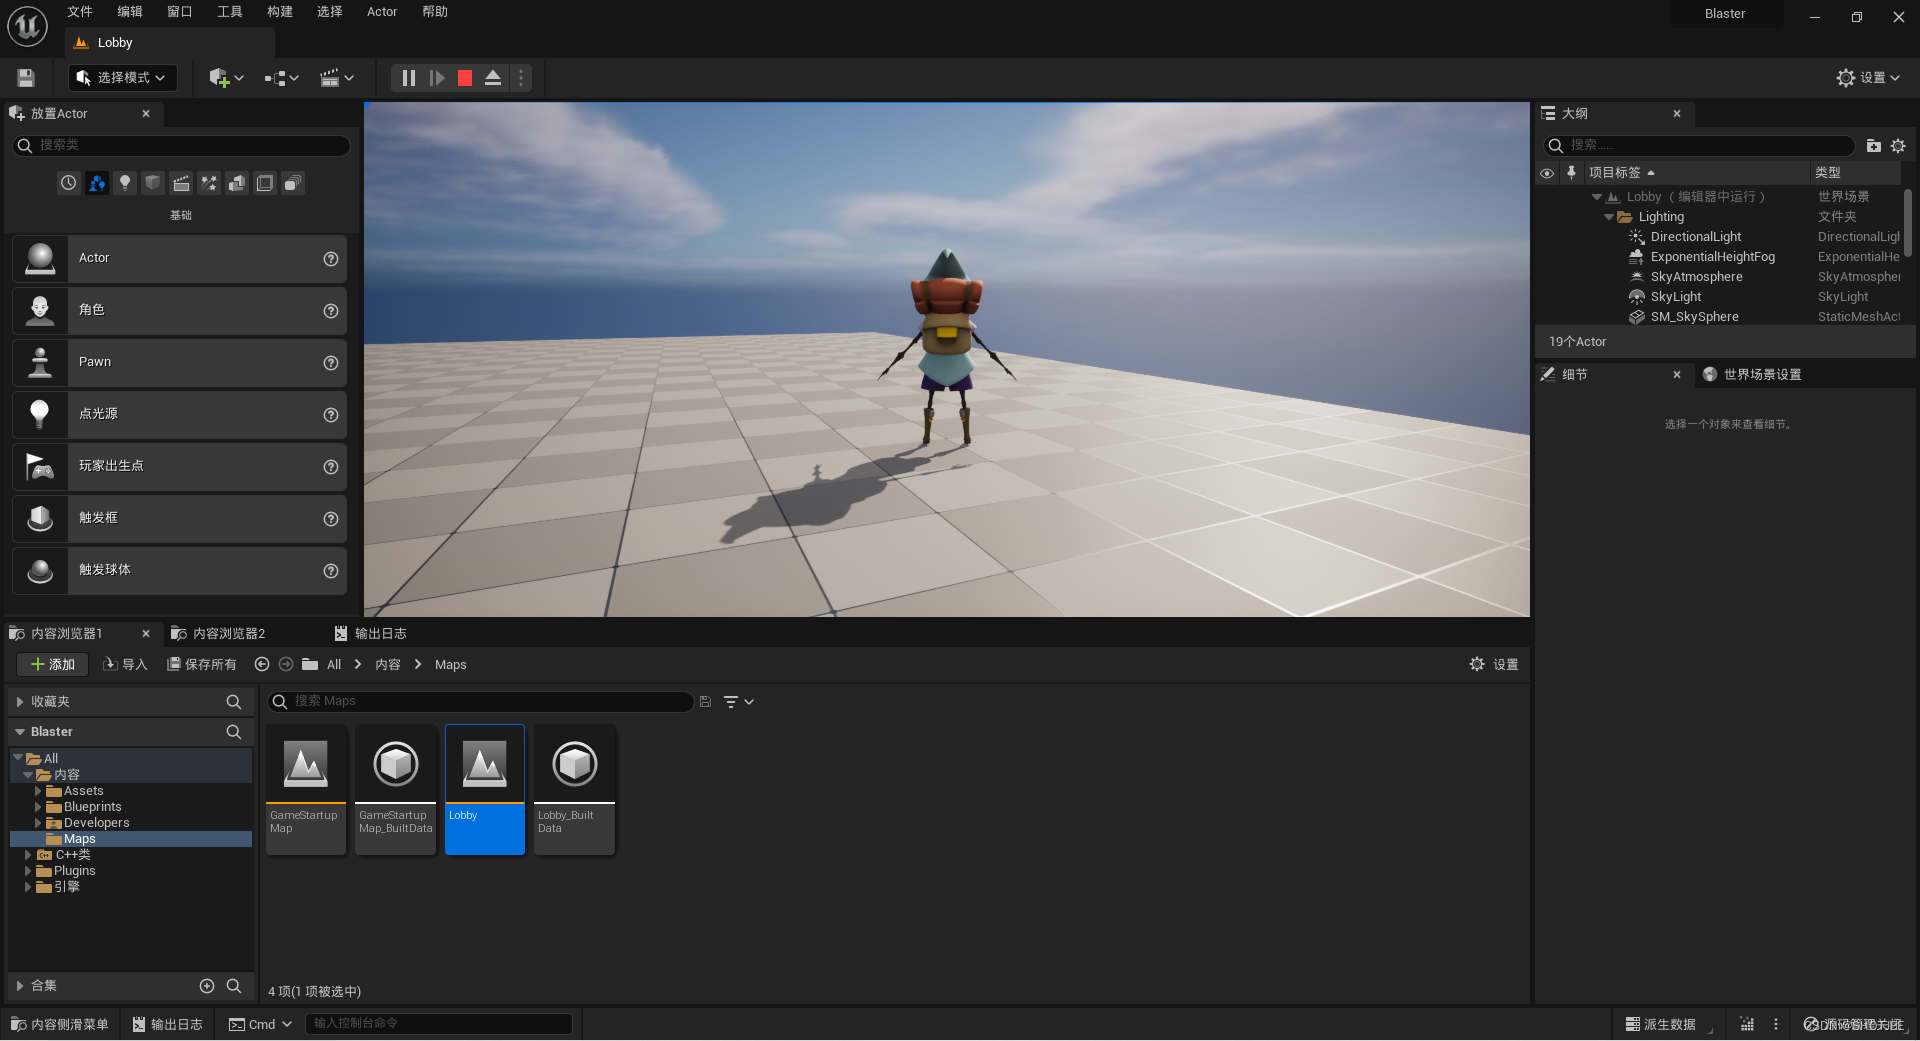
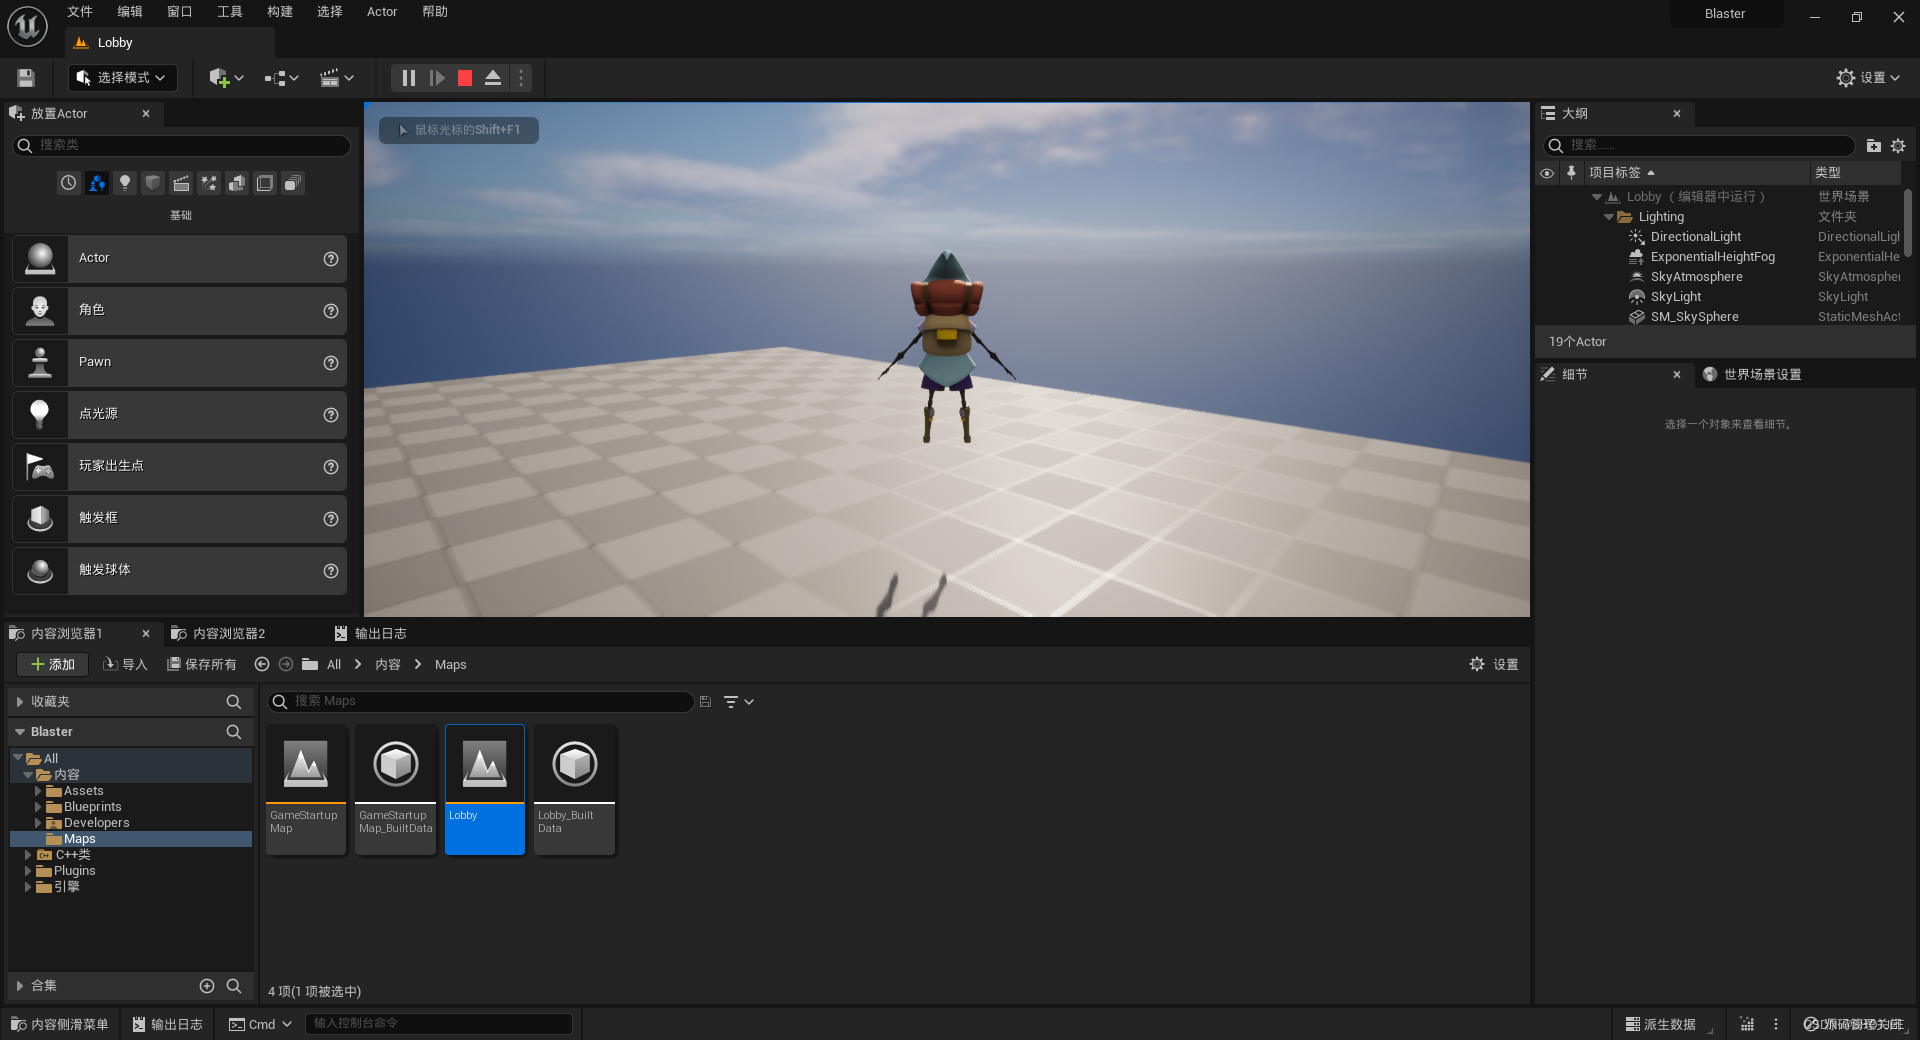
Lobby” ,点击上方工具栏的 “播放”(▶)按钮,可以观察到我们能够使用键盘和鼠标控制角色的移动和视角,但是角色的移动和视角变化都很僵硬,这是因为我们还没有为角色添加动画。
32.2 Summary
本节课修改输入映射(包括操作映射和轴映射),并定义了与其对应的 C++ 函数,然后绑定到角色蓝图类上,实现了使用键盘和鼠标控制角色移动和视角的功能。
