文章目录
- 1. 动态获取spring配置文件
- 1.修改SunWebApplicationContext.java
- 2.修改SunDispatcherServlet.java
- 2.自定义Service注解
- 1.需求分析
- 2.编写Monster.java
- 3.自定义Service注解
- 4.编写Service接口MonsterService.java
- 5.编写Service实现类MonsterServiceImpl.java
- 6.修改SunWebApplicationContext.java的executeInstance方法,增加对Service注解的扫描
- 7.debug测试
- 3.完成自定义Autowired注解
- 1.自定义Autowired注解
- 2.在SunWebApplicationContext.java中添加方法executeAutoWired完成属性的自动装配
- 3.修改MonsterController.java来使用Autowired注解
- 4.单元测试
- 4.当前阶段完成的任务
- 自定义两个注解
- 目前对SpringMVC容器的简单理解
1. 动态获取spring配置文件
1.修改SunWebApplicationContext.java
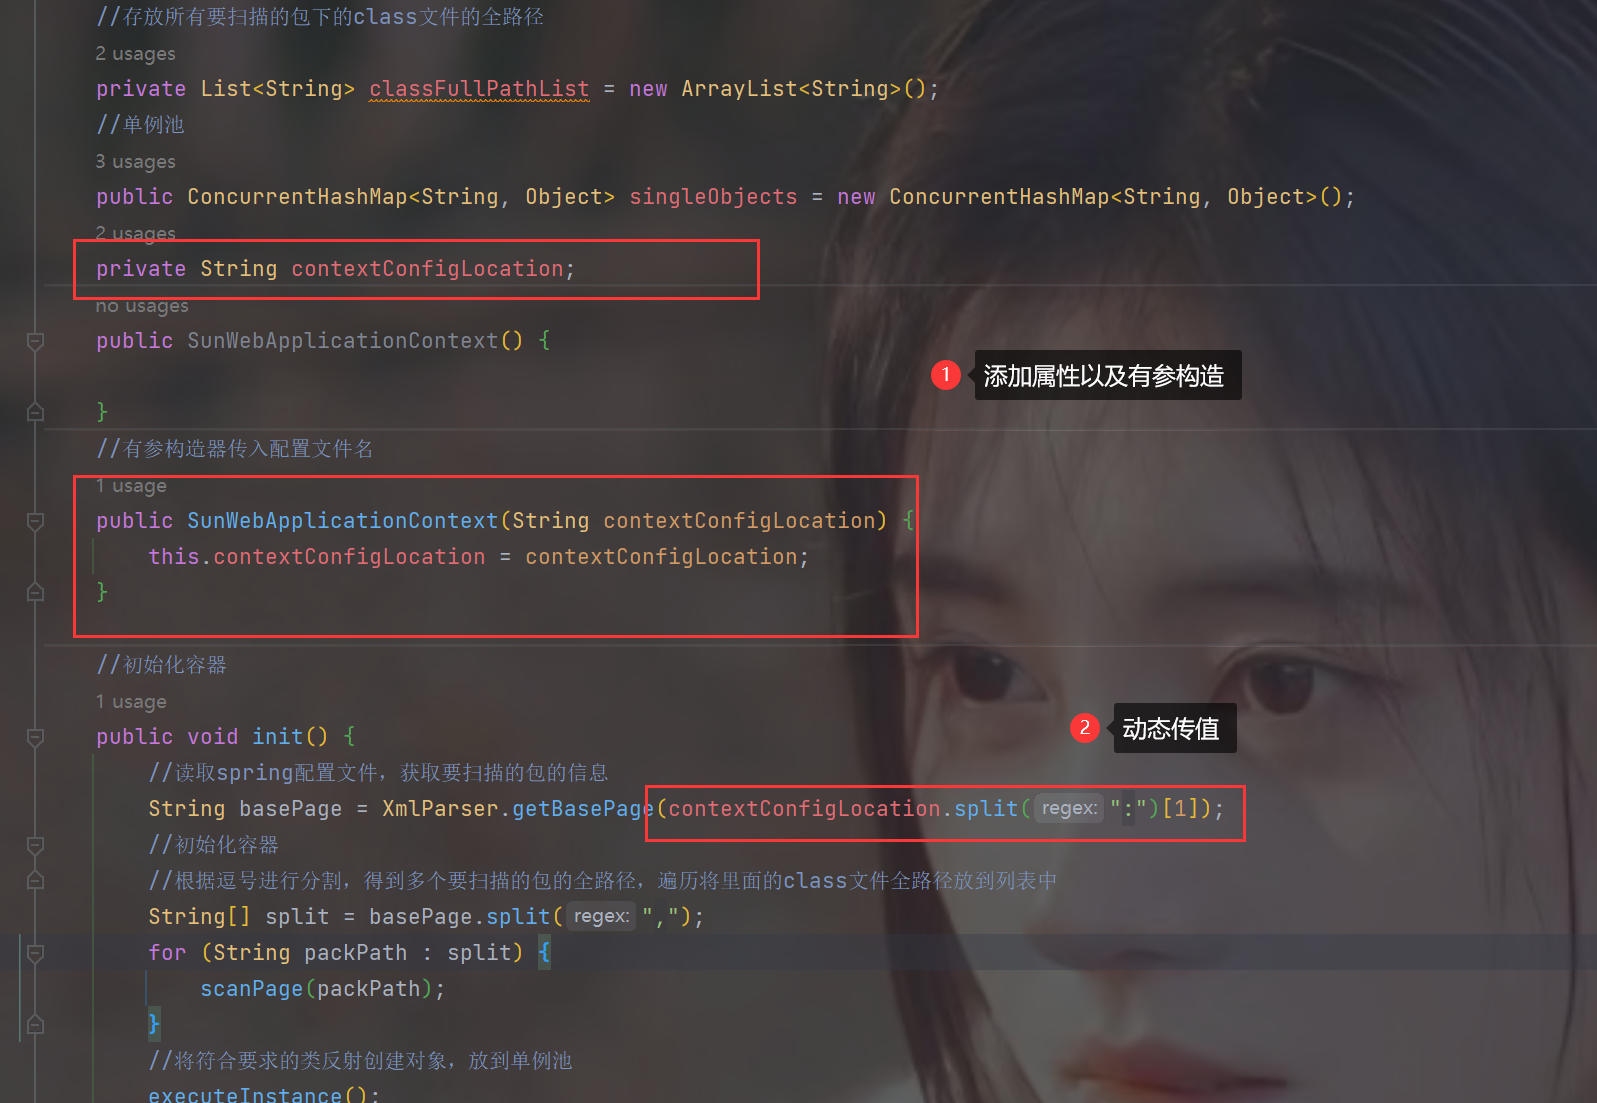
2.修改SunDispatcherServlet.java

2.自定义Service注解
1.需求分析

2.编写Monster.java
package com.Sun.entity;
public class Monster {private Integer id;private String name;private String skill;private Integer age;public Monster(Integer id, String name, String skill, Integer age) {this.id = id;this.name = name;this.skill = skill;this.age = age;}public Integer getId() {return id;}public void setId(Integer id) {this.id = id;}public String getName() {return name;}public void setName(String name) {this.name = name;}public String getSkill() {return skill;}public void setSkill(String skill) {this.skill = skill;}public Integer getAge() {return age;}public void setAge(Integer age) {this.age = age;}@Overridepublic String toString() {return "Monster{" +"id=" + id +", name='" + name + '\'' +", skill='" + skill + '\'' +", age=" + age +'}';}
}
3.自定义Service注解
package com.Sun.sunspringmvc.annotation;import java.lang.annotation.*;
@Target(ElementType.TYPE)
@Retention(RetentionPolicy.RUNTIME)
@Documented
public @interface Service {String value() default "";
}
4.编写Service接口MonsterService.java
package com.Sun.sunspringmvc.annotation;import java.lang.annotation.*;
@Target(ElementType.TYPE)
@Retention(RetentionPolicy.RUNTIME)
@Documented
public @interface Service {
}
5.编写Service实现类MonsterServiceImpl.java
package com.Sun.service.Impl;import com.Sun.entity.Monster;
import com.Sun.service.MonsterService;
import com.Sun.sunspringmvc.annotation.Service;import java.util.ArrayList;
import java.util.List;
@Service
public class MonsterServiceImpl implements MonsterService {public List<Monster> listMonsters() {ArrayList<Monster> monsters = new ArrayList<Monster>();monsters.add(new Monster(1, "牛魔王", "芭蕉扇", 500));monsters.add(new Monster(2, "蜘蛛精", "吐口水", 200));return monsters;}
}
6.修改SunWebApplicationContext.java的executeInstance方法,增加对Service注解的扫描
public void executeInstance() {for (String classPath : classFullPathList) {try {Class<?> aClass = Class.forName(classPath);if (aClass.isAnnotationPresent(Controller.class)) {String name = aClass.getSimpleName().substring(0, 1).toLowerCase() + aClass.getSimpleName().substring(1);singleObjects.put(name, aClass.newInstance());} else if (aClass.isAnnotationPresent(Service.class)) {Service annotation = aClass.getAnnotation(Service.class);String value = annotation.value();Object bean = aClass.newInstance();if ("".equals(value)) {String simpleName = aClass.getSimpleName();String beanName = simpleName.substring(0,1).toLowerCase() + simpleName.substring(1);singleObjects.put(beanName, bean);Class<?>[] interfaces = aClass.getInterfaces();for (Class<?> anInterface : interfaces) {String interfaceSimpleName = anInterface.getSimpleName();String beanName2 = interfaceSimpleName.substring(0,1).toLowerCase() + interfaceSimpleName.substring(1);singleObjects.put(beanName2, bean);}} else {singleObjects.put(value, bean);}}} catch (ClassNotFoundException e) {throw new RuntimeException(e);} catch (InstantiationException e) {throw new RuntimeException(e);} catch (IllegalAccessException e) {throw new RuntimeException(e);}}}
7.debug测试

3.完成自定义Autowired注解
1.自定义Autowired注解
package com.Sun.sunspringmvc.annotation;import java.lang.annotation.*;
@Target(ElementType.FIELD)
@Retention(RetentionPolicy.RUNTIME)
@Documented
public @interface AutoWired {String value() default "";
}
2.在SunWebApplicationContext.java中添加方法executeAutoWired完成属性的自动装配
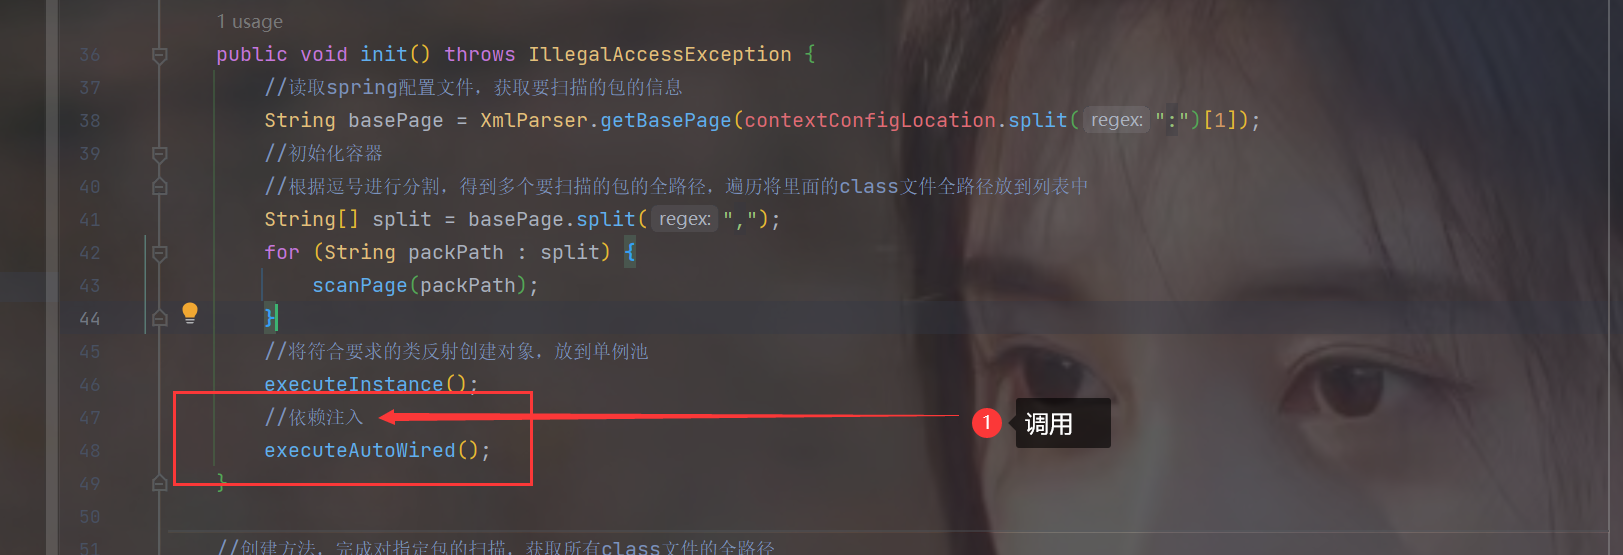
public void executeAutoWired() throws IllegalAccessException {if (singleObjects.isEmpty()) {return;}for (Object beanObject : singleObjects.values()) {Class<?> aClass = beanObject.getClass();Field[] declaredFields = aClass.getDeclaredFields();for (Field declaredField : declaredFields) {if (declaredField.isAnnotationPresent(AutoWired.class)) {AutoWired annotation = declaredField.getAnnotation(AutoWired.class);String value = annotation.value();Object findBeanObject = null; if ("".equals(value)) {String simpleName = declaredField.getType().getSimpleName();String beanName = simpleName.substring(0, 1).toLowerCase() + simpleName.substring(1);findBeanObject = singleObjects.get(beanName);} else {findBeanObject = singleObjects.get(value);}if (findBeanObject == null) {throw new RuntimeException("容器中不存在你要装配的bean");} else {declaredField.setAccessible(true);declaredField.set(beanObject, findBeanObject);}}}}}
3.修改MonsterController.java来使用Autowired注解
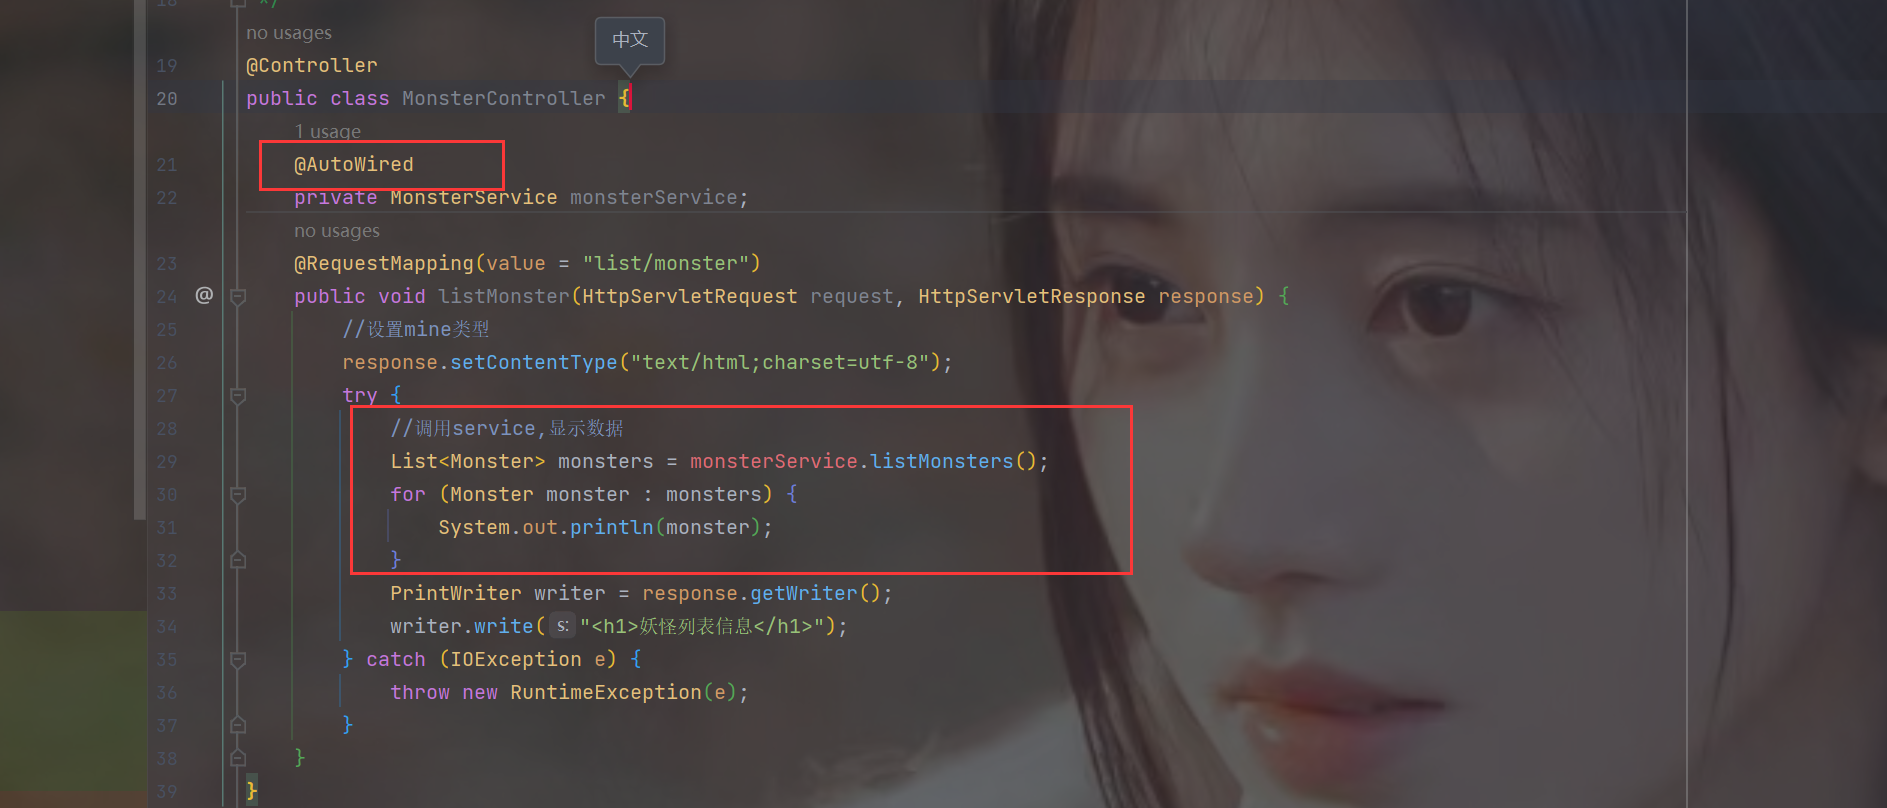
4.单元测试


4.当前阶段完成的任务
自定义两个注解
- 自定义Service注解:在原有的扫描所有文件全类名的基础上增加逻辑,判断是否具有Service注解,并根据value值或者默认方案将其注入到bean中
- 自定义Autowired注解
- 遍历所有单例池对象,获取对应的Class对象
- 获取每个对象的所有字段
- 对每个字段判断是否有Autowired注解,如果有则按照类型首字母小写或者value值来进行依赖注入
目前对SpringMVC容器的简单理解
- tomcat启动,加载中央控制器
- 获取spring配置文件路径,使用这个路径创建一个spring容器
- 调用spring容器的init方法,初始化spring容器
- 读取配置文件,得到要扫描的包,从而得到包的工作路径
- 根据工作路径来得到包内所哟class文件的全路径
- 遍历所有class文件的全路径,得到Class对象
- 使用反射扫描指定注解,反射创建bean对象,放到单例池中
- Autowired依赖注入
- 扫描单例池,得到所有对象,从而得到Class对象
- 使用反射得到所有字段信息,判断是否有Autowied注解,如果有则根据一定规则从单例池中查找bean对象进行依赖注入
- 初始化映射对象列表
- 扫描单例池,得到Class对象
- 通过反射判断是否有RequestMapping注解,如果有则使用反射获取url和Method对象,再加上当前的对象,封装到映射对象中
- 将这个映射对象添加到映射对象列表
- 请求分发
- 浏览器向中央控制器发送请求
- 中央控制器根据请求的uri和映射对象列表的url进行比对
- 如果匹配则反射调用Controller的方法


