注释很详细,直接上代码
上一篇
新增内容:
1.拦截器判断处理失败与成功的情况
2.使用拦截器拒绝失败的情况,使网络请求后面的逻辑步骤不会执行
源码:
index.wxml
<button type="primary" bind:tap="onSubmit">登入</button>
index.js
Page({data:{mobile:'14444444444',code:'123456'//随便填的错误的验证码(成功的情况在之前的文章中演示了,这里主要演示错误的情况)//如果需要尝试正确的验证码在浏览器输入`https://live-api.itheima.net/code?mobile=14444444444`即可获取正确的验证码},//验证验证码async onSubmit(){const mobile=this.data.mobileconst code=this.data.code//上传手机号和验证码进行验证const res= await wx.http.post('/login',{mobile,code})console.log(res)//因为已经使用了拦截器判断成功与失败的情况所以无需再判断const app=getApp()//调用全局函数setToken//参数1为传递的变量的名字//参数2为变量的值app.setToken('token',this.data.initToken)app.setToken('refreshToken',this.data.initRefreshToken)//这里打印全局变量看一下console.log('token:'+app.token)console.log('refreshToken:'+app.refreshToken)}
})
utils/http.js
import http from "wechat-http"//设置全局默认请求地址
http.baseURL = "https://live-api.itheima.net"//设置响应拦截器
http.intercept.response=(res)=>{if(res.data.code===10000){//成功的情况return res.data}else{//其他情况wx.showToast({//弹窗提醒title: res.data.message||'业务错误',icon:'none'})//主动返回失败的 Promise ,不执行业务 await后续代码//因为成功和失败的情况的逻辑是不一样的//进行到这里会主动报个错,但不会影响运行return Promise.reject(res.data)}
}//导出
export default http
app.js
//从utils导入http
import http from './utils/http'//注册到全局wx实例中
wx.http=httpApp({//提前声明的变量名token:wx.getStorageSync('toke'),refreshToken:wx.getSystemInfoAsync('refreshToken'),setToken(key,token){//保存token到全局(中括号使这个key表示的变量名)this[key]=token//保存token到本地缓存wx.setStorageSync(key, token)}})
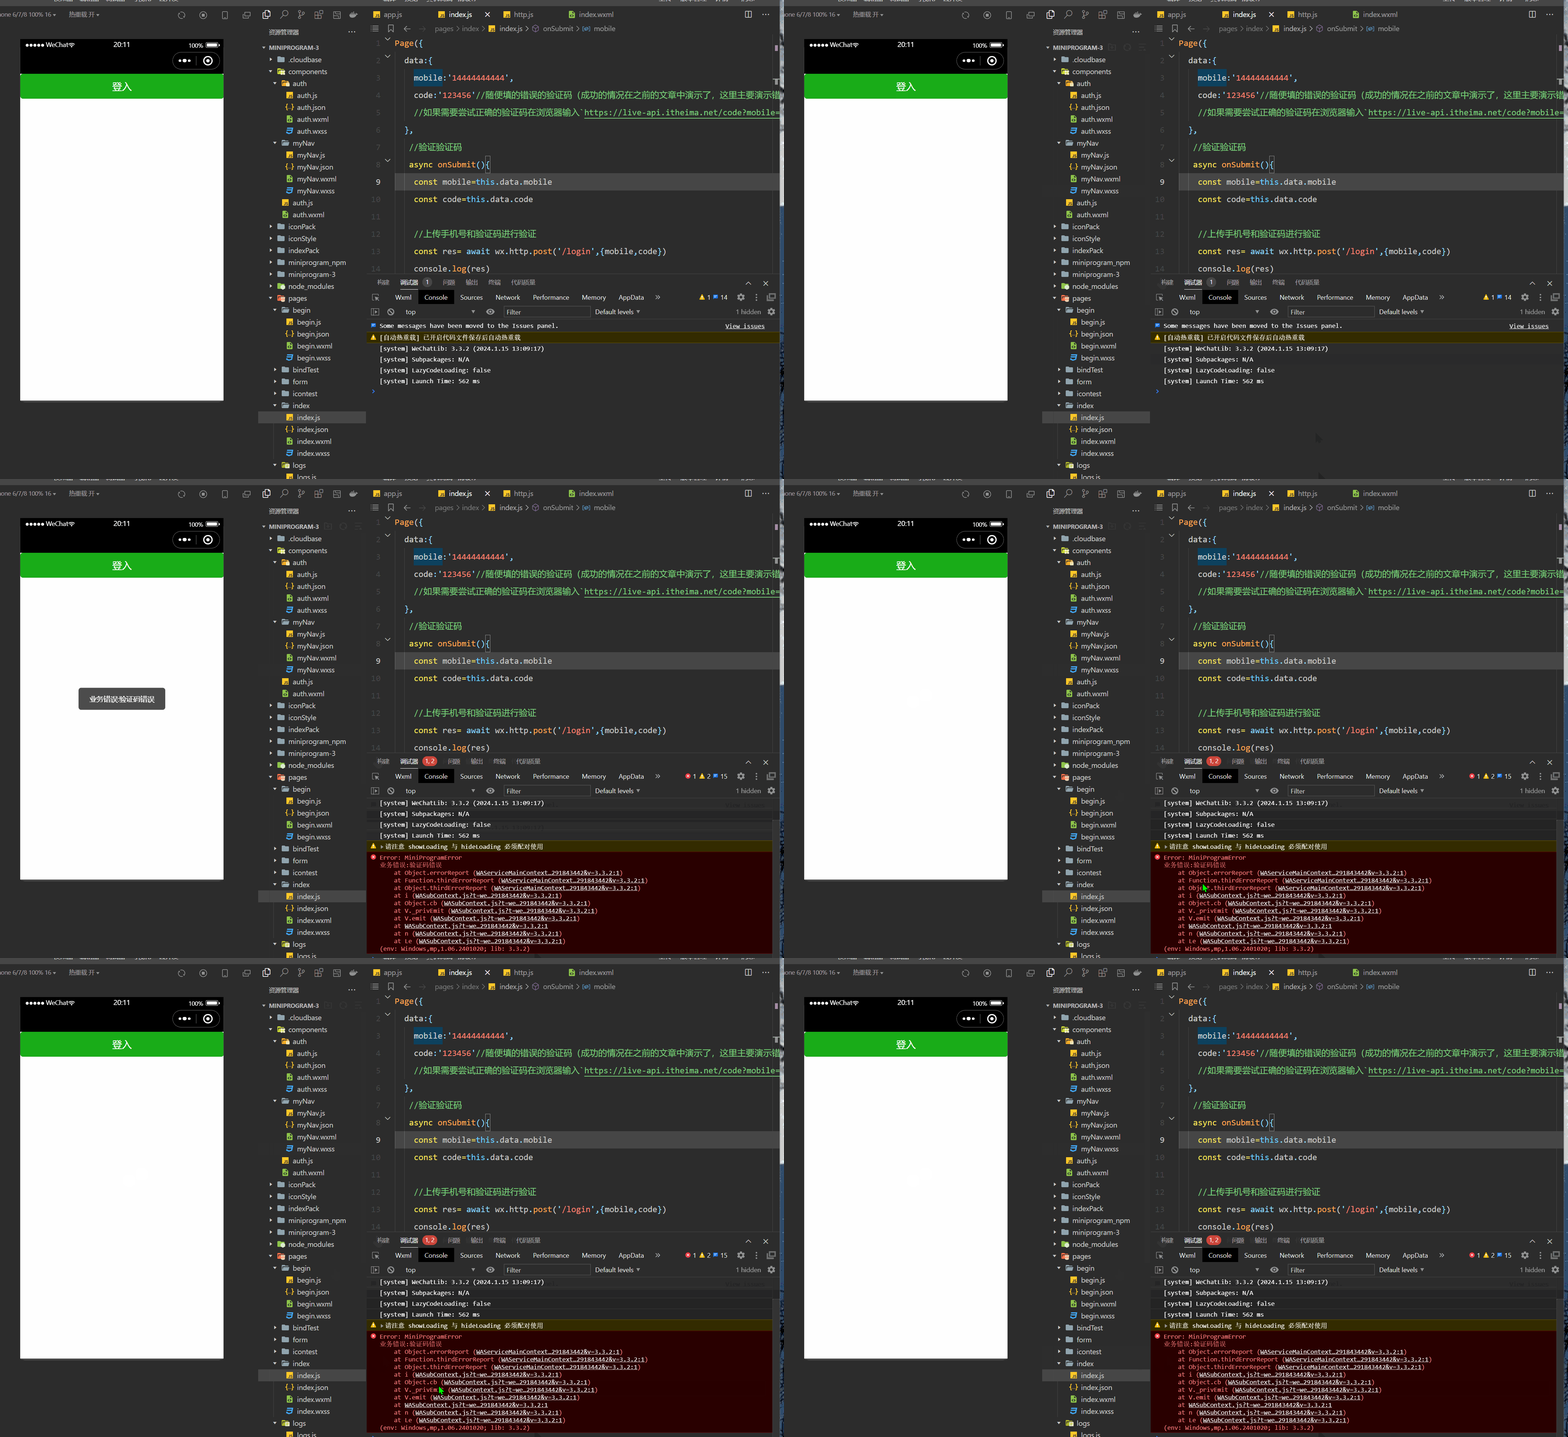
效果演示:
(红色的报错是因为我们设置拦截器判断并拒绝了失败的情况,不影响程序运行)


![【洛谷 P8682】[蓝桥杯 2019 省 B] 等差数列 题解(数学+排序+辗转相除法)](https://img-blog.csdnimg.cn/direct/1e7d14a3279041388777583541e4c7fe.png)