前提条件
拥有1台CentOS7
CentOS7安装好jdk,官方文档要求java 11,使用java 8也可以。可参考 CentOS7安装jdk8
下载安装包
下载安装包
[hadoop@node1 ~]$ cd installfile/
[hadoop@node1 installfile]$ wget https://archive.apache.org/dist/flink/flink-1.17.1/flink-1.17.1-bin-scala_2.12.tgz --no-check-certificate
解压安装包
[hadoop@node1 installfile]$ tar -zxvf flink-1.17.1-bin-scala_2.12.tgz -C ~/soft
创建软链接
[hadoop@node1 installfile]$ cd ~/soft/
[hadoop@node1 soft]$ ls
flink-1.18.0  hadoop  hadoop-2.7.3  hbase  hbase-1.7.1  jdk  jdk1.8.0_271
[hadoop@node1 soft]$ ln -s flink-1.18.0 flink
[hadoop@node1 soft]$ ls
flink  flink-1.18.0  hadoop  hadoop-2.7.3  hbase  hbase-1.7.1  jdk  jdk1.8.0_271
设置环境变量
[hadoop@node1 soft]$ nano ~/.bashrc
添加如下环境变量
export FLINK_HOME=~/soft/flink
export PATH=$PATH:$FLINK_HOME/bin
让环境变量立即生效
[hadoop@node1 soft]$ source ~/.bashrc
验证版本号
[hadoop@node1 soft]$ flink -v SLF4J: Class path contains multiple SLF4J bindings. SLF4J: Found binding in [jar:file:/home/hadoop/soft/flink-1.17.1/lib/log4j-slf4j-impl-2.17.1.jar!/org/slf4j/impl/StaticLoggerBinder.class] SLF4J: Found binding in [jar:file:/home/hadoop/soft/hadoop-2.7.3/share/hadoop/common/lib/slf4j-log4j12-1.7.10.jar!/org/slf4j/impl/StaticLoggerBinder.class] SLF4J: See http://www.slf4j.org/codes.html#multiple_bindings for an explanation. SLF4J: Actual binding is of type [org.apache.logging.slf4j.Log4jLoggerFactory] Version: 1.17.1, Commit ID: 2750d5c
配置flink
进入flink配置目录,查看flink的配置文件
[hadoop@node1 soft]$ cd $FLINK_HOME/
[hadoop@node1 flink]$ ls
bin  conf  examples  lib  LICENSE  licenses  log  NOTICE  opt  plugins  README.txt
[hadoop@node1 flink]$ cd conf/
[hadoop@node1 conf]$ ls
flink-conf.yaml       log4j-console.properties  log4j-session.properties  logback-session.xml  masters  zoo.cfg
log4j-cli.properties  log4j.properties          logback-console.xml       logback.xml          workers
配置flink-conf.yaml
[hadoop@node1 conf]$ vim flink-conf.yaml
找到如下配置项,并按照如下修改,其中node1为机器主机名,请根据实际修改。
jobmanager.rpc.address: node1
jobmanager.bind-host: 0.0.0.0
taskmanager.bind-host: 0.0.0.0
taskmanager.host: node1
rest.address: node1
rest.bind-address: 0.0.0.0
配置master
[hadoop@node1 conf]$ nano masters
修改masters内容为
node1:8081
配置workers
[hadoop@node1 conf]$ vim masters
修改workers内容为
node1
查看flink的命令
[hadoop@node1 conf]$ cd $FLINK_HOME/bin
[hadoop@node1 bin]$ ls
bash-java-utils.jar  flink-daemon.sh           kubernetes-taskmanager.sh  start-cluster.sh           yarn-session.sh
config.sh            historyserver.sh          pyflink-shell.sh           start-zookeeper-quorum.sh  zookeeper.sh
find-flink-home.sh   jobmanager.sh             sql-client.sh              stop-cluster.sh
flink                kubernetes-jobmanager.sh  sql-gateway.sh             stop-zookeeper-quorum.sh
flink-console.sh     kubernetes-session.sh     standalone-job.sh          taskmanager.sh
集群启动与停止
启动flink集群
[hadoop@node1 bin]$ start-cluster.sh
Starting cluster.
Starting standalonesession daemon on host node1.
Starting taskexecutor daemon on host node1.
查看进程
[hadoop@node1 bin]$ jps
2433 TaskManagerRunner
2469 Jps
2143 StandaloneSessionClusterEntrypoint
Web UI
浏览器访问
ip:8081

或者
主机名称:8081
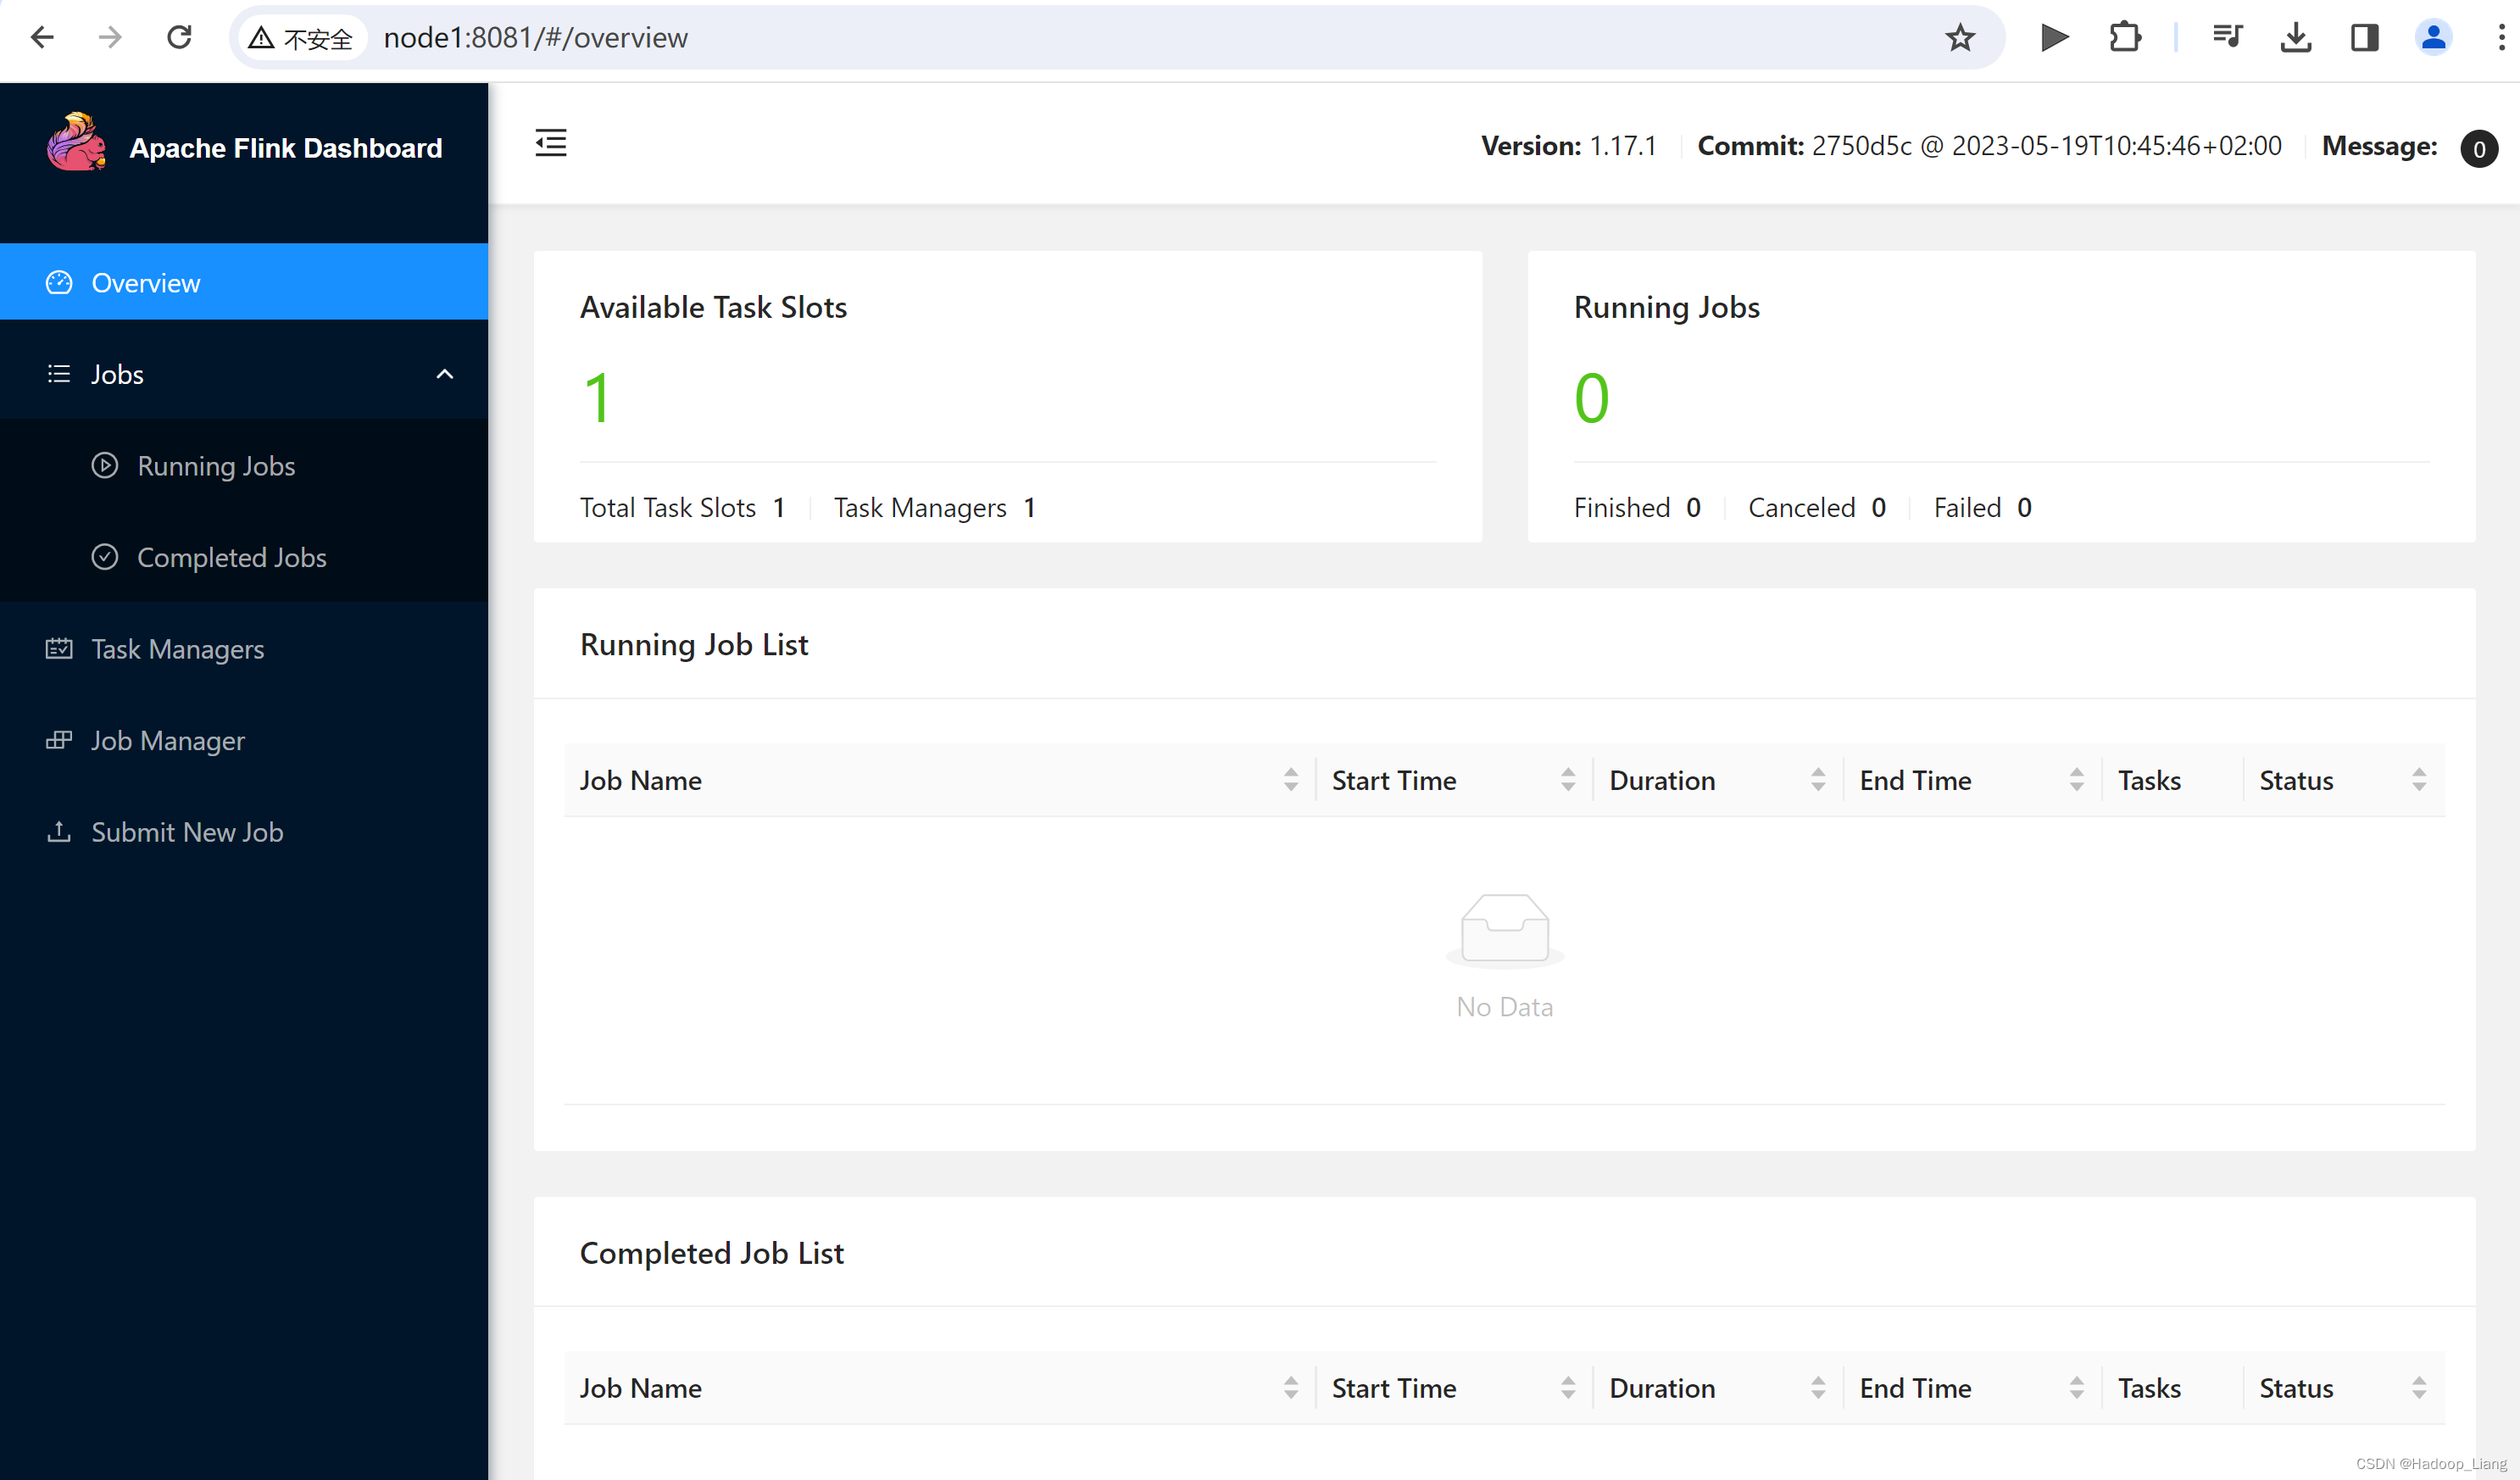
注意:如果用windows的浏览器访问,需要先在windows的hosts文件添加ip和主机名node1的映射。
关闭flink集群
[hadoop@node1 bin]$ stop-cluster.sh
Stopping taskexecutor daemon (pid: 2433) on host node1.
Stopping standalonesession daemon (pid: 2143) on host node1.
查看进程
[hadoop@node1 bin]$ jps
3239 Jps
单独启动flink进程
[hadoop@node1 bin]$ jobmanager.sh start
[hadoop@node1 bin]$ taskmanager.sh start
操作过程如下
[hadoop@node1 bin]$ jobmanager.sh start
Starting standalonesession daemon on host node1.
[hadoop@node1 bin]$ jps
3522 StandaloneSessionClusterEntrypoint
3593 Jps
[hadoop@node1 bin]$ taskmanager.sh start
Starting taskexecutor daemon on host node1.
[hadoop@node1 bin]$ jps
3522 StandaloneSessionClusterEntrypoint
3878 TaskManagerRunner
3910 Jps
单独关闭flink进程
[hadoop@node1 bin]$ taskmanager.sh stop
[hadoop@node1 bin]$ jobmanager.sh stop
操作过程如下
[hadoop@node1 bin]$ taskmanager.sh stop
Stopping taskexecutor daemon (pid: 3878) on host node1.
[hadoop@node1 bin]$ jps
3522 StandaloneSessionClusterEntrypoint
4244 Jps
[hadoop@node1 bin]$ jobmanager.sh stop
Stopping standalonesession daemon (pid: 3522) on host node1.
[hadoop@node1 bin]$ jps
4536 Jps
提交应用测试
启动flink集群
[hadoop@node1 flink]$ start-cluster.sh
提交flink作业
运行flink提供的wordcount案例程序
[hadoop@node1 flink]$ flink run examples/streaming/WordCount.jar
SLF4J: Class path contains multiple SLF4J bindings.
SLF4J: Found binding in [jar:file:/home/hadoop/soft/flink-1.17.1/lib/log4j-slf4j-impl-2.17.1.jar!/org/slf4j/impl/StaticLoggerBinder.class]
SLF4J: Found binding in [jar:file:/home/hadoop/soft/hadoop-2.7.3/share/hadoop/common/lib/slf4j-log4j12-1.7.10.jar!/org/slf4j/impl/StaticLoggerBinder.class]
SLF4J: See http://www.slf4j.org/codes.html#multiple_bindings for an explanation.
SLF4J: Actual binding is of type [org.apache.logging.slf4j.Log4jLoggerFactory]
Executing example with default input data.
Use --input to specify file input.
Printing result to stdout. Use --output to specify output path.
Job has been submitted with JobID 20126e9c38bfaf5651db0f068e78e37a
Program execution finished
Job with JobID 20126e9c38bfaf5651db0f068e78e37a has finished.
Job Runtime: 1999 ms
查看结果
查看输出的wordcount结果的末尾10行数据
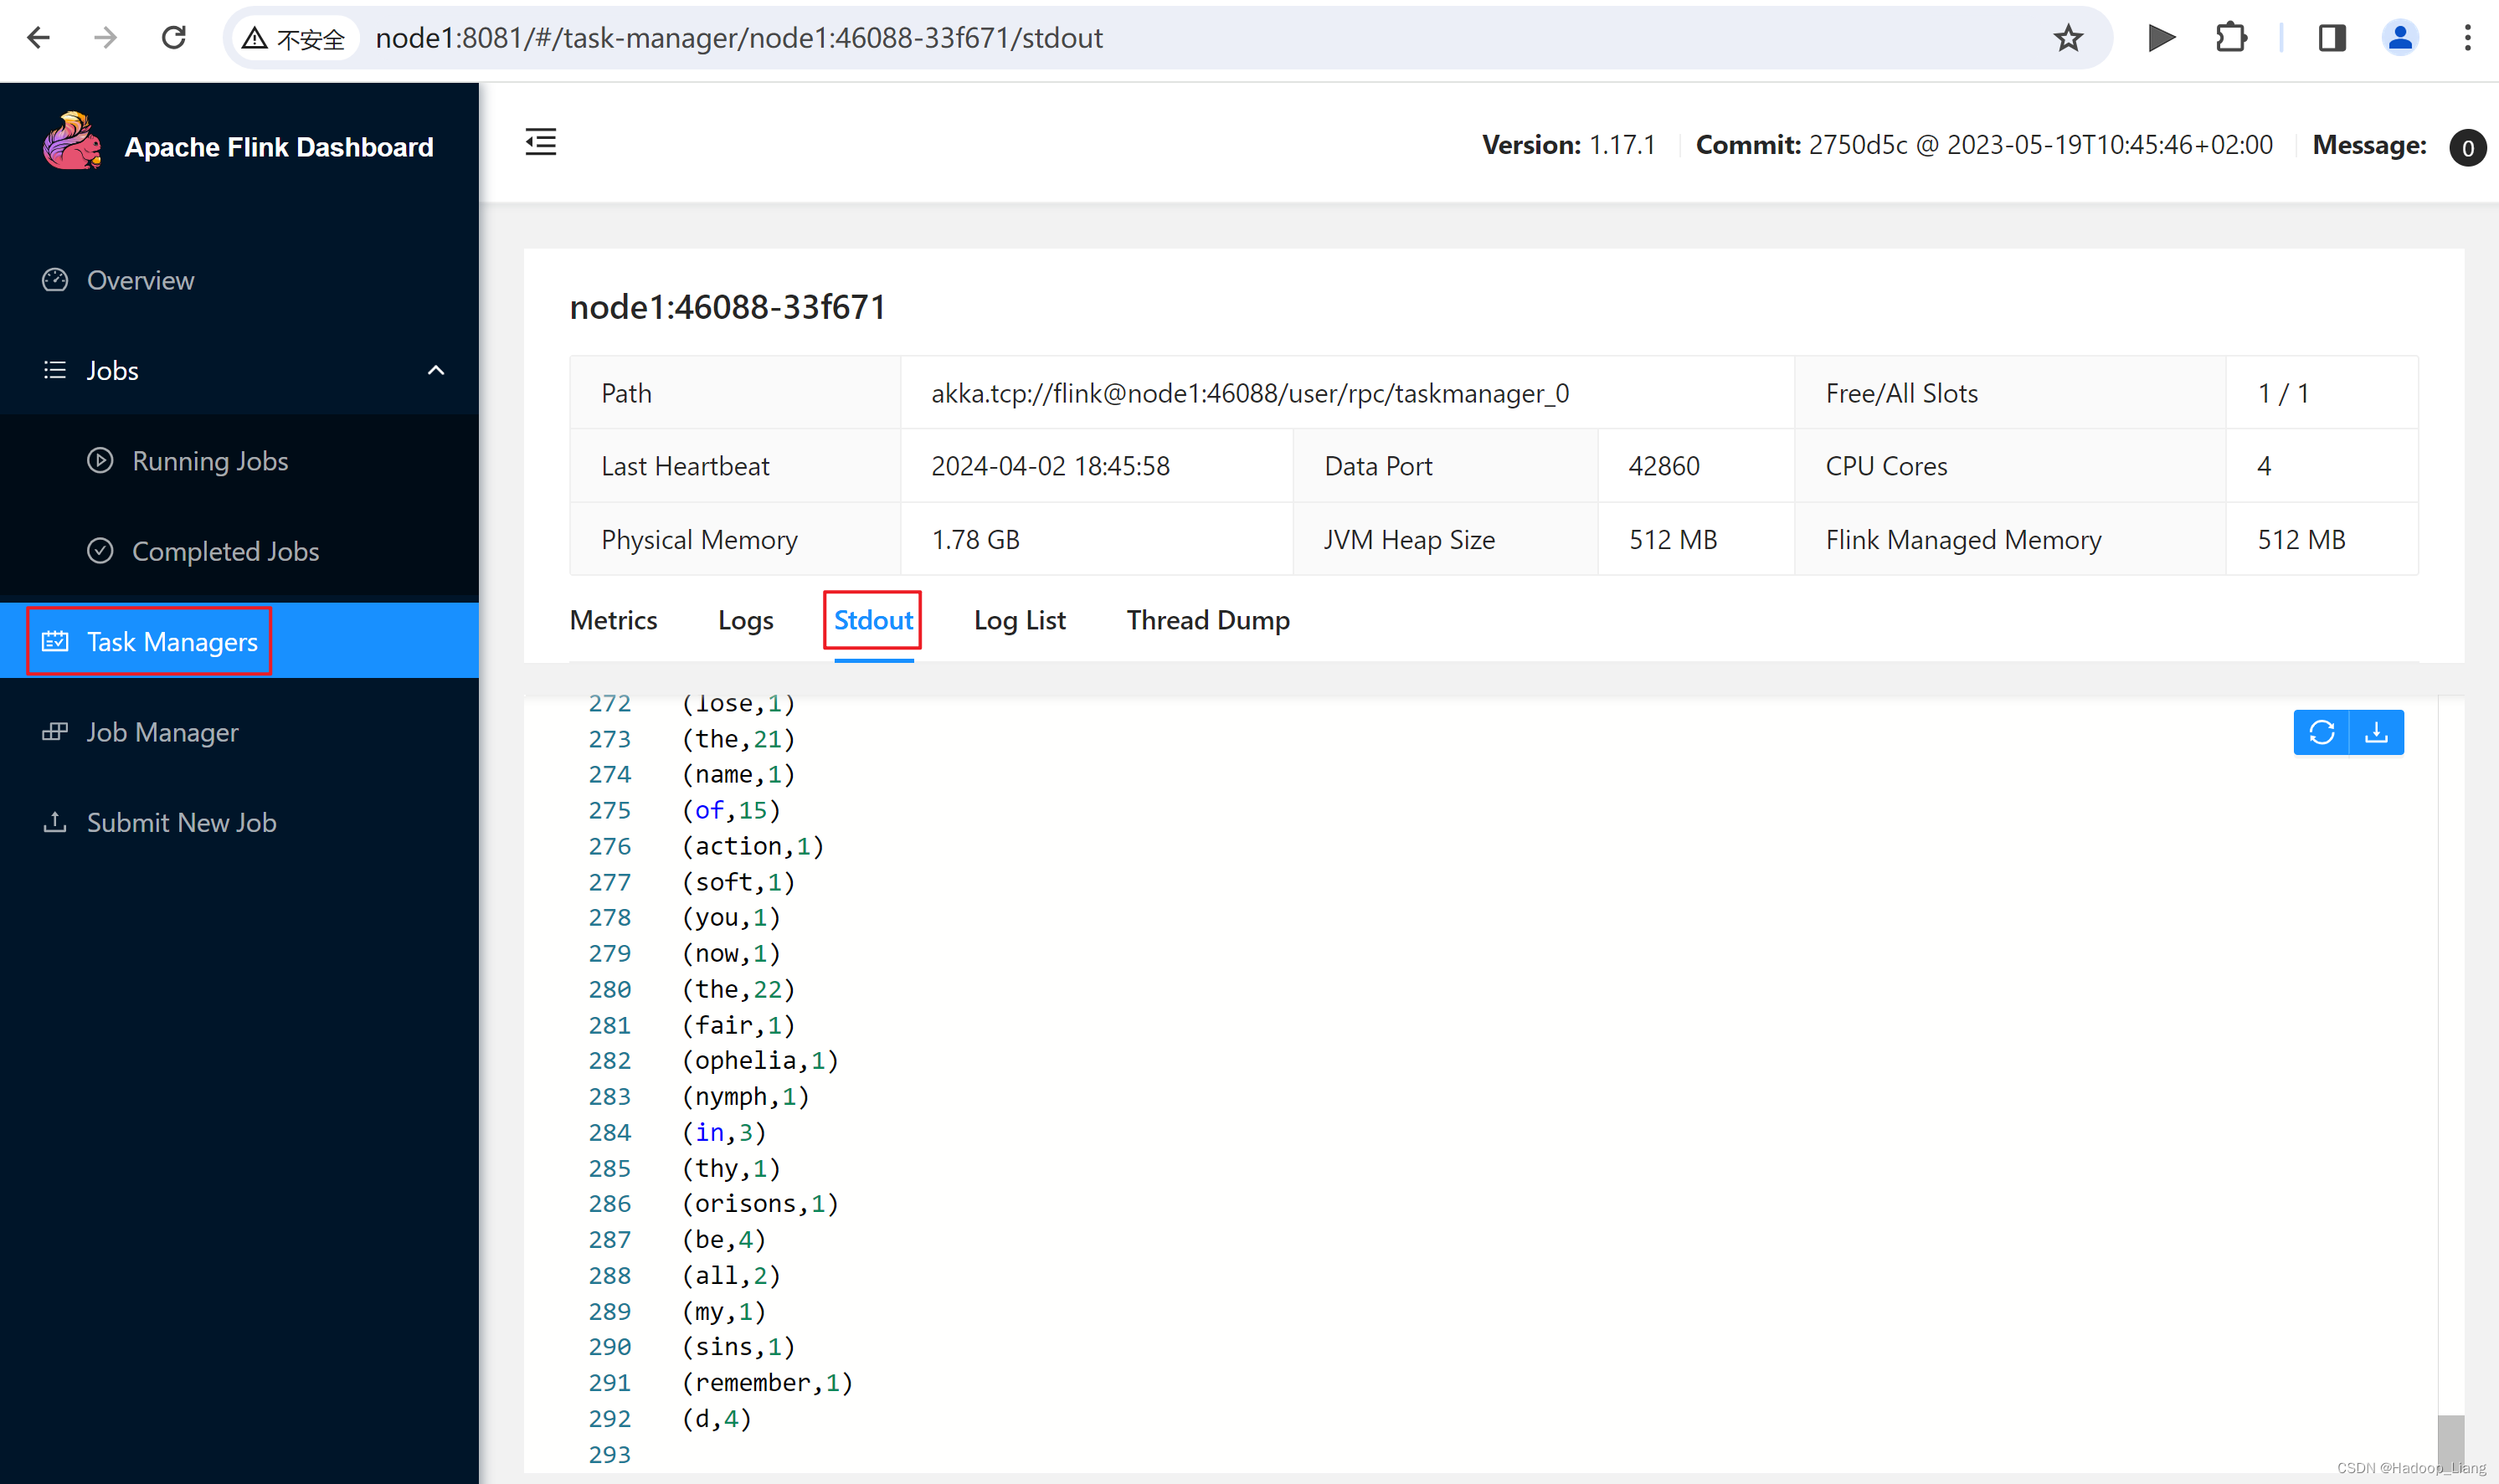
[hadoop@node1 flink]$ tail log/flink-*-taskexecutor-*.out
(nymph,1)
(in,3)
(thy,1)
(orisons,1)
(be,4)
(all,2)
(my,1)
(sins,1)
(remember,1)
(d,4)
Web UI查看提交的作业
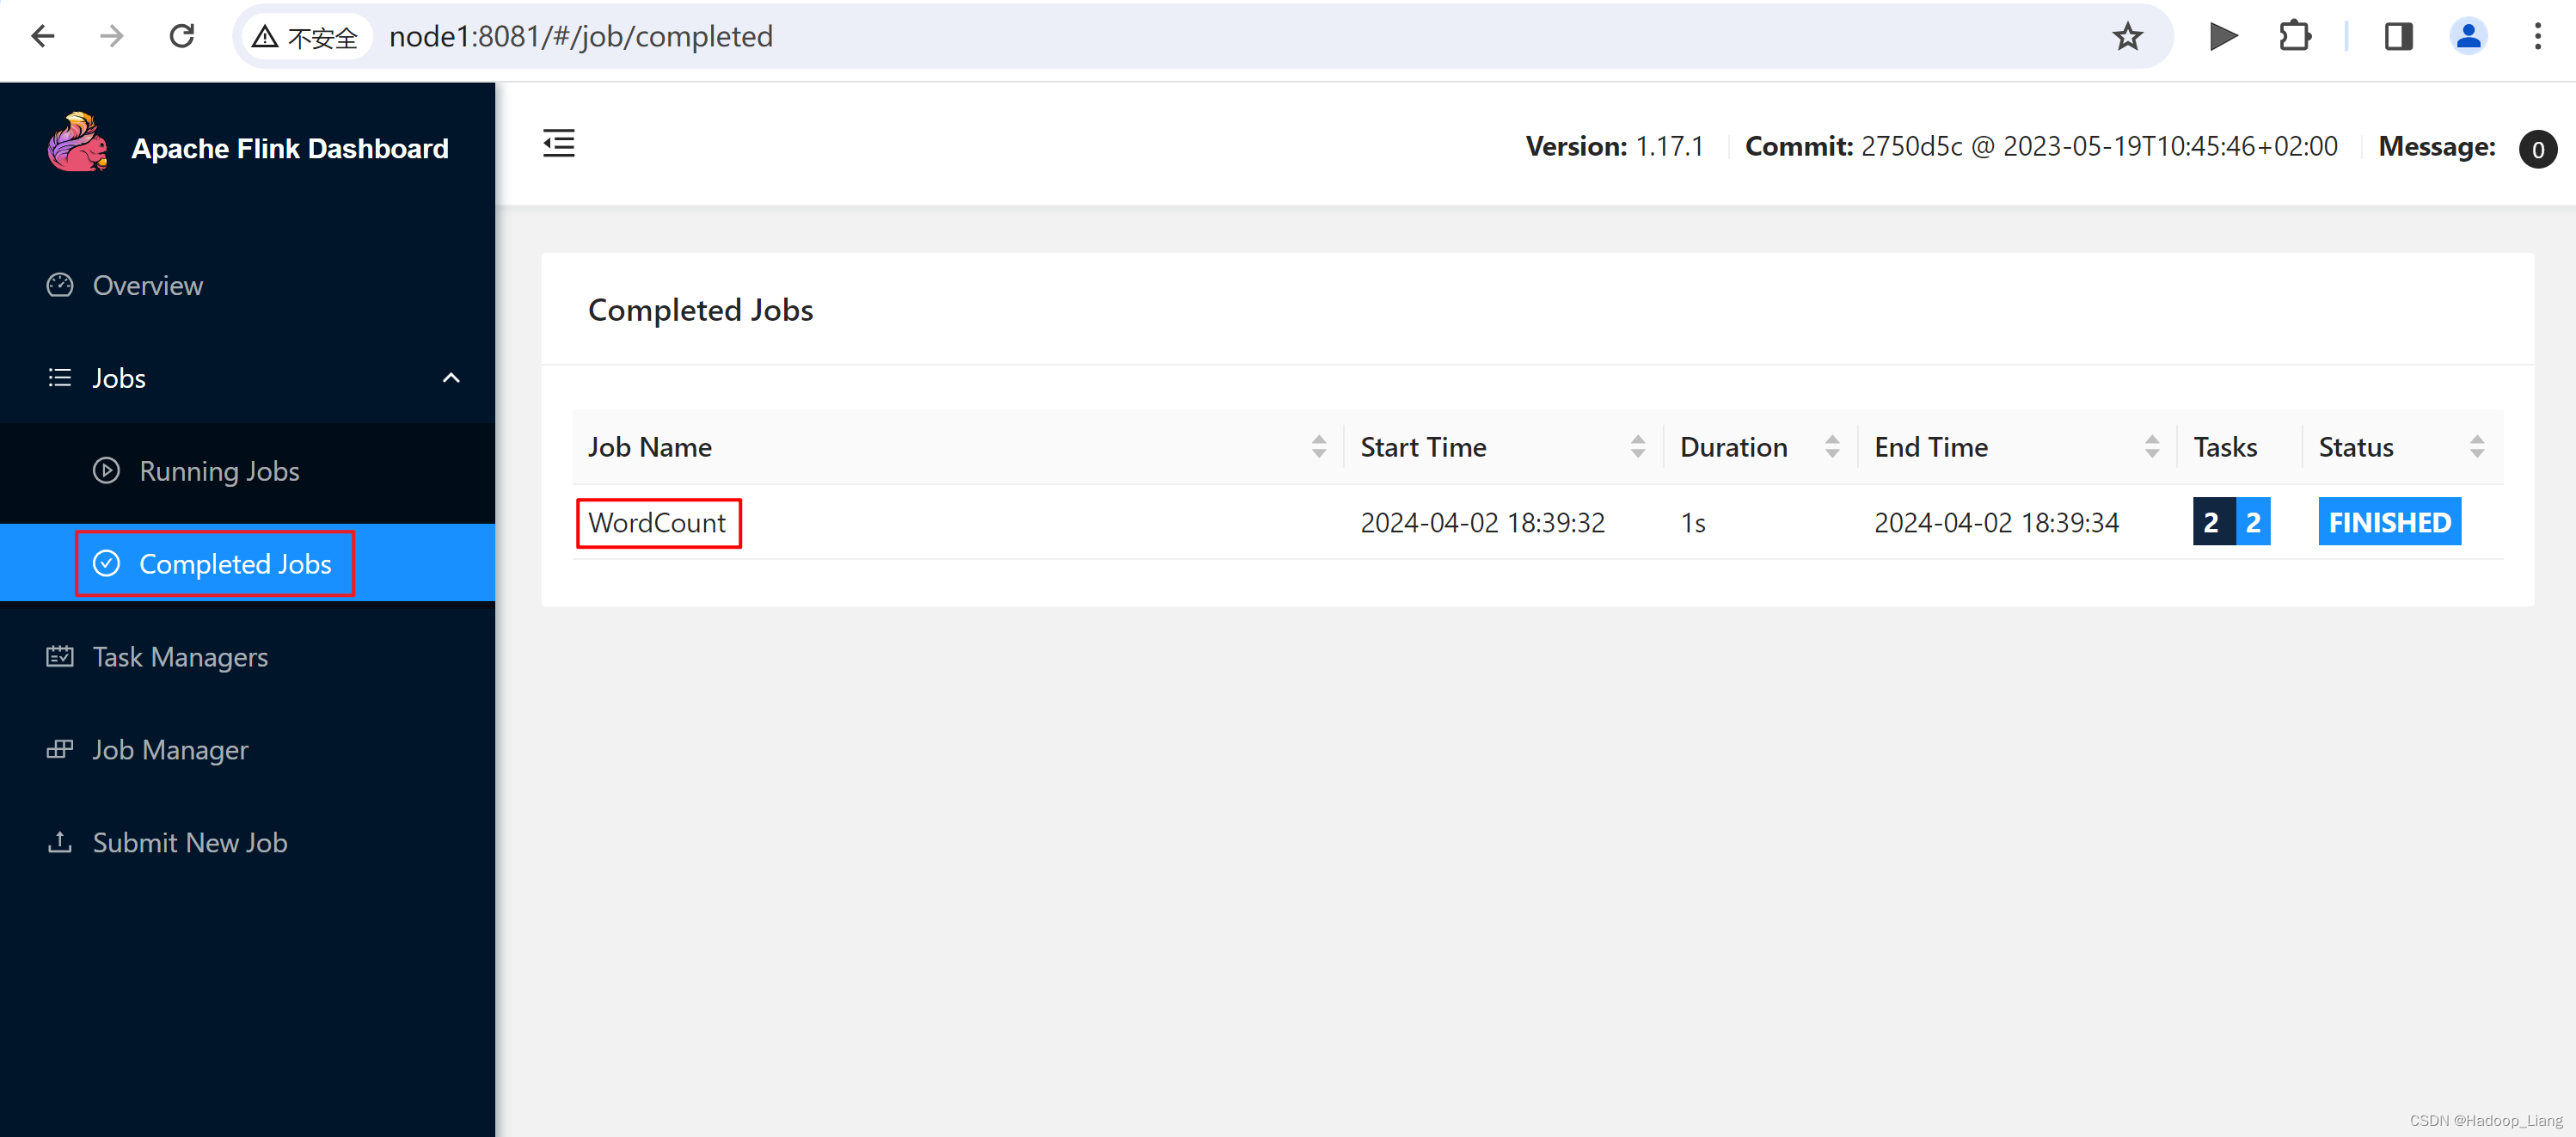
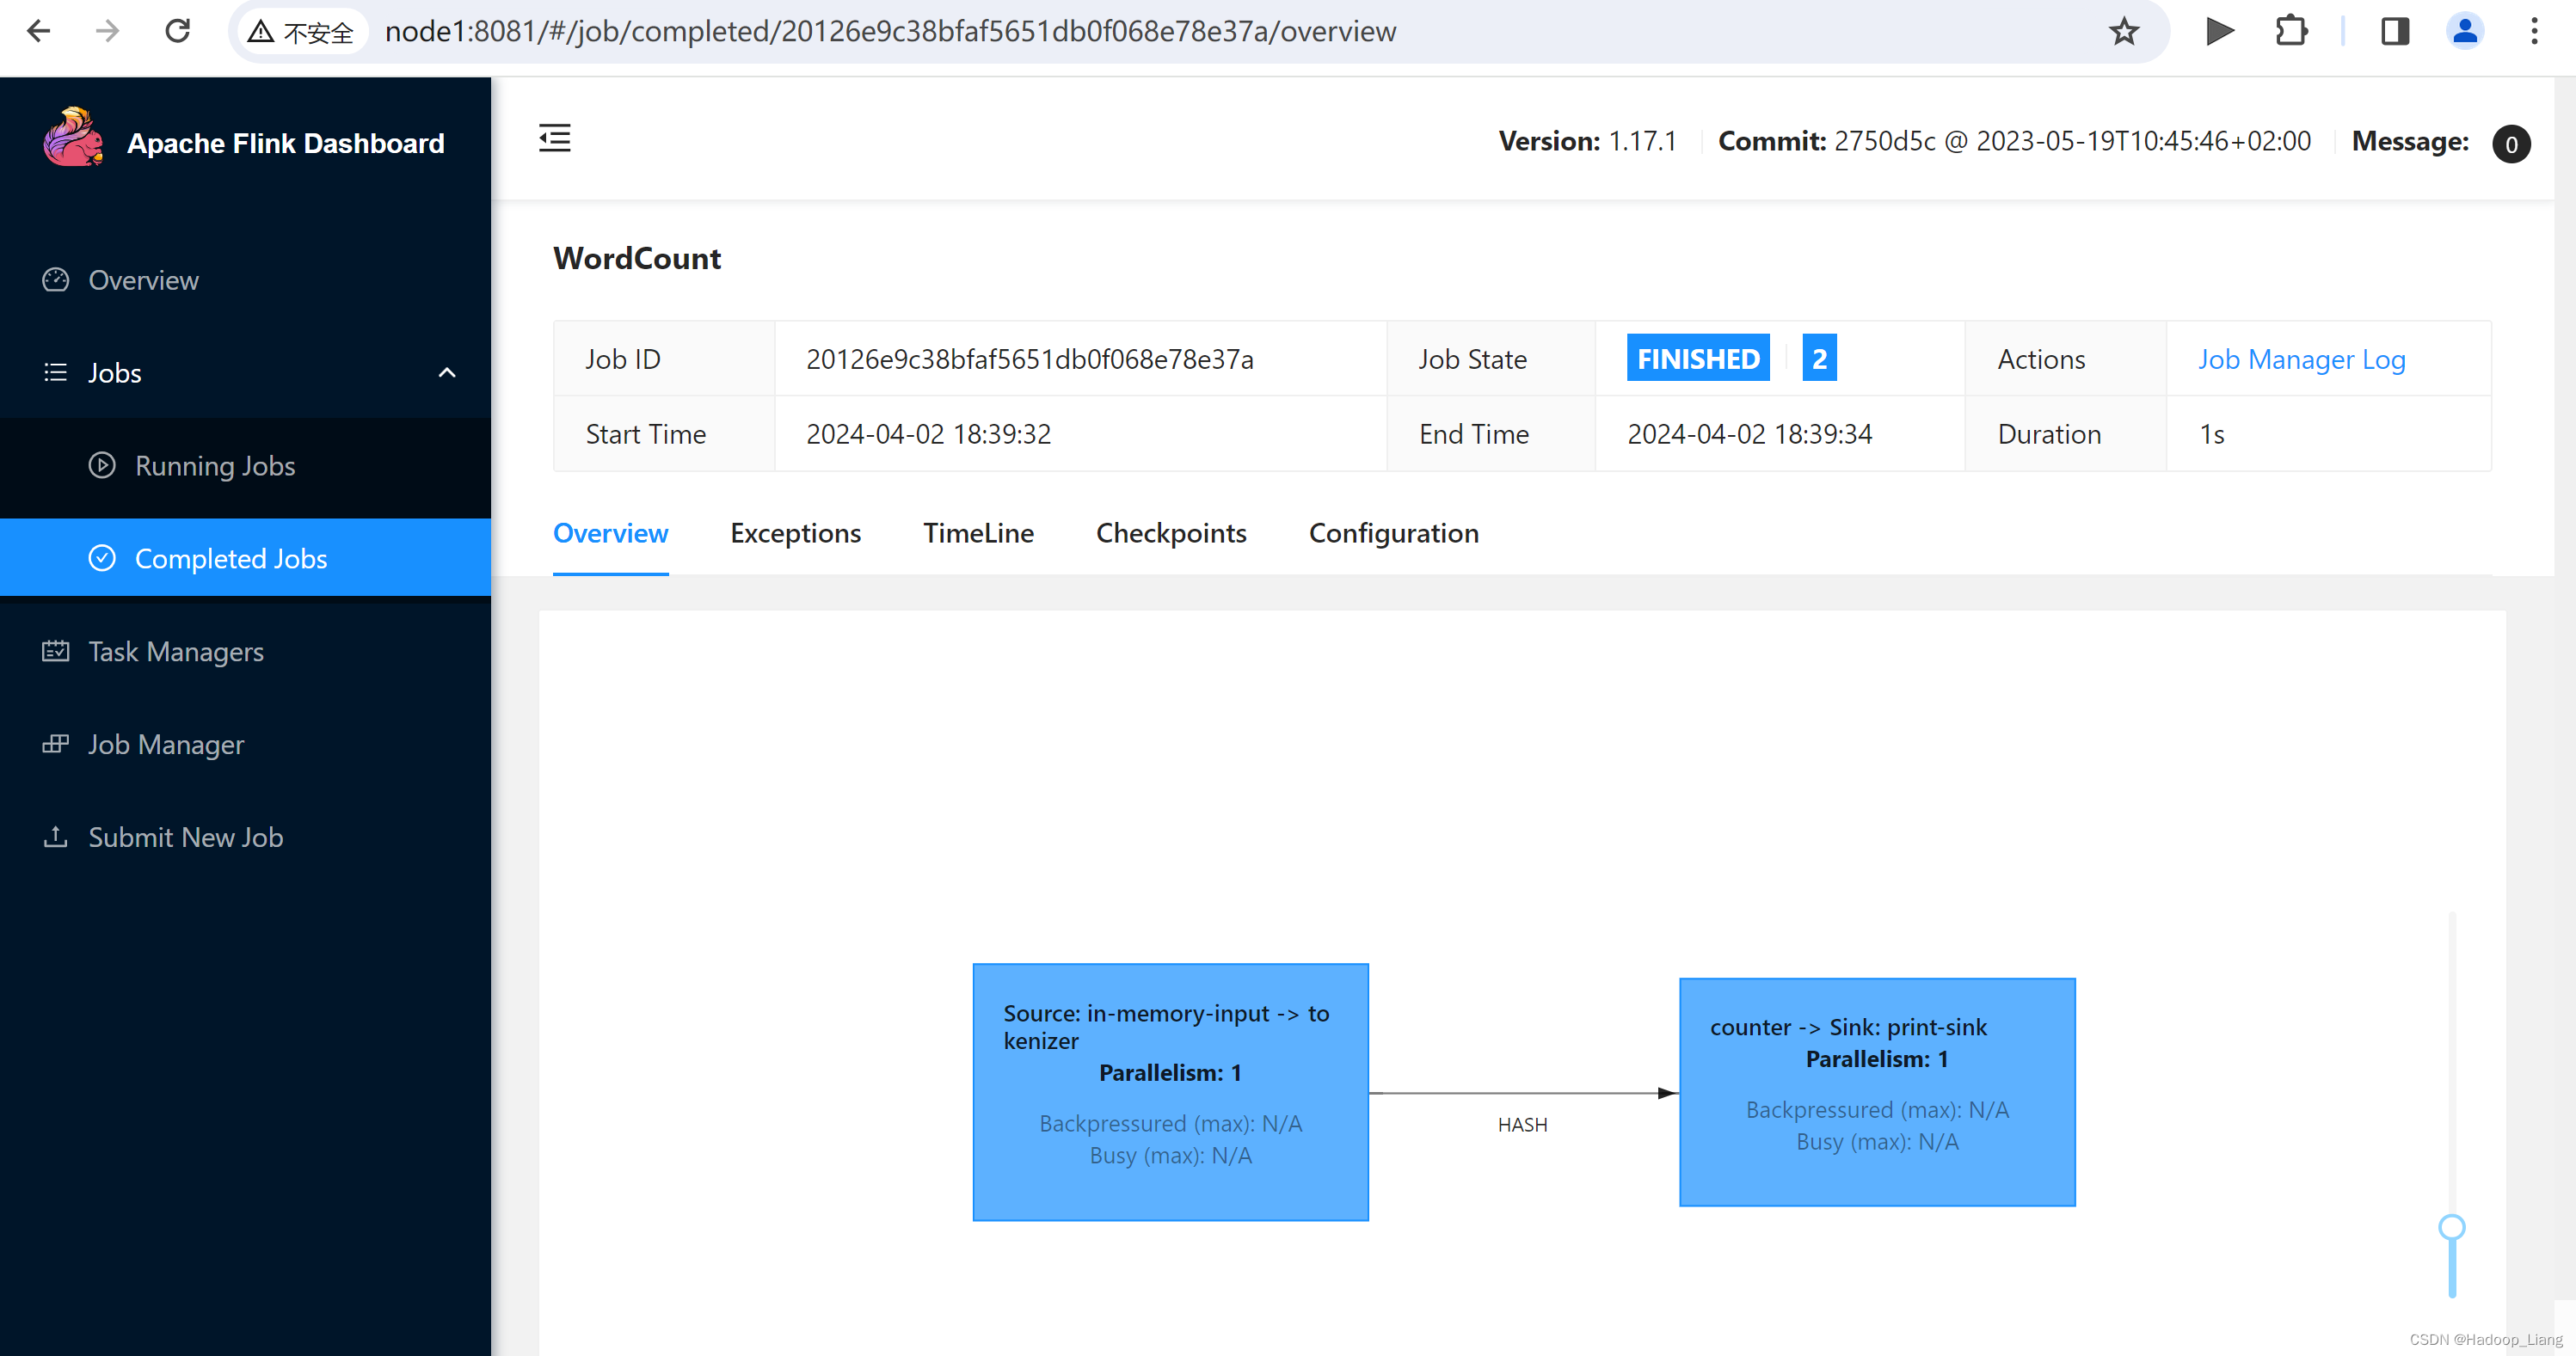
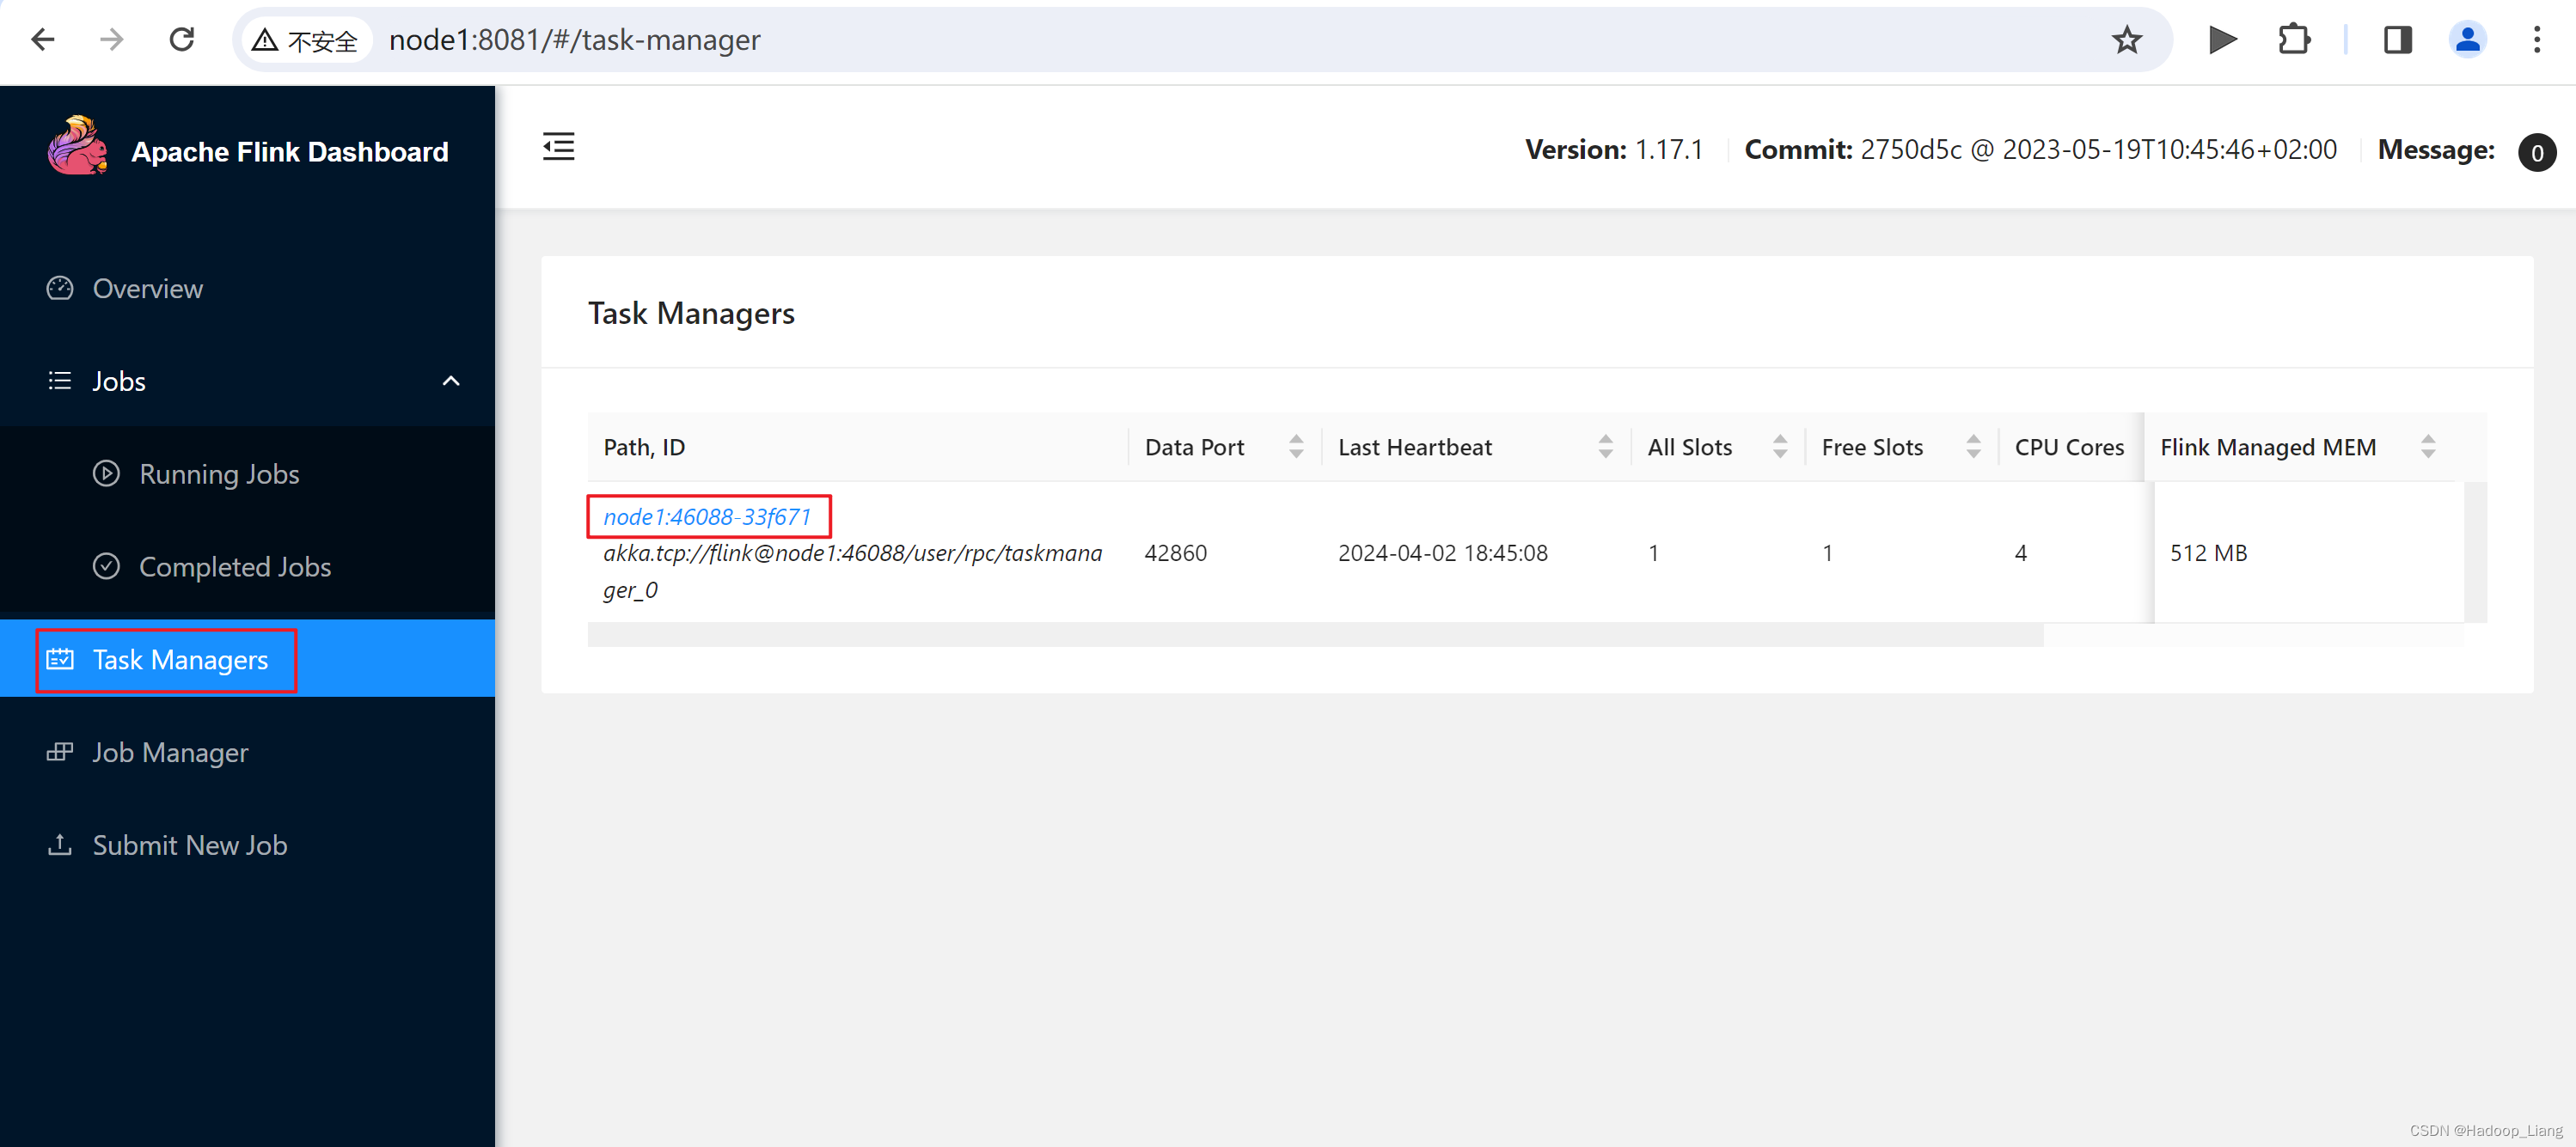
Web UI查看作业结果
参考:First steps | Apache Flink
完成!enjoy it!
